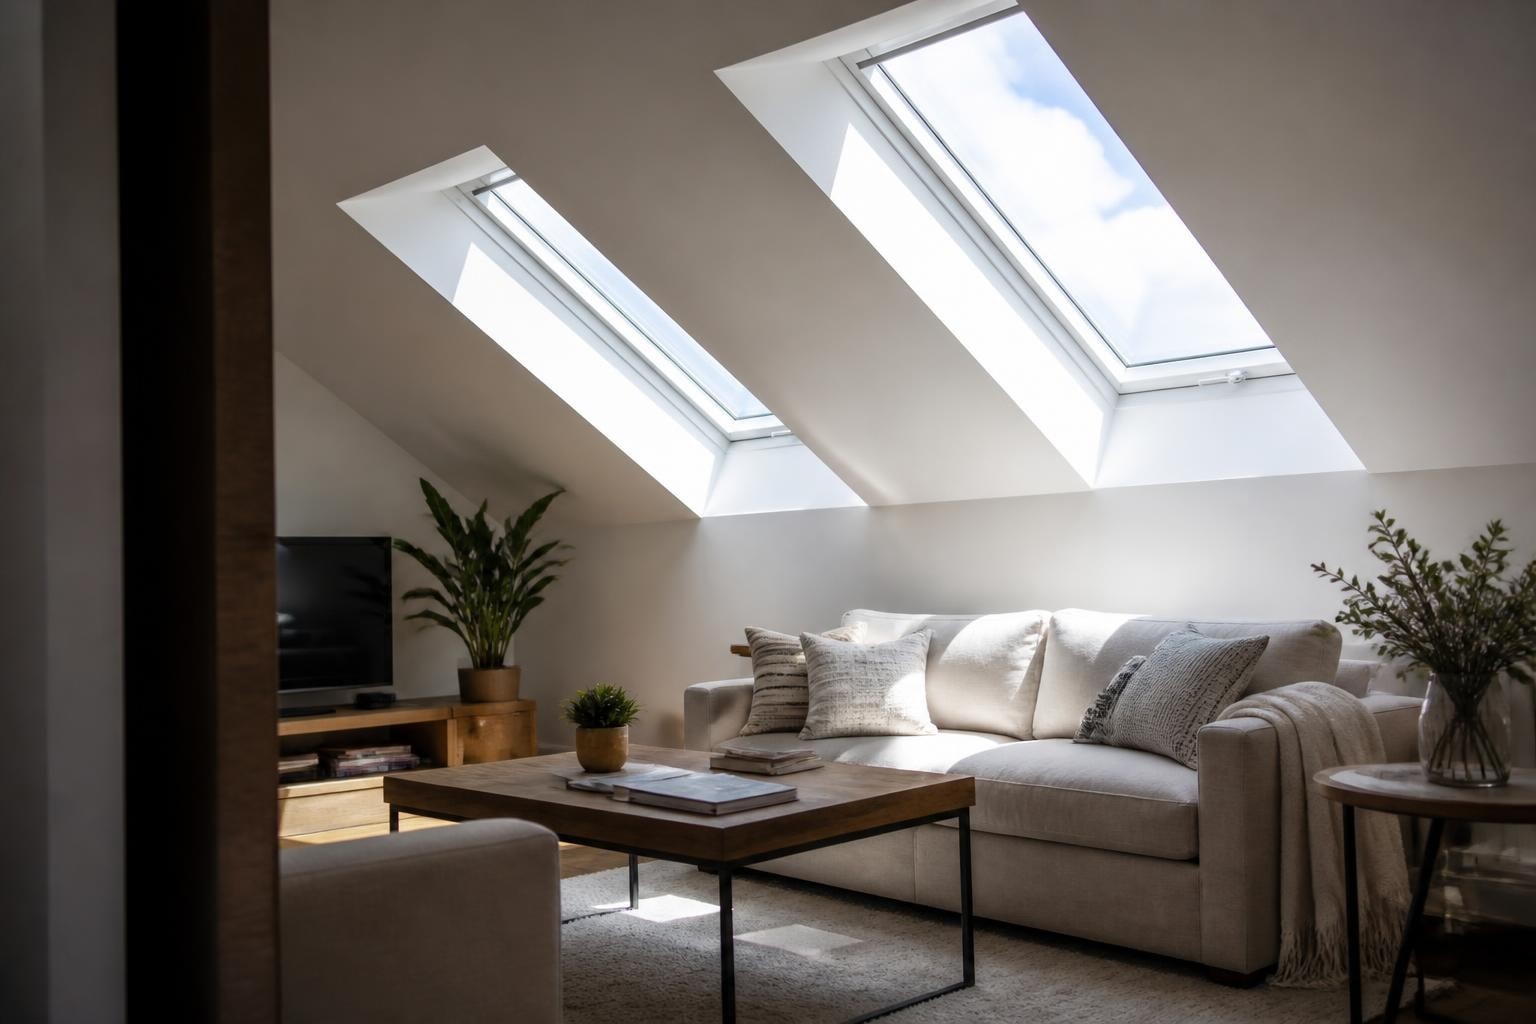
Adding a skylight brings natural light into spaces where traditional windows can't reach. The installation process involves more than cutting a hole in your roof. It requires careful planning, proper flashing, and attention to detail to avoid leaks and energy loss. For homeowners in coastal North Carolina, skylight installation also means accounting for wind loads, salt air, and the potential for storm damage. This guide walks through what you need to know before, during, and after the installation process.
Planning Your Skylight Project
Before any cutting begins, you need to determine where the skylight will go and what type makes sense for your home. The location affects both the amount of light you'll gain and the complexity of the installation.
Choosing the Right Location
Roof slope is the first consideration. Most skylights require a minimum pitch of 3:12, though some can handle flatter roofs with special flashing kits. Steeper roofs shed water more effectively, reducing the chance of leaks.
Rafter placement dictates where you can install without major structural work. Placing a skylight between rafters keeps costs down. Cutting through a rafter requires headers and additional framing, adding labor and expense.
Sun exposure shapes how much light and heat enter your home:
- North-facing skylights provide consistent, indirect light with minimal heat gain
- South-facing units deliver maximum winter sun and require shading in summer
- East-facing models bring morning light
- West-facing installations can overheat rooms in the afternoon
Coastal homes in Wilmington and Topsail often benefit from north or east orientations that bring light without excess heat during long summer afternoons.
Skylight Types and Features
| Type | Best For | Pros | Cons |
|---|---|---|---|
| Fixed | Simple light, budget | Least expensive, minimal maintenance | No ventilation |
| Venting | Bathrooms, kitchens | Opens for airflow, releases heat | Moving parts need maintenance |
| Tubular | Hallways, closets | Fits tight spaces, lower cost | Limited light output |
Glazing options matter for energy performance and durability. Laminated glass resists impact better than standard tempered glass, important in areas prone to hail or falling branches. Low-E coatings reduce heat transfer. The National Fenestration Rating Council provides standardized ratings that let you compare U-factor (insulation), solar heat gain coefficient, and visible transmittance across brands.
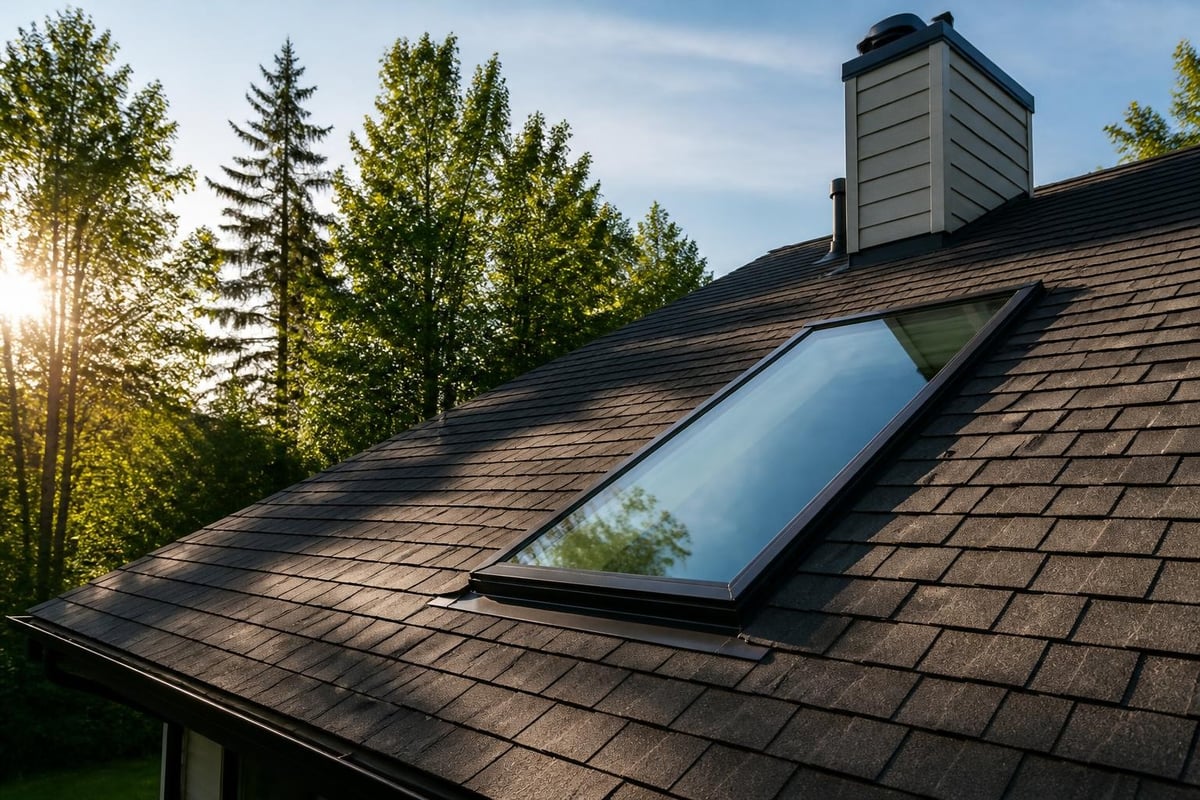
Flashing systems vary by manufacturer. Curb-mounted skylights sit on a raised frame and generally offer better weatherproofing than deck-mounted models that sit flush with the roof plane.
The Installation Process
Skylight installation follows a sequence designed to maintain your roof's weathertight integrity while creating an opening for light.
Preparation and Layout
The installer starts inside, locating rafters and marking the opening from below. Measurements transfer to the roof deck, where the actual cutting occurs.
Steps before cutting:
- Remove shingles around the planned opening
- Verify no plumbing, wiring, or HVAC runs through the opening
- Mark cutting lines on the roof deck
- Set up fall protection and weather contingencies
Weather planning matters. An open roof needs to be closed before rain arrives. Most installers won't start a skylight on a day with afternoon storms in the forecast.
Framing and Structural Work
Once the deck is cut, the opening gets framed. If the skylight fits between existing rafters, only top and bottom headers are needed. Cutting a rafter means installing doubled headers and possibly trimmer rafters to carry the load around the opening.
Framing details:
- Headers sized to span the opening and support roof loads
- Connections between headers and rafters via joist hangers or equivalent hardware
- Clearance around the skylight for insulation and flashing
Coastal wind loads exceed those in many other regions. The Whole Building Design Guide covers how skylights must resist wind uplift and debris impact in high-wind zones like Eastern North Carolina.
Flashing Installation
Flashing keeps water out. It's the most critical part of skylight installation and the place where mistakes cause leaks years later.
A complete flashing system includes multiple layers:
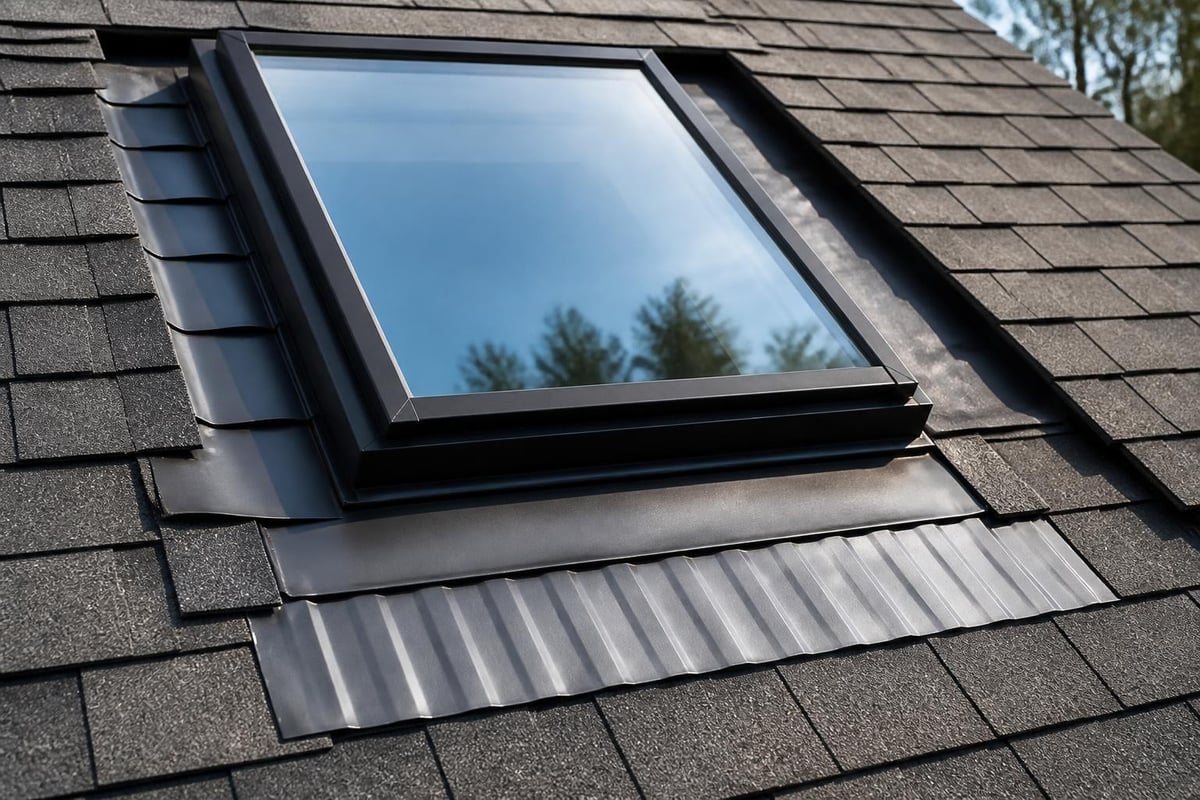
- Step flashing along the sides, woven with shingles
- Head flashing at the top, running under shingles
- Sill flashing at the bottom, sitting over shingles
- Counter flashing (if required) to cover and seal the edges
The National Roofing Contractors Association provides detailed technical guidance on flashing configurations that prevent water infiltration. Many skylight failures trace back to shortcuts in this phase, where installers omit a layer or don't integrate flashing with the surrounding roofing material correctly.
Some systems allow flashing installation without removing the roof, particularly when retrofitting. These methods use compression seals and surface-mounted flashings. They're faster but may not last as long as fully integrated systems.
Interior Finishing
After the skylight is flashed and sealed outside, the interior light shaft connects the roof opening to the ceiling below. Shaft walls are typically framed, insulated, and drywalled.
Shaft design affects light distribution:
- Straight shafts (roof and ceiling openings aligned) deliver focused light
- Angled shafts spread light across a wider area
- Splayed shafts (widening toward the ceiling) maximize light spread
Paint shafts white or a light color to reflect more light into the room. Insulate walls to R-19 or better to prevent condensation and heat loss.
Energy Performance and Efficiency
Skylights affect your home's energy balance. They bring in light, reducing the need for artificial lighting during the day, but they can also introduce unwanted heat or lose conditioned air.
Understanding Energy Ratings
The DOE's primer on daylighting explains how skylights contribute to energy savings when properly selected and installed. Key metrics include:
| Rating | What It Measures | Better Performance |
|---|---|---|
| U-Factor | Heat transfer (insulation) | Lower numbers |
| SHGC | Solar heat gain | Lower in hot climates, higher in cold |
| VT | Visible light transmission | Higher for more daylight |
In North Carolina's climate, a skylight with a U-factor below 0.35 and an SHGC around 0.30 balances light and energy performance. Too much solar heat gain makes cooling systems work harder during the seven-month warm season coastal homeowners experience.
Ventilation and Comfort
Venting skylights release hot air that accumulates near the ceiling. Opening a skylight can drop room temperature several degrees without running the AC. This passive cooling matters in coastal homes where afternoon heat builds up even with ocean breezes.
Automatic openers use temperature sensors or rain detectors to open and close the skylight. Manual operation works fine if the skylight is reachable, but most roof-mounted units sit too high for regular access without controls.
Condensation Control
Cold glass creates condensation when warm, humid indoor air contacts it. Coastal North Carolina homes deal with high humidity year-round. Double-glazed skylights with low-E coatings keep the interior glass surface warmer, reducing condensation risk.
Condensation management strategies:
- Use double or triple glazing
- Apply low-E coatings to the interior pane
- Insulate the light shaft completely
- Run exhaust fans to remove humid air (especially in bathrooms)
Condensation left unchecked rots window sills, stains ceilings, and promotes mold growth.
Coastal Installation Considerations
Installing skylights in Topsail, Surf City, Holly Ridge, or Wilmington means accounting for salt air, high winds, and intense sun.
Wind and Impact Resistance
Hurricane-force winds exert tremendous uplift on anything attached to a roof. Skylights rated for high wind zones include reinforced frames and impact-resistant glazing. Look for products tested to withstand wind speeds of 140 mph or higher.
Impact ratings indicate whether the skylight can resist debris strikes. Laminated glass holds together even when shattered, keeping wind and rain out. Some coastal communities require impact-rated skylights in new construction and major renovations.
Corrosion and Durability
Salt air corrodes metal flashing, fasteners, and frames. Skylights with aluminum or vinyl frames hold up better than steel. Stainless steel fasteners prevent rust stains and flashing failures.
Inspect flashing annually. Coastal environments accelerate wear. A small gap or lifted edge that would take years to cause problems inland can fail within a single storm season near the ocean.
Roof Report Integration
If you're planning skylight installation as part of a larger roofing project, understanding your roof's current condition helps you make informed decisions. A Roof Report documents your roof's state, identifies existing issues, and helps you decide whether to install a skylight before or after addressing other repairs.
For example, if your roof needs replacement within the next two years, installing a skylight now means removing and reflashing it during the roof replacement. In that case, waiting until the new roof goes on saves labor and avoids double work.
Maintenance and Long-Term Performance
Once installed, skylights need regular attention to maintain their weathertight seal and performance.
Inspection Schedule
Annual checks should include:
- Flashing condition (no gaps, lifted edges, or cracks)
- Glazing seal (no moisture between panes)
- Frame integrity (no cracks or separation)
- Interior light shaft (no water stains or condensation damage)
After major storms, inspect skylights for impact damage, shifted flashing, or debris accumulation.
Cleaning and Upkeep
Clean glazing twice yearly, more often in dusty or pollen-heavy seasons. Dirty glass blocks up to 20% of available light.
Cleaning process:
- Use a soft cloth or sponge (no abrasive pads)
- Apply mild soap and water
- Rinse thoroughly to prevent streaking
- Check and clean weep holes in the frame
Weep holes drain water that gets past the glazing seal. Blocked weeps cause water to back up into the frame or shaft.
Common Issues and Fixes
| Problem | Likely Cause | Solution |
|---|---|---|
| Leaks | Flashing failure, sealant degradation | Re-flash or re-seal affected area |
| Condensation | Poor insulation, high indoor humidity | Improve insulation, add ventilation |
| Discoloration | UV damage to frame or shaft | Repaint or replace damaged components |
| Fogging | Seal failure between glazing panes | Replace glazing unit |
Some repairs are straightforward. Others, especially flashing work, require removing shingles and may justify calling a roofer rather than attempting a DIY fix.
Cost Factors and Budgeting
Skylight installation costs vary based on size, type, roof complexity, and labor rates.
Price Breakdown
Skylight unit costs:
- Fixed units: $300 to $800
- Venting units: $500 to $1,500
- Tubular units: $200 to $600
Installation labor typically runs $500 to $1,500 depending on:
- Roof pitch and accessibility
- Need to cut rafters or add framing
- Flashing complexity
- Light shaft length and finish level
Total installed cost for a standard fixed skylight averages $1,000 to $2,500. Venting models and complex installations push costs to $3,000 or more.
When to DIY vs. Hire a Professional
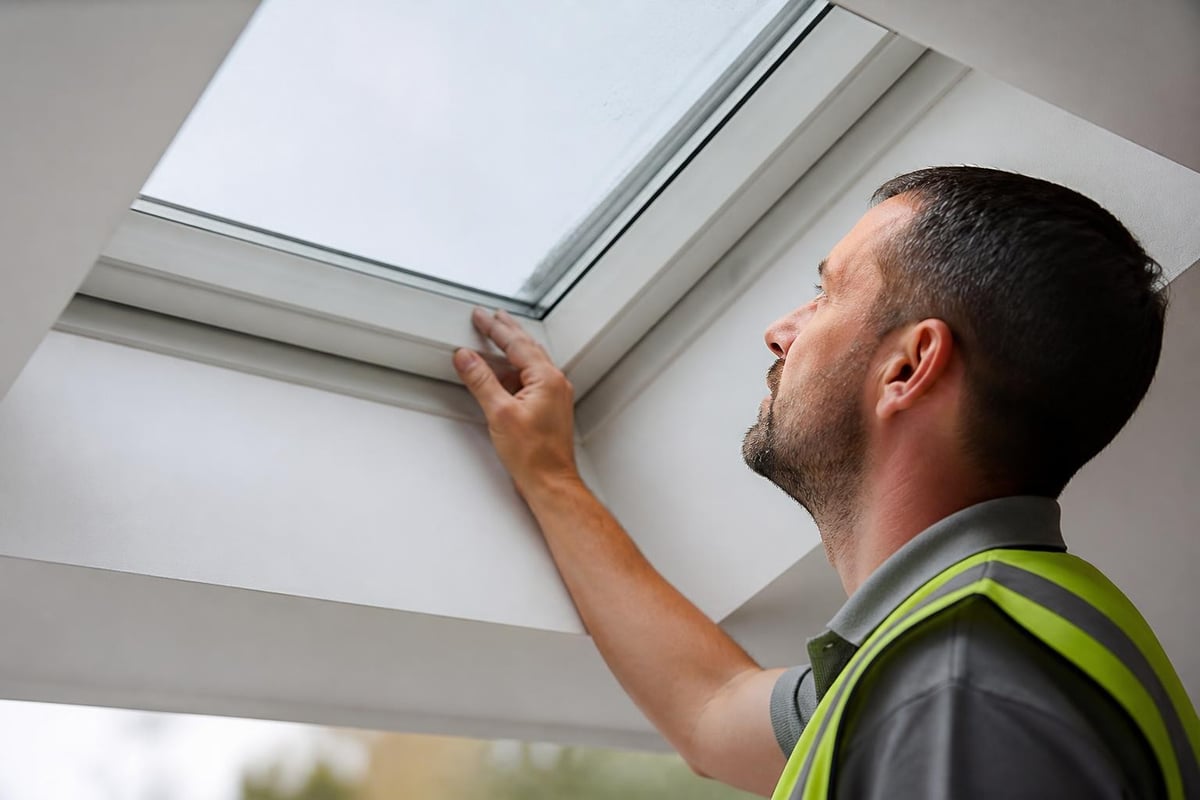
Tubular skylights on accessible, simple roofs are within reach for experienced DIYers. Full-size skylights with custom light shafts and integrated flashing are best left to professionals. The risk of leaks, structural mistakes, and voided warranties outweighs the savings for most homeowners.
Professional installation ensures:
- Proper flashing integration
- Code-compliant framing
- Manufacturer warranty coverage
- Liability protection if something goes wrong
In coastal areas where wind and water intrusion risks run higher than inland, professional installation isn't just recommended. It's the safest path to a skylight that performs for decades.
Skylight installation brings natural light into your home and can improve comfort and energy efficiency when done right. Planning the location, choosing the right product for coastal conditions, and ensuring proper flashing make the difference between a skylight that enhances your home and one that becomes a source of leaks and frustration. If you're considering a skylight or need guidance on how it fits with your roof's condition and timeline, NC Roofs can walk you through the options, document what's happening with your roof, and help you make the decision that works for your home and budget.