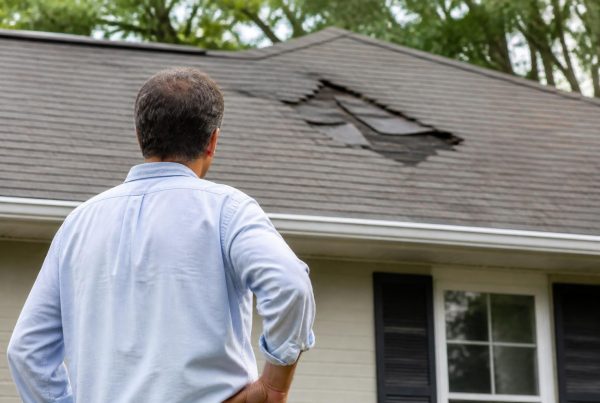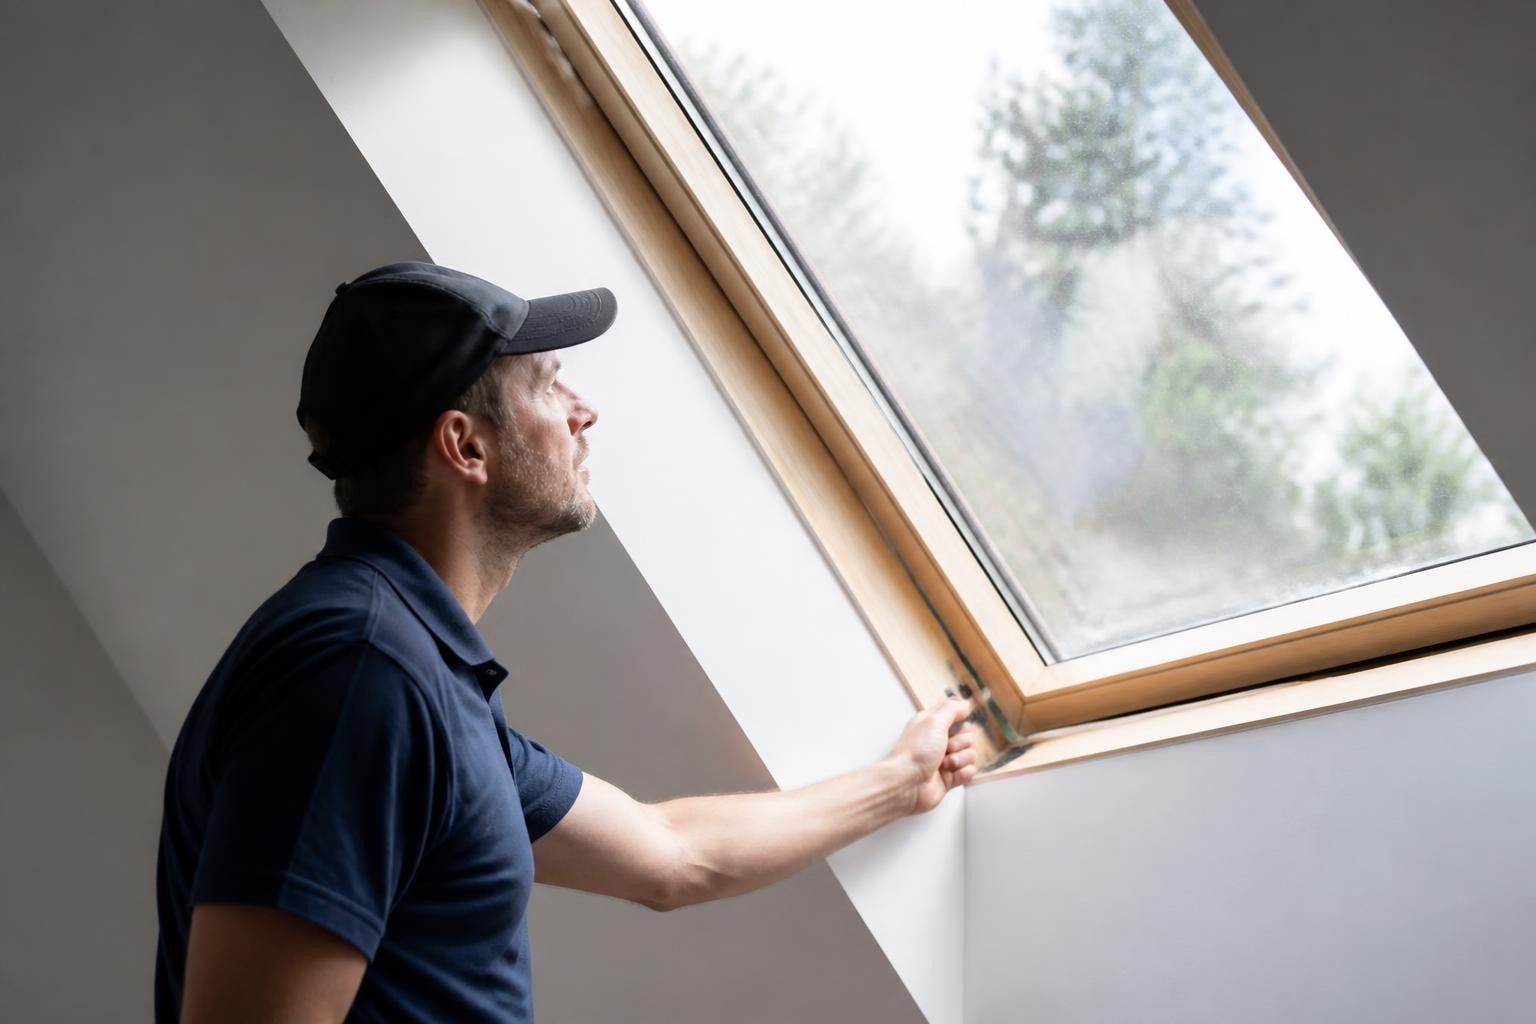
Skylights bring natural light into your home, but they don't last forever. Over time, seals fail, glass cracks, and leaks develop. When repair stops being a realistic option, skylight replacement becomes the next step. Understanding when to replace, what products perform best, and how installation integrates with your roof helps you make a confident decision. This guide walks through the entire process with a focus on what matters most to homeowners in coastal North Carolina.
When Skylight Replacement Makes Sense
Not every skylight problem requires full replacement. Small cracks, worn weatherstripping, or minor flashing issues can often be addressed through targeted repairs. But certain conditions signal it's time for a new unit.
Age and Material Degradation
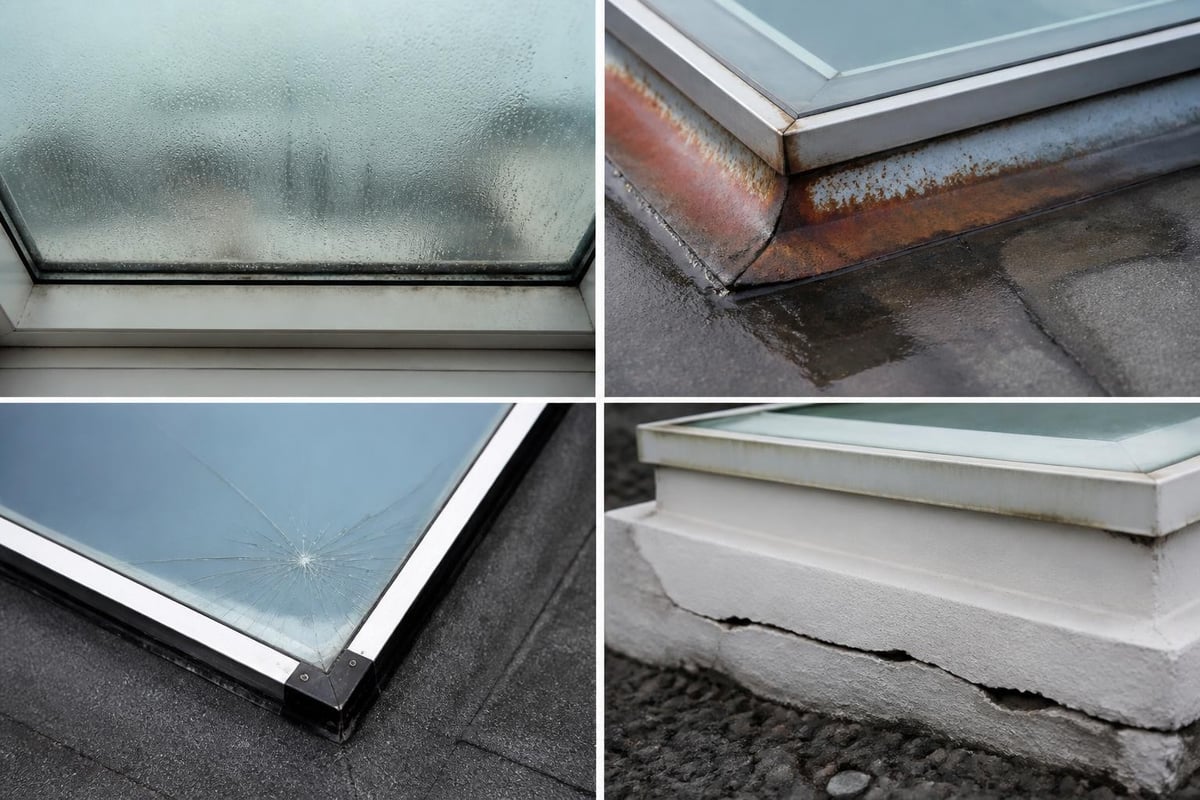
Skylights typically last 15 to 25 years depending on materials and exposure. Acrylic and polycarbonate domes yellow and become brittle. Glass units develop seal failures that cause interior condensation. Metal flashing corrodes, especially in salt air environments common along the Carolina coast.
If your skylight is approaching or past the 20-year mark and showing multiple issues, replacement usually makes more financial sense than repeated repairs. Older units also lack modern energy performance standards, meaning you're losing conditioned air year-round.
Persistent Leaks Despite Repairs
A skylight that continues to leak after proper flashing repair points to structural problems with the curb, frame, or glazing seal. Water intrusion around the unit can damage roof decking, insulation, and interior finishes. Continued moisture exposure invites mold growth and wood rot.
When leaks return after professional repair attempts, the skylight itself has likely failed. At that point, starting fresh with a properly sized and flashed replacement prevents ongoing damage and repair costs.
Energy Loss and Comfort Issues
Older skylights act as thermal weak points. Single-pane or poorly insulated units allow heat gain in summer and heat loss in winter. You'll notice temperature differences in rooms beneath the skylight, higher utility bills, and increased HVAC runtime.
Modern skylights meeting ENERGY STAR certification standards use low-emissivity coatings, insulated frames, and multiple glazing layers. Replacement can cut energy loss by 30 to 50 percent compared to units installed before 2000.
If you're experiencing comfort problems or visible condensation on the interior glass during cold weather, energy-inefficient glazing is the likely cause. Replacement solves both issues simultaneously.
Choosing the Right Replacement Skylight
Skylight selection involves balancing light transmission, energy performance, ventilation needs, and budget. The right choice depends on your specific room, climate exposure, and how you use the space.
Fixed vs. Venting Units
Fixed skylights are sealed units that don't open. They're simpler, less expensive, and create fewer potential leak points. Best for rooms where natural ventilation isn't needed or where you have other operable windows.
Venting skylights open manually or electronically to exhaust hot air and bring in fresh air. They work well in bathrooms, kitchens, and upper-story rooms where heat accumulates. The added mechanical components and larger flashing footprint increase both cost and complexity.
| Skylight Type | Cost Range | Best Use | Leak Risk |
|---|---|---|---|
| Fixed | $400-$800 | Living rooms, hallways, offices | Lower |
| Manual vent | $600-$1,200 | Bathrooms, kitchens | Moderate |
| Electric vent | $1,000-$2,000 | High ceilings, hard-to-reach locations | Moderate |
| Solar-powered vent | $1,200-$2,500 | Remote locations, green building | Moderate |
Glazing Materials and Performance
Skylight glazing determines how much light enters, how much heat transfers, and how the unit handles impacts.
- Tempered glass: Strongest option, best clarity, handles thermal stress, required by code in many applications
- Laminated glass: Two glass layers with plastic interlayer, excellent impact resistance, holds together when broken
- Acrylic dome: Lightweight plastic, lower cost, yellows over time, scratches easily
- Polycarbonate dome: Impact-resistant plastic, better UV stability than acrylic, still degrades faster than glass
For coastal installations, tempered or laminated glass handles wind-driven debris better than plastic domes. The National Fenestration Rating Council certified product directory lists performance ratings for specific models, helping you compare U-factor, solar heat gain coefficient, and visible transmittance.
Energy Performance Ratings
Understanding energy ratings helps you select a skylight that controls heat and light appropriately for your climate and room orientation.
U-factor measures heat transfer. Lower numbers mean better insulation. Target 0.30 or lower for year-round performance in North Carolina.
Solar Heat Gain Coefficient (SHGC) measures how much solar radiation passes through. Lower SHGC reduces cooling loads. For skylights in south or west-facing roof planes, choose SHGC below 0.35.
Visible Transmittance (VT) measures daylight transmission. Higher VT brings more natural light but may increase glare. Balance VT with SHGC based on room function and desired brightness.
For top-performing options, check the ENERGY STAR Most Efficient criteria for residential skylights, which identifies models exceeding standard certification thresholds.
Installation and Roof Integration
Proper skylight replacement requires coordination between the skylight itself and the surrounding roof system. Poor integration causes most skylight leaks, not product defects.
Curb Construction and Sizing
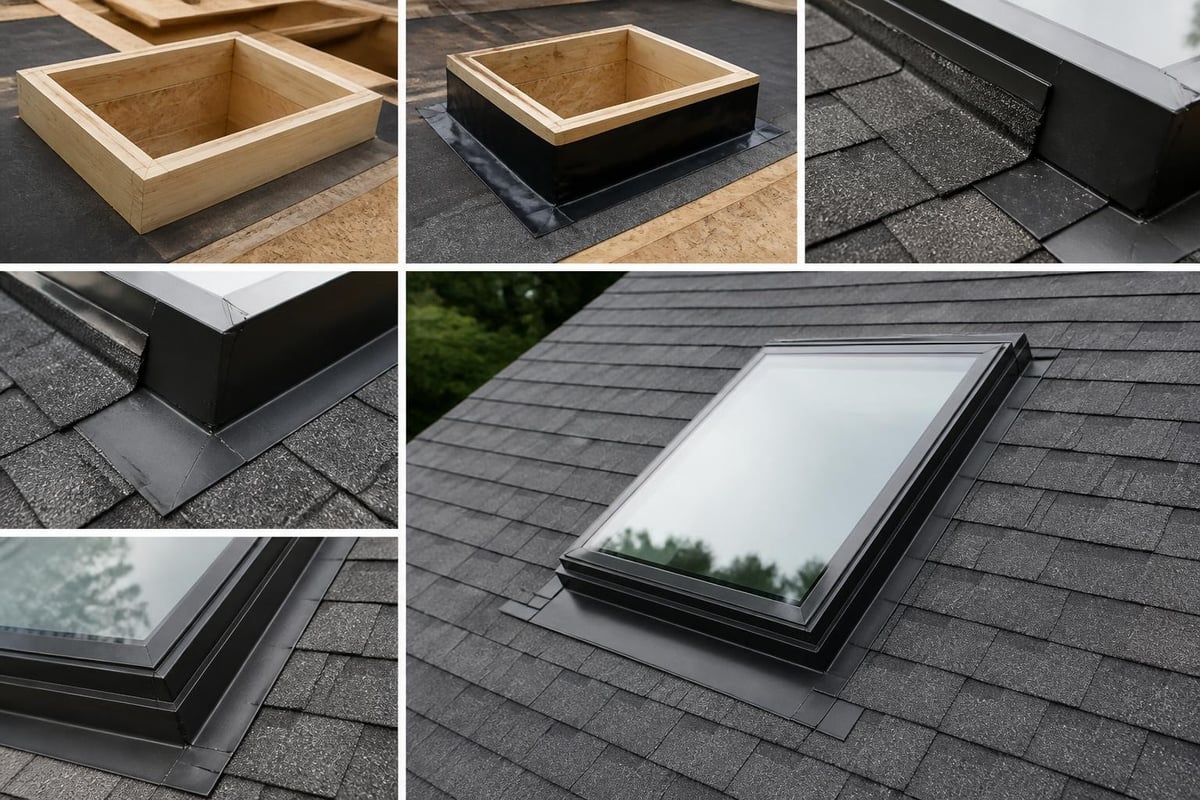
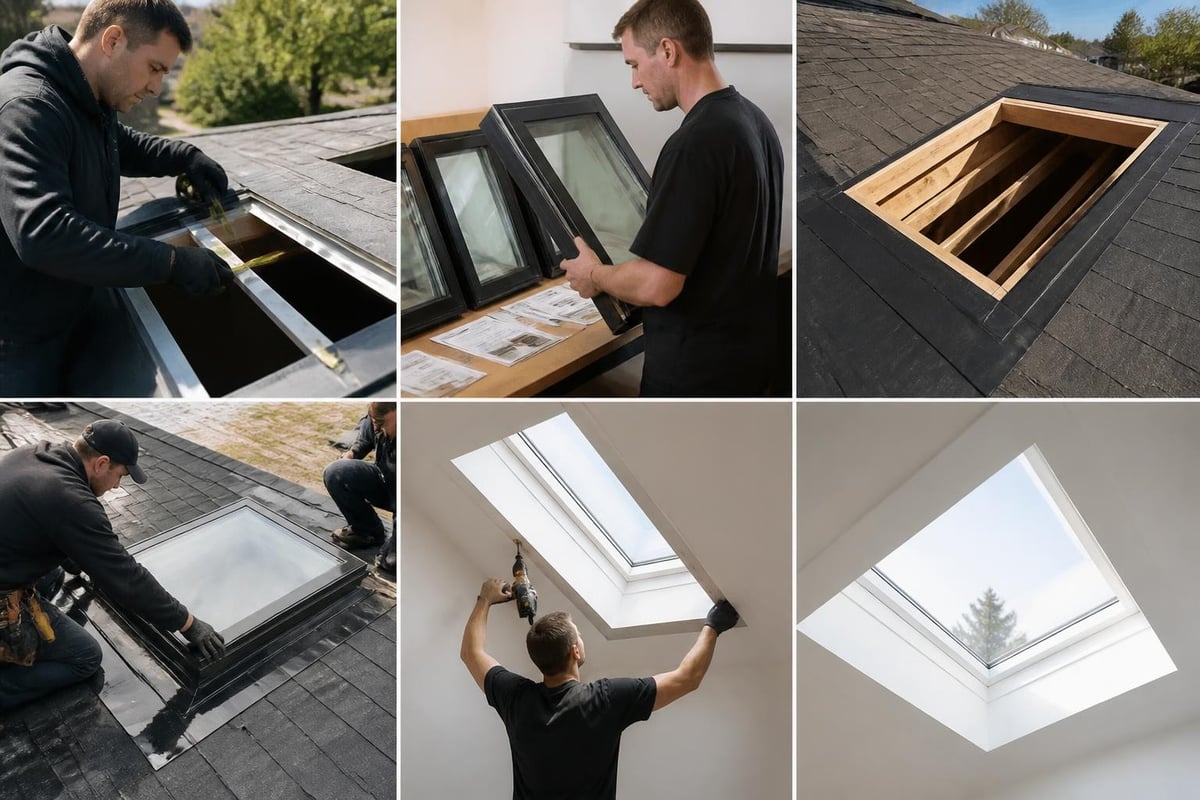
Most skylights mount on a curb-a raised wooden frame built into the roof opening. The curb elevates the skylight above the roof plane, allowing water to shed properly and creating room for flashing layers.
When replacing a skylight, you'll either reuse the existing curb or build a new one. Reusing saves labor costs but only works if the curb is structurally sound, properly sized for the new unit, and has adequate height (minimum 4 inches above the roof surface).
Building a new curb ensures proper dimensions and eliminates hidden rot or insect damage. It also allows you to increase curb height if your roof has low slope or if ice damming has been an issue.
Flashing Systems
Flashing creates a weathertight seal between the skylight and roof. It must handle water flowing from above, redirect it around the unit, and prevent wind-driven rain from entering.
A complete skylight flashing system includes:
- Base flashing: Attaches to the curb and lays over the roof deck
- Step flashing: Interwoven with shingles along the sides
- Counter flashing: Covers the step flashing and creates the final water barrier
- Head flashing: Installed at the top, tucked under shingles above
Many manufacturers provide pre-fabricated flashing kits sized for their skylights. These kits ensure compatibility and proper overlap sequences. The Building America Solution Center guide on skylight replacement provides detailed flashing installation steps and common failure modes to avoid.
Some contractors still use field-fabricated flashing, which requires careful measurement and metal-working skill. Either approach works when done correctly, but factory kits reduce the chance of dimensional errors.
Roof Membrane Considerations
For homes with a steep-slope asphalt shingle roof, standard skylight flashing integrates directly with the shingle courses. The installer removes shingles around the opening, installs the curb and flashing, then reinstalls or replaces shingles to overlap the flashing edges.
If your home has a low-slope roof with membrane roofing (TPO, EPDM, modified bitumen), skylight installation requires specialized membrane flashing details. The skylight curb flashing must bond to the roof membrane with compatible adhesives or heat welding. This work demands roofing expertise beyond basic skylight installation.
Coastal homes occasionally use metal roofing. Metal roof skylight installations require custom flashing fabricated to match roof panel profiles and expansion characteristics. Not all skylight installers have metal roofing experience, so verify qualifications before starting.
Cost Factors and Budgeting
Skylight replacement costs vary based on skylight type, size, roof access, and complexity. Understanding these factors helps you set realistic expectations.
Material Costs
Basic fixed skylights in standard sizes (22×46 inches, 30×46 inches) start around $400 to $600 for quality units with insulated glass. Larger sizes, venting mechanisms, or premium features like solar-powered shades increase material costs to $1,500 or more per unit.
Custom sizes, uncommon shapes, or specialty glass (tinted, frosted, impact-rated) add cost. Tubular skylights, which channel light through a reflective tube to interior rooms, cost $400 to $800 installed for standard 10-inch or 14-inch diameter models.
Installation Labor
Professional installation typically runs $500 to $1,000 per skylight depending on roof pitch, accessibility, and whether you're replacing an existing unit or cutting a new opening. Steep roofs, multi-story homes, and difficult access increase labor time and safety equipment requirements.
Replacing an existing skylight in the same opening costs less than cutting a new opening, which requires additional framing, decking work, and interior finishing. Most replacements reuse the existing roof opening and curb when possible.
| Project Scope | Material Cost | Labor Cost | Total Range |
|---|---|---|---|
| Replace existing fixed skylight | $400-$800 | $500-$800 | $900-$1,600 |
| Replace with venting skylight | $800-$1,500 | $600-$1,000 | $1,400-$2,500 |
| New skylight opening (fixed) | $400-$800 | $800-$1,500 | $1,200-$2,300 |
| New skylight opening (venting) | $800-$1,500 | $1,000-$2,000 | $1,800-$3,500 |
Additional Considerations
Some skylight replacements require interior work. If the existing skylight shaft has damaged drywall from leaks, or if you're changing skylight size, expect drywall repair and painting costs of $300 to $800.
Replacing multiple skylights in a single project reduces per-unit installation costs through efficiency. If you have several aging skylights, bundling replacements saves money compared to addressing them individually over several years.
For homeowners dealing with storm damage, insurance may cover skylight replacement if wind or hail caused the failure. Starting with a roof report documents damage and helps support your claim with clear findings and photos.
Timing and Contractor Selection
Scheduling skylight replacement during favorable weather and choosing an experienced contractor ensures quality results.
Best Season for Replacement
Skylights can technically be replaced year-round, but dry weather reduces complications. Spring and fall offer moderate temperatures and lower rainfall probability, making installation faster and safer.
Summer heat makes attic work uncomfortable but provides long daylight hours and minimal rain delays. Winter replacement works in coastal North Carolina's mild climate but requires careful monitoring of weather forecasts. Never install skylights with rain in the immediate forecast, as the open roof penetration invites water intrusion.
Contractor Qualifications
Skylight replacement sits at the intersection of roofing and window installation. You want a contractor experienced with both disciplines.
Look for:
- Roofing license and insurance: Required for roof work in North Carolina
- Manufacturer training: Many skylight makers offer installer certification programs
- References with similar projects: Ask to see photos of completed skylight installations and speak with recent customers
- Detailed written estimates: Should specify skylight model, flashing type, curb work, and warranty coverage
Avoid contractors who pressure you toward skylights significantly larger than the existing unit without explaining structural or energy implications. Larger openings may require additional roof framing, impact room heating and cooling loads, and increase glare.
Warranty Coverage
Quality skylights come with separate warranties for the glazing, frame, and flashing components. Typical coverage includes:
- Glass seal warranty: 10 to 20 years against seal failure causing interior condensation
- Frame warranty: 10 to 15 years against material defects
- Flashing warranty: Often tied to installation, 5 to 10 years against leaks
Installation workmanship warranties vary by contractor. Expect at least a one-year labor warranty covering leaks and installation defects. Some contractors offer longer coverage, particularly when using manufacturer-approved installation methods and materials.
Read warranty terms carefully. Many exclude damage from severe weather, falling debris, or lack of maintenance. Coverage often requires registration within 30 to 90 days of installation.
Code Compliance and Permits
Skylight replacement typically requires a building permit, especially when changing size or cutting new openings. Even direct replacements may need permits in some jurisdictions.
Building Code Requirements
Skylights must meet energy code requirements under the International Energy Conservation Code or state-specific codes. These codes limit skylight area as a percentage of floor area and mandate minimum performance ratings.
For North Carolina residential construction, skylight U-factor and SHGC must meet values specified in the energy code. Choosing ENERGY STAR certified products ensures compliance in most cases.
Safety glazing requirements mandate tempered or laminated glass in skylights within certain distances of walking surfaces or in locations where human impact is possible. Your contractor should know which glazing type meets code for your installation.
Permit Process
Your contractor typically handles permit applications. The process includes submitting installation plans, product specifications, and proof of energy code compliance. Inspection occurs after installation to verify proper flashing, structural integrity, and code adherence.
Permit costs range from $50 to $200 depending on local jurisdiction. Skipping permits risks problems during home sales, creates liability if leaks or failures occur, and may void manufacturer warranties that require code-compliant installation.
Maintenance After Replacement
New skylights require minimal maintenance but periodic attention extends their service life and prevents small issues from becoming major repairs.
Regular Inspection Schedule
Check skylights twice yearly, ideally in spring and fall. Look for:
- Cracks or chips in the glazing
- Gaps in flashing or sealant
- Water stains on interior ceiling or shaft walls
- Condensation between glass panes (indicates seal failure)
- Debris accumulation in curb corners
After major storms, inspect for impact damage, displaced flashing, or new leaks. Coastal homeowners should look for salt buildup on exterior surfaces, which can accelerate corrosion of metal components.
Cleaning and Care
Clean skylight glass annually with mild soap and water. Avoid abrasive cleaners or rough scrubbing that scratches protective coatings. For exterior cleaning on steep roofs, hire professionals with proper safety equipment.
Remove leaves and debris from curb areas where they can trap moisture against flashing. Trim overhanging branches that drop debris or contact the skylight during wind events.
Venting skylights need occasional lubrication of hinges and operators. Follow manufacturer guidelines for approved lubricants that won't damage seals or finishes.
When to Call for Service
Contact a roofing professional if you notice active leaks, visible daylight around the frame perimeter, excessive interior condensation, or difficulty operating venting mechanisms. Small problems caught early usually cost $200 to $500 to repair. Ignored issues lead to water damage costing thousands.
The Whole Building Design Guide resources on windows and glazing offers additional guidance on skylight maintenance and performance monitoring, particularly for homeowners interested in optimizing daylighting and energy performance.
Common Mistakes to Avoid
Learning from common skylight replacement errors helps you get better results and avoid unnecessary costs.
Wrong Size Selection
Installing a skylight significantly larger than the original without considering structural and thermal impacts creates problems. Larger openings may require additional roof framing and increase heat gain. They also change room brightness levels, potentially creating glare issues.
If you want more natural light, consider adding a second skylight rather than dramatically increasing size. This distributes light more evenly and maintains structural integrity.
Ignoring Ventilation Impact
Adding a fixed skylight where a venting unit existed eliminates natural ventilation. This matters most in bathrooms and kitchens where moisture control depends on air movement. If replacing a venting unit, strongly consider maintaining that capability or adding mechanical ventilation.
Cheapest Bid Selection
Skylight replacement quality depends heavily on installation skill. The lowest bid often comes from contractors cutting corners on flashing details, using inferior materials, or lacking proper insurance. Price matters, but verify credentials and references before deciding.
A quality installation costs slightly more upfront but prevents leak repairs, callbacks, and premature failure. For most homeowners, mid-range bids from licensed, insured contractors with verifiable experience deliver the best value.
Mismatched Flashing Materials
Mixing incompatible metals in flashing assemblies causes galvanic corrosion. Aluminum skylight curbs shouldn't use copper flashing. Steel flashing requires paint or coating to prevent rust, especially in coastal environments with salt exposure.
Follow manufacturer specifications for flashing materials. When in doubt, ask your contractor to explain material choices and compatibility.
Performance Expectations
Understanding what to expect after skylight replacement helps you evaluate results and know if something isn't working correctly.
Light Quality Changes
New skylights with low-E coatings and modern glass may transmit light differently than old units. The color temperature shifts slightly cooler, and intensity may change due to different visible transmittance values.
Most homeowners adapt within days, but if light levels seem drastically different, verify the installer used the specified glazing. Some contractors substitute products without informing the homeowner.
Temperature Comfort
You should notice immediate improvement in temperature comfort near the skylight. The area directly beneath should feel similar to the surrounding room rather than noticeably warmer or cooler.
Condensation on interior glass should disappear under normal conditions. Occasional condensation during extreme temperature differentials can occur but shouldn't be persistent.
Noise Reduction
Quality skylights with insulated glass reduce external noise compared to single-pane units. Rain noise decreases, though you'll still hear heavy downpours on any skylight. If rain noise seems excessive, check that the installer used the specified glazing thickness and construction.
For additional guidance on skylight performance standards and testing methods, the ASHRAE Handbook chapter on fenestration provides authoritative technical details on thermal performance, condensation resistance, and structural requirements.
Skylight replacement improves your home's energy performance, comfort, and appearance when done right, but it requires careful product selection and skilled installation. Whether you're addressing leaks, upgrading efficiency, or simply replacing an aging unit, understanding your options helps you make decisions that fit your home and budget. If you're in Eastern North Carolina and need guidance on skylight replacement as part of a larger roofing project, or if you're dealing with storm damage and want documentation for insurance, NC Roofs can help you understand what's happening with your roof and what makes sense for your situation.