A roof leak fix doesn't always mean you need a complete roof replacement. Most leaks can be repaired if you catch them early, understand what's causing the problem, and know whether to handle it yourself or bring in professional help. For homeowners in coastal North Carolina, where storms and wind-driven rain are regular visitors, knowing how to respond to a leak can save you from serious water damage, mold growth, and expensive structural repairs. This guide walks through the practical steps to find, assess, and repair roof leaks based on what actually works in real-world situations.
Understanding Where Roof Leaks Actually Start
Most people assume a water stain on the ceiling means the leak is directly above that spot. That's rarely true. Water enters through one point on the roof, travels along rafters or sheathing, and finally drips down somewhere else entirely. Finding the source of a roof leak requires tracing the water path backward, which often means climbing into the attic during or right after a rain event.
Common Entry Points
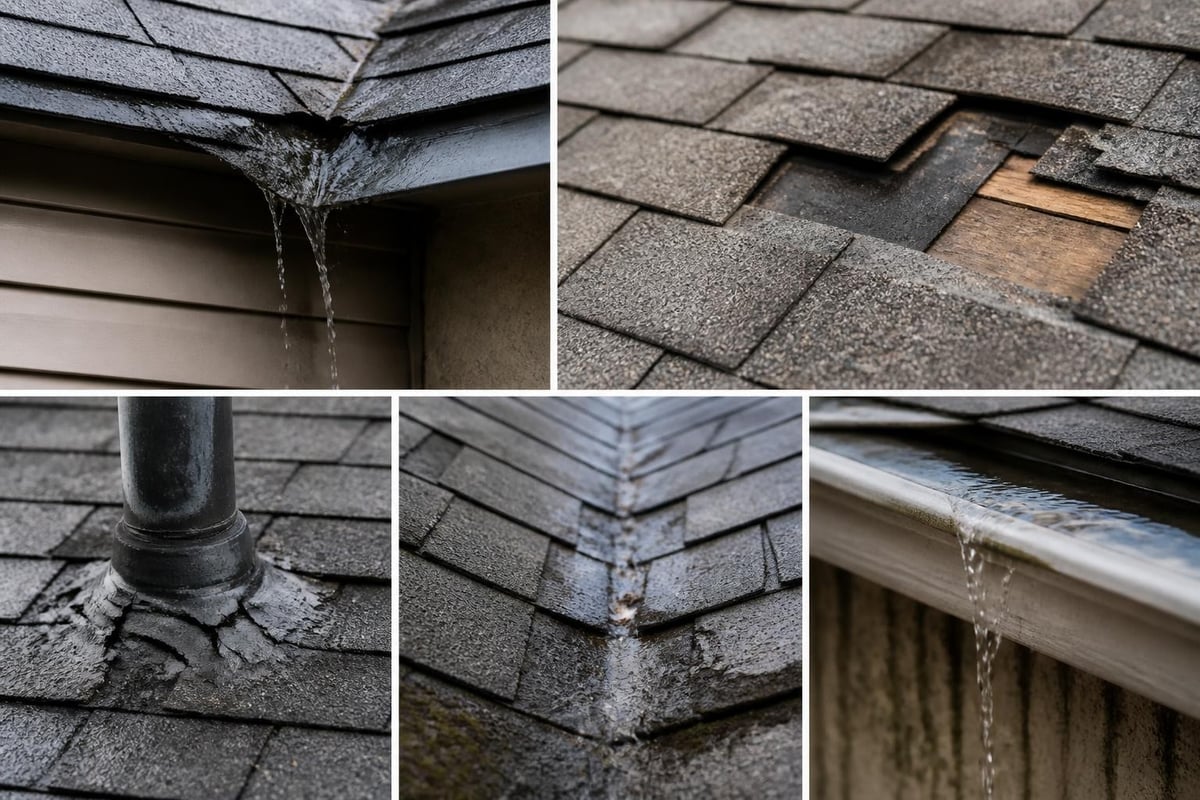
Roof leaks typically start in predictable places:
- Flashing around chimneys and vents: Metal flashing deteriorates, cracks, or pulls away from the seal
- Shingle damage: Missing, cracked, or curled shingles expose the underlayment
- Valley areas: Where two roof planes meet, debris and improper installation create weak points
- Roof penetrations: Skylights, satellite dishes, and exhaust vents break the roof's continuous barrier
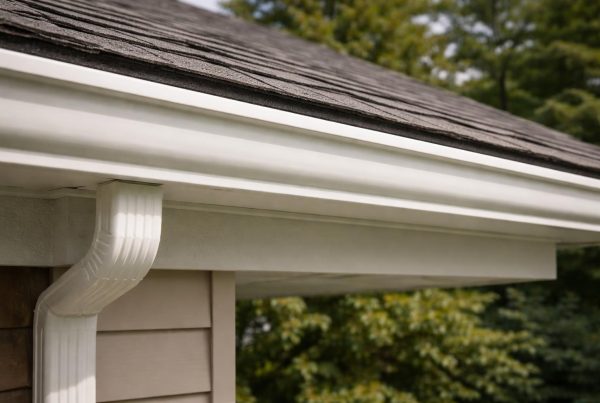
- Gutter problems: Clogged gutters push water under the roof edge instead of away from the home
Wind-driven rain in coastal areas like Wilmington and Surf City can force water into places it wouldn't normally reach. A roof that performs fine in calm weather might leak during nor'easters when rain comes sideways.
The Attic Investigation
Your attic tells the real story. Go up there with a flashlight during daylight hours and look for:
- Water stains on rafters or sheathing
- Visible daylight coming through holes
- Wet insulation or dark spots
- Mold or mildew growth
Mark the problem areas with tape or a photo so you can locate them from the outside. Measure from fixed reference points like chimneys or vents to help identify the exact spot once you're on the roof.
Immediate Steps for a Roof Leak Fix
When you discover active water coming into your home, containing the damage comes first. Speed matters because water spreads quickly through insulation and drywall.
Interior Damage Control
- Move furniture and valuables away from the leak area immediately
- Place buckets or containers to catch dripping water and prevent floor damage
- Poke a small hole in bulging ceiling areas to release trapped water in a controlled way
- Run a dehumidifier in affected rooms to prevent mold growth
- Document everything with photos for insurance purposes if needed
These steps won't fix the leak, but they minimize secondary damage while you arrange a permanent roof leak fix.
| Immediate Action | Purpose | Timeline |
|---|---|---|
| Contain water flow | Prevent spreading damage | Within minutes |
| Document damage | Support insurance claims | Within hours |
| Dry affected areas | Stop mold growth | Within 24-48 hours |
| Locate source | Enable effective repair | Within days |
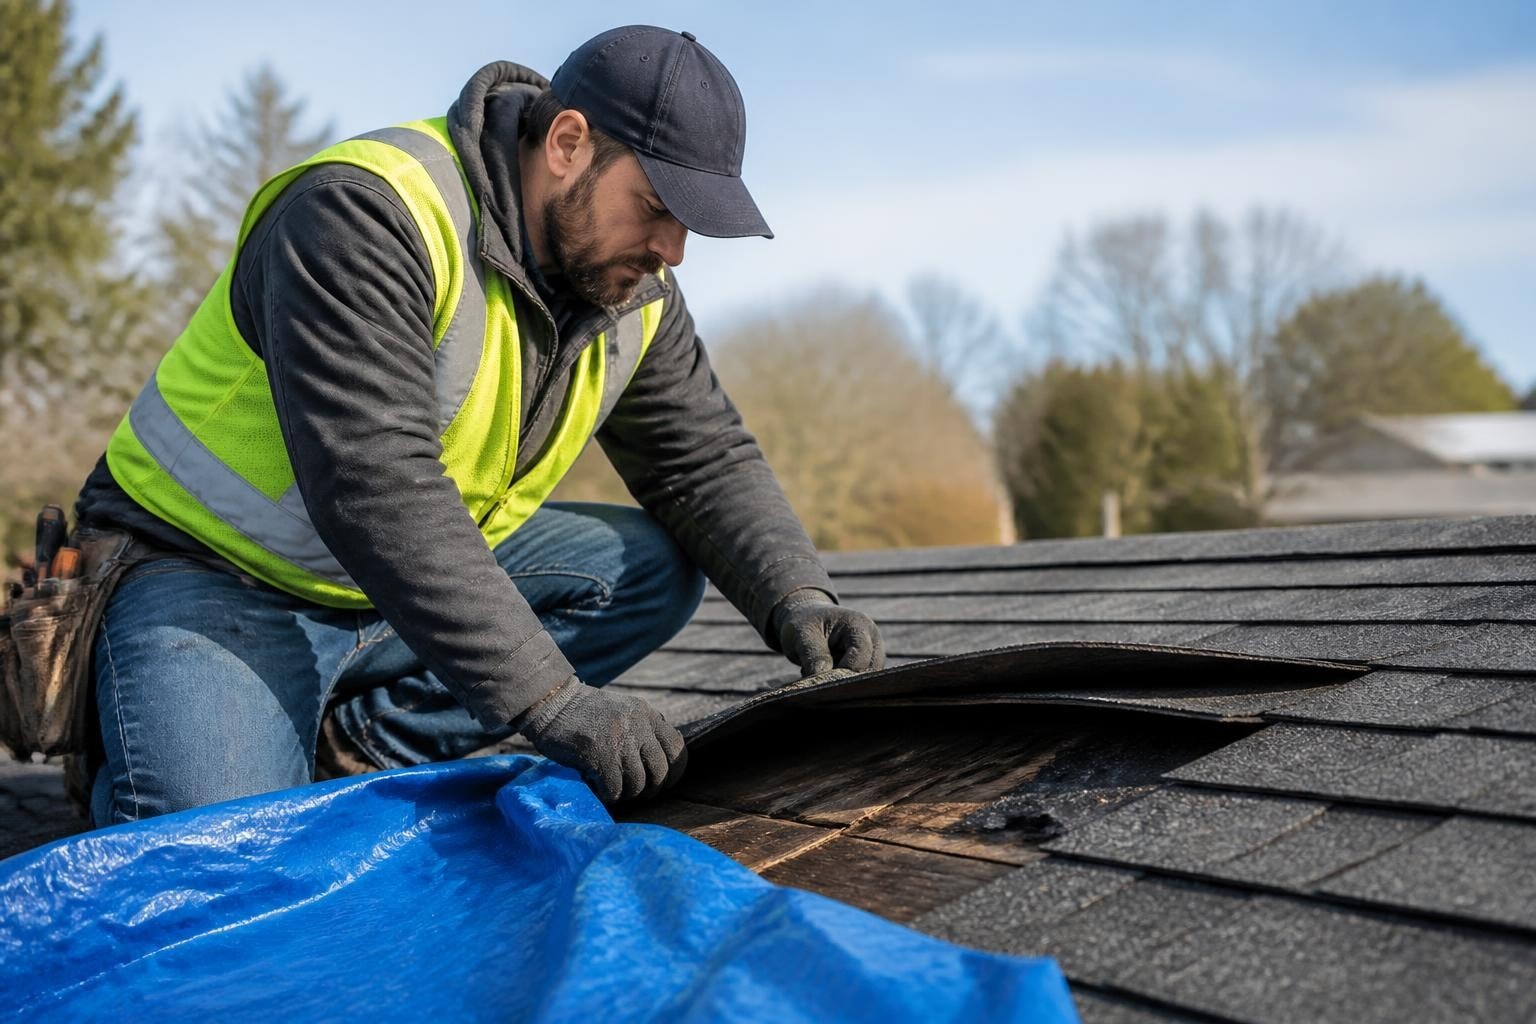
Temporary Exterior Patches
If weather permits safe roof access, temporary measures can buy you time until proper repairs happen. Use these only as short-term solutions:
Roofing tarps work when the leak area is large or conditions prevent immediate repair. Extend the tarp over the ridge so water runs off both sides, and weigh it down with sandbags, not nails that create more holes.
Roof sealant applied around flashing or small damaged areas can stop minor leaks temporarily. Choose products rated for your roof type and apply them to completely dry surfaces for proper adhesion.
Emergency patches using roofing cement and a piece of shingle can cover small holes. This works best on asphalt shingle roofs when the damaged area is limited to one or two shingles.
Remember that coastal humidity in Eastern North Carolina means surfaces take longer to dry. Don't apply sealants or patches to wet materials, they won't bond properly and the leak will return.
Permanent Roof Leak Fix Solutions
The right permanent solution depends entirely on what's causing the leak and the overall condition of your roof. A five-year-old roof with isolated damage needs different treatment than a twenty-year-old roof showing wear across multiple areas.
Flashing Repairs
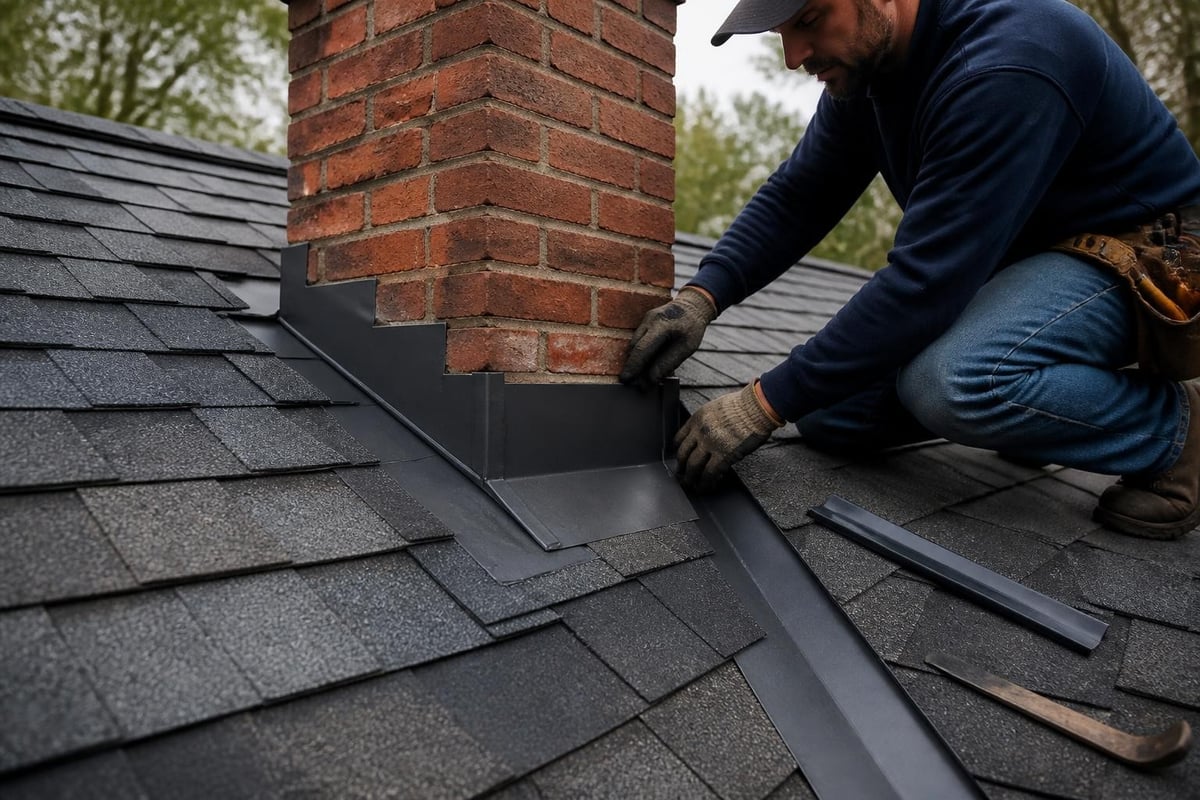
Flashing failures account for a significant portion of roof leaks. Repairing roof leaks around flashing typically involves removing the old sealant, repositioning or replacing the metal, and creating a new weathertight seal.
Chimney flashing has multiple layers: step flashing along the sides, counter flashing embedded in mortar joints, and apron flashing across the front and back. When this system fails, water runs down the chimney into your home. Proper repair requires removing some shingles, installing new step flashing pieces, and sealing everything with appropriate materials.
Vent pipe flashing uses a rubber boot around the pipe that cracks and deteriorates over time. Replacing the boot is straightforward: remove surrounding shingles, pull out the old flashing, slide the new unit in place, and reinstall shingles over the base. The entire job takes under an hour for an experienced roofer.
Valley flashing problems require more extensive work since valleys handle high water volume. Some older roofs used woven valleys where shingles interlock, while modern installations use metal channels. If the valley design is fundamentally flawed or the metal has corroded through, section replacement becomes necessary.
Shingle Replacement
Individual shingle damage allows for targeted repairs without touching the rest of the roof. The process involves:
- Lifting surrounding shingles carefully to avoid breaking them
- Removing nails from the damaged shingle
- Sliding out the old piece
- Installing the new shingle to match the existing pattern
- Sealing nail heads and edges with roofing cement
Matching replacement shingles to your existing roof can be challenging. Older shingles have weathered and faded, so new ones look noticeably different even if they're the same product. Some roofers keep leftover materials from past jobs to help with this, but perfect matches aren't always possible.
Multiple damaged shingles in one area might indicate a bigger problem. If you're replacing more than 10-15 shingles in a concentrated section, investigate whether the underlayment has also failed or whether structural issues are causing shingles to lift or crack.
For homeowners in coastal communities dealing with recurring storm damage, roof repair services can provide a detailed assessment of whether localized fixes make sense or whether the damage pattern suggests it's time for broader action.
Preventing Future Roof Leaks
A successful roof leak fix addresses current damage, but prevention keeps problems from returning. Understanding common causes of roof leaks helps you spot issues before water enters your home.
Regular Maintenance Schedule
Twice-yearly inspections catch small problems early. Check your roof in spring after winter storms and in fall before hurricane season. Look for:
- Loose or missing shingles
- Cracked or separated flashing
- Granule loss in gutters (indicates shingle wear)
- Moss or algae growth holding moisture
- Damaged or missing ridge caps
Gutter cleaning prevents water backup that forces moisture under shingles. Coastal homes near trees need quarterly cleaning, especially after fall leaf drop and spring pollen season. Clogged gutters don't just leak at the gutter line; they cause ice dams in rare cold snaps and push water into soffit and fascia boards.
Tree trimming keeps branches from abrading shingles during wind events. Overhanging limbs also drop debris that traps moisture and creates rot. Maintain at least six feet of clearance between branches and your roof surface.
Proactive Upgrades
Some roof leak fixes present opportunities to upgrade vulnerable areas:
| Upgrade | Benefit | Best For |
|---|---|---|
| Ice and water shield | Extra protection along edges and valleys | Storm-prone areas |
| Ridge vent installation | Reduces attic moisture and heat | Homes with poor ventilation |
| Drip edge replacement | Prevents water from wicking under shingles | Older roofs without proper edge metal |
| Sealed decking | Adds secondary water barrier | High wind exposure zones |
Attic ventilation improvements reduce moisture buildup that rots sheathing from the inside. Balanced intake (soffit vents) and exhaust (ridge or gable vents) keeps air moving and temperatures moderate. Condensation on the underside of roof sheathing causes damage identical to external leaks, but it's entirely preventable with proper airflow.
Proper insulation works with ventilation to manage moisture. Warm interior air hitting cold sheathing creates condensation. Adequate insulation keeps that warm air from reaching the sheathing in the first place.
When to Call a Professional
Some roof leak fix situations require professional equipment, expertise, or safety measures that go beyond DIY capability. Knowing when to step back prevents injuries and ensures repairs actually solve the problem.
Safety Considerations
Roof work involves genuine danger:
- Height risks: Falls from roofs cause serious injuries and deaths every year
- Slippery conditions: Coastal humidity and morning dew make shingles treacherous
- Steep pitches: Anything over a 6/12 pitch becomes difficult for non-professionals
- Storm damage: Unstable sections, hidden weak spots, and compromised structure
- Electrical hazards: Power lines near the roof edge
If you're not completely comfortable and equipped with proper fall protection, hire someone who does this every day.
Complex Repair Situations
Certain problems need professional attention regardless of your skill level:
Structural damage from long-term leaks affects rafters, sheathing, or trusses. These repairs require engineering knowledge to ensure the fix doesn't compromise roof integrity. You might see sagging sections, soft spots when walking the roof, or visible rot in attic framing.
Multi-layer tear-offs happen when a roof leak fix requires removing multiple old roof layers before installing proper repairs. This work generates debris, requires disposal, and often reveals additional problems once old materials come off.
Insurance claims benefit from professional documentation. Adjusters want detailed assessments, proper terminology, and clear evidence of damage. A documented roof report explaining what failed, why it failed, and what needs replacement helps claims process smoothly. Learn more about this at NC Roofs.
Full system failures show up as multiple simultaneous leaks across different roof areas. This pattern suggests the entire roof has reached the end of its serviceable life. Common causes of widespread roof leaks include age-related deterioration, improper original installation, and inadequate underlayment.
Coastal-Specific Leak Issues
Living near the ocean in Hampstead, Topsail, or Surf City brings unique roofing challenges that affect how you approach a roof leak fix.
Wind-Driven Rain
Standard installation methods assume rain falls more or less straight down. Coastal storms push water horizontally, forcing it under shingles that would normally shed vertical rain without issue. This means:
- Seal lines matter more: Every shingle edge needs proper adhesive bonding
- Underlayment becomes critical: Secondary barriers catch what gets past shingles
- Flashing details change: Coastal installations often use additional sealant beyond standard practice
Homes experiencing leaks only during certain wind directions might have localized installation gaps that need extra attention.
Salt Air Deterioration
Salty air accelerates metal corrosion. Flashing, nails, and ventilation components deteriorate faster near the coast than inland. A roof leak fix in coastal areas often reveals rusted flashing that looks intact from the ground but crumbles when touched.
Stainless steel or coated fasteners cost more initially but last significantly longer in salt environments. When replacing flashing or making repairs, upgrade to corrosion-resistant materials rather than repeating the same failure cycle.
Hurricane Preparation
Annual hurricane season makes leak prevention essential:
- Inspect and repair before June 1st when the season officially begins
- Clear debris from roof valleys and gutters so water evacuates quickly
- Check sealants around all penetrations and flashing points
- Trim trees so broken branches don't puncture shingles during storms
- Document condition with photos for insurance baseline
Post-storm inspections catch new damage before the next rain event. Wind can lift shingle edges without removing them entirely, creating entry points for water during the following storm.
Cost Considerations for Roof Leak Fixes
Understanding repair costs helps you make informed decisions about what to fix, when to fix it, and whether repair makes more sense than replacement.
Typical Repair Ranges
| Repair Type | Typical Cost | Factors Affecting Price |
|---|---|---|
| Single shingle replacement | $100-$300 | Access difficulty, shingle match |
| Vent boot replacement | $150-$400 | Number of vents, roof pitch |
| Valley repair | $300-$800 | Length, material choice |
| Chimney flashing | $400-$1,200 | Chimney size, condition |
| Small leak patch | $200-$500 | Location, extent of damage |
These ranges represent typical scenarios in the Eastern North Carolina market for 2026. Prices vary based on roof height, pitch, accessibility, and the specific materials your roof requires.
Repair vs. Replace Decision
A roof leak fix makes financial sense when:
- Damage is localized to one or two areas
- The roof is relatively young (under 12-15 years typically)
- Surrounding materials are in good condition without widespread wear
- Repair cost is under 25% of replacement cost
Replacement makes more sense when:
- Multiple areas need attention across different roof sections
- The roof is approaching typical lifespan (20+ years for asphalt shingles)
- Granule loss is significant and widespread
- Repairs keep recurring in different spots every year
Get an honest assessment from a roofer who explains both options. Companies that push replacement for minor issues aren't serving your interests. Conversely, those suggesting repair when the whole roof is failing are setting you up for repeated service calls.
Insurance and Documentation
Most homeowners insurance covers sudden damage (storm events) but not gradual deterioration. When pursuing a claim:
- Document the damage immediately with dated photos
- Note the date the leak first appeared
- Keep receipts for any emergency repairs
- Get professional assessment before filing
Insurance adjusters look for evidence that damage came from a specific covered event rather than deferred maintenance. A roof that's been leaking slowly for months due to worn-out materials won't generate the same claim response as fresh storm damage to otherwise sound materials.
DIY Roof Leak Fix Techniques
For homeowners comfortable working at heights with proper safety equipment, some repairs are manageable without professional help.
Tools and Materials Needed
- Safety equipment: Harness, rope, sturdy ladder rated for your weight plus tools
- Hand tools: Pry bar, hammer, utility knife, caulk gun
- Materials: Replacement shingles, roofing nails, roofing cement, flashing if needed
- Protective gear: Non-slip shoes, gloves, eye protection
Never work on a roof alone. Have someone present who can call for help if needed.
Step-by-Step Shingle Replacement
- Wait for dry weather with temperatures above 50°F so shingles are pliable
- Use the pry bar to carefully lift shingles above the damaged one
- Remove nails holding the damaged shingle (typically four nails)
- Slide out the old shingle and inspect the underlayment for damage
- If underlayment is torn, patch it with roofing cement before proceeding
- Slide the new shingle into position, aligning with neighbors
- Lift upper shingles and nail the replacement through the adhesive strip
- Apply small dabs of roofing cement under lifted shingles and press down
- Seal nail heads with roofing cement to prevent water entry
The job is straightforward in concept but requires attention to detail. Shingles must lie flat without bumps, seal lines must align, and nails must go through designated spots rather than random placement.
When DIY Isn't Worth It
Even if you're capable, some situations favor professional work:
- Time constraints: Leaks need quick resolution, and professional crews finish faster
- Matching materials: Roofers can often source discontinued shingles or better matches
- Warranty concerns: DIY repairs might void existing workmanship warranties
- Hidden damage: Professionals can assess related issues you might miss
The money saved on a DIY roof leak fix matters less than getting it done correctly. A repair that fails during the next storm costs more than hiring professionals the first time.
Understanding how to approach a roof leak fix gives you confidence when water appears where it shouldn't. Whether you tackle simple repairs yourself or bring in professionals for complex situations, knowing what's actually happening with your roof leads to better decisions. If you're dealing with a leak in the Hampstead, Wilmington, or Topsail area, NC Roofs provides honest assessments and clear recommendations focused on fixing what needs attention without unnecessary work.