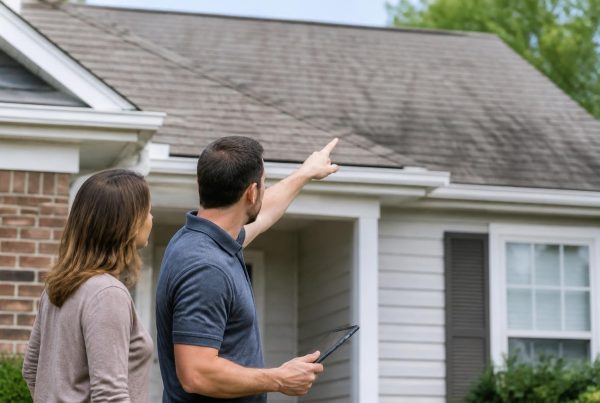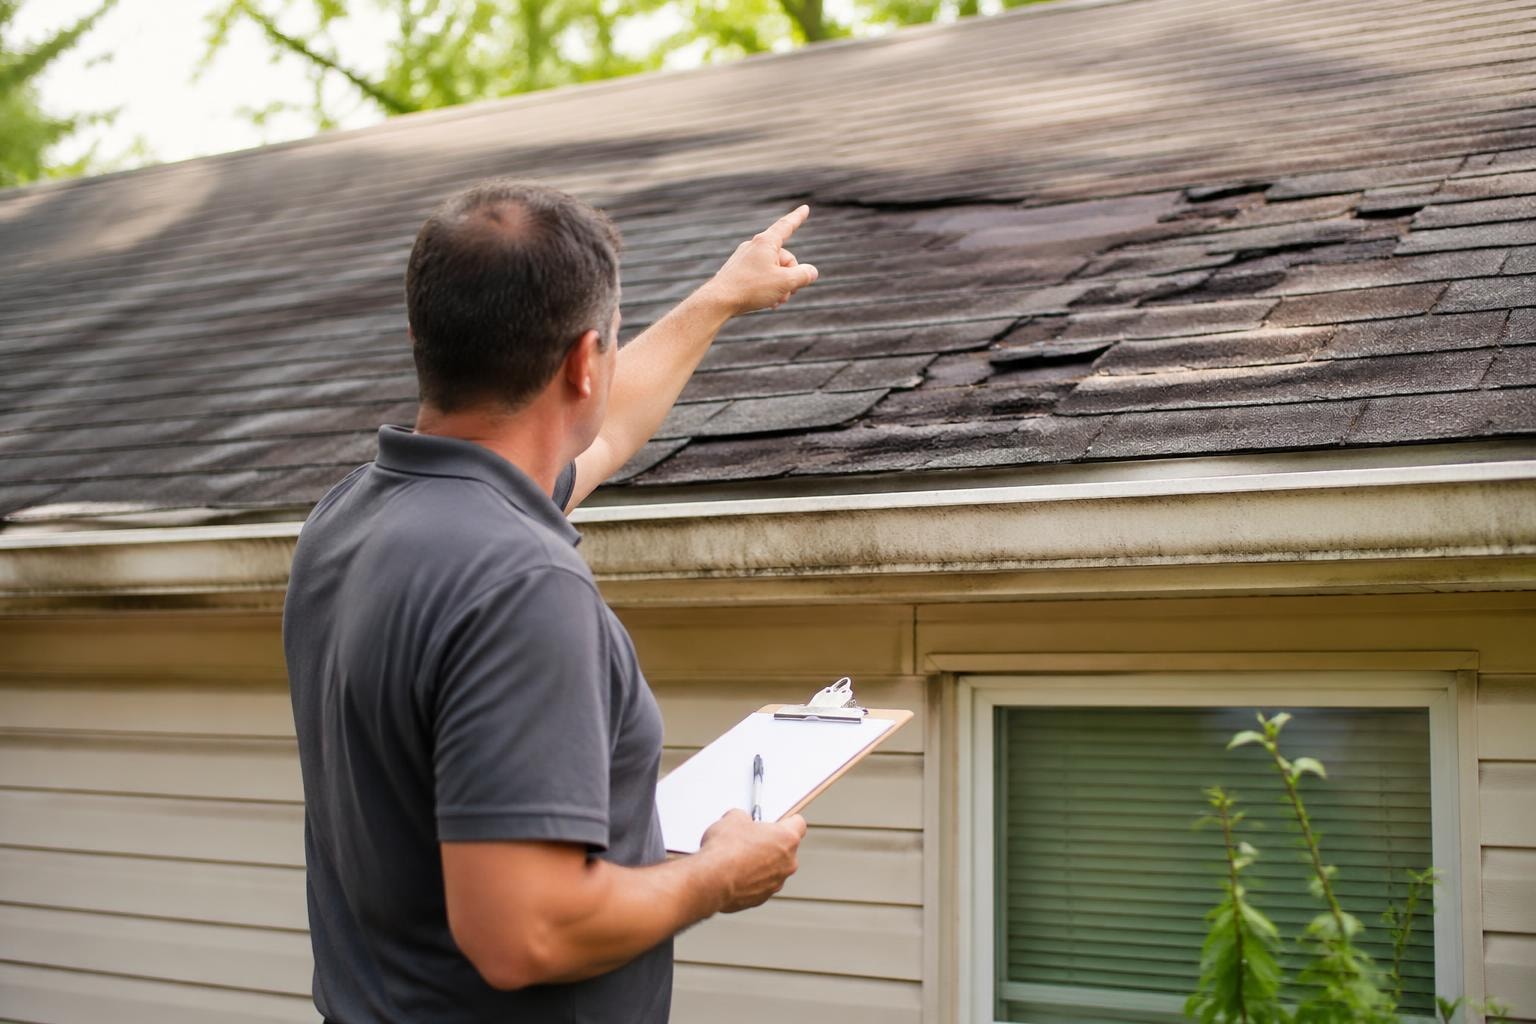
Shingle replacement is one of those home projects that sneaks up on you. One day your roof looks fine, the next you're noticing curling edges or missing pieces after a storm. For homeowners across Eastern North Carolina, understanding when to replace shingles and how to approach the project can save thousands of dollars and years of stress. This guide walks through everything you need to know about shingle replacement, from recognizing the signs to avoiding common mistakes contractors won't always mention.
When Shingle Replacement Makes Sense
Not every damaged shingle requires a full roof replacement. The scope of work depends on the extent of damage, the age of your roof, and what you're trying to accomplish.
Isolated Damage vs. Widespread Failure
If you have a handful of damaged shingles from a recent storm, targeted repairs often handle the problem. Roof repair focuses on fixing what actually needs attention without replacing the entire system. You might need shingle replacement in specific sections rather than across the whole roof.
Signs isolated repair is enough:
- Damage limited to one area or slope
- Roof is less than 15 years old
- No underlying decking problems
- Matching shingles are available
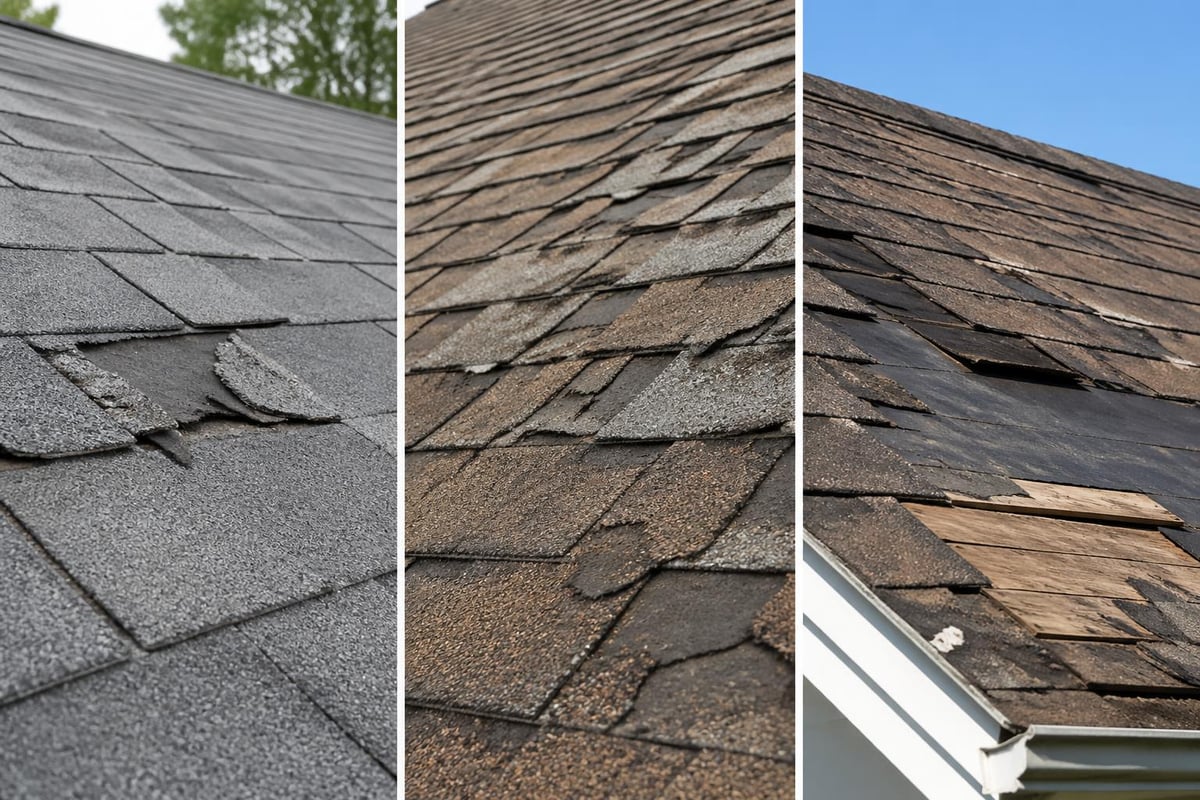
Widespread issues tell a different story. When you see curling, cracking, or granule loss across multiple sections, you're looking at age-related failure that won't improve with spot fixes.
Age and Material Lifespan
Most asphalt shingles last 20 to 30 years depending on quality and climate. If your roof is pushing 20 years and showing wear, shingle replacement becomes more cost-effective than repeated repairs.
| Shingle Type | Expected Lifespan | Replacement Trigger |
|---|---|---|
| 3-Tab Asphalt | 15-20 years | Widespread curling, granule loss |
| Architectural | 25-30 years | Multiple layers lifting, cracking |
| Premium Designer | 30-50 years | Structural damage, severe weather |
Eastern North Carolina's heat and humidity accelerate wear. A roof that might last 30 years in a cooler climate could need attention at 25 years here.
Common Shingle Replacement Mistakes
The difference between a roof that lasts decades and one that fails early often comes down to installation details. Common installation mistakes can compromise even quality materials.
Skipping Deck Inspection
Contractors who focus only on shingles miss half the story. The decking underneath supports everything. Water damage, rot, or sagging requires attention before new shingles go on.
What to check:
- Walk the attic looking for daylight through boards
- Check for soft spots or bounce when walking the roof
- Look for water stains on decking from below
- Verify spacing and attachment of existing deck boards
Ignoring deck problems means your new shingles sit on a compromised foundation. That leads to premature failure and wasted money.
Wrong Underlayment Choices
Underlayment provides a secondary water barrier beneath shingles. Many contractors default to basic felt paper because it's cheap. In 2026, better options exist for homes in humid climates.
Synthetic underlayment costs more upfront but handles moisture better and lasts longer. For Eastern North Carolina homes, this upgrade makes sense. As highlighted in common roof replacement mistakes, neglecting underlayment upgrades can shorten roof life significantly.
Improper Nail Placement
Each shingle needs four to six nails in specific locations. Too high, and wind lifts the shingles. Too low, and you create leak paths. Nails driven at angles or over-driven compromise holding power.
This isn't something you can easily verify after installation, which is why contractor selection matters. References and past work tell you more than price quotes.
The Shingle Replacement Process
Understanding what happens during shingle replacement helps you spot corners being cut and ensures the work meets standards.
Step 1: Preparation and Protection
Before any shingles come off, your property needs protection. Tarps catch debris, plywood protects landscaping, and magnetic rollers pick up nails. Dumpsters should be positioned close to minimize hauling across your yard.
Step 2: Tear-Off and Inspection
Removing old shingles reveals what's underneath. This is when contractors discover problems that weren't visible from the ground.
- Strip shingles down to the deck
- Remove old nails and clean the surface
- Inspect every section of decking
- Replace damaged or rotted boards
- Check flashing around chimneys and vents
Most Eastern North Carolina homes built before 2000 have at least some deck boards that need replacement. Budget for this.
Step 3: New Underlayment Installation
Quality underlayment goes down in overlapping rows from bottom to top. Seams should be sealed, and the material should lie flat without wrinkles.
Step 4: Shingle Installation
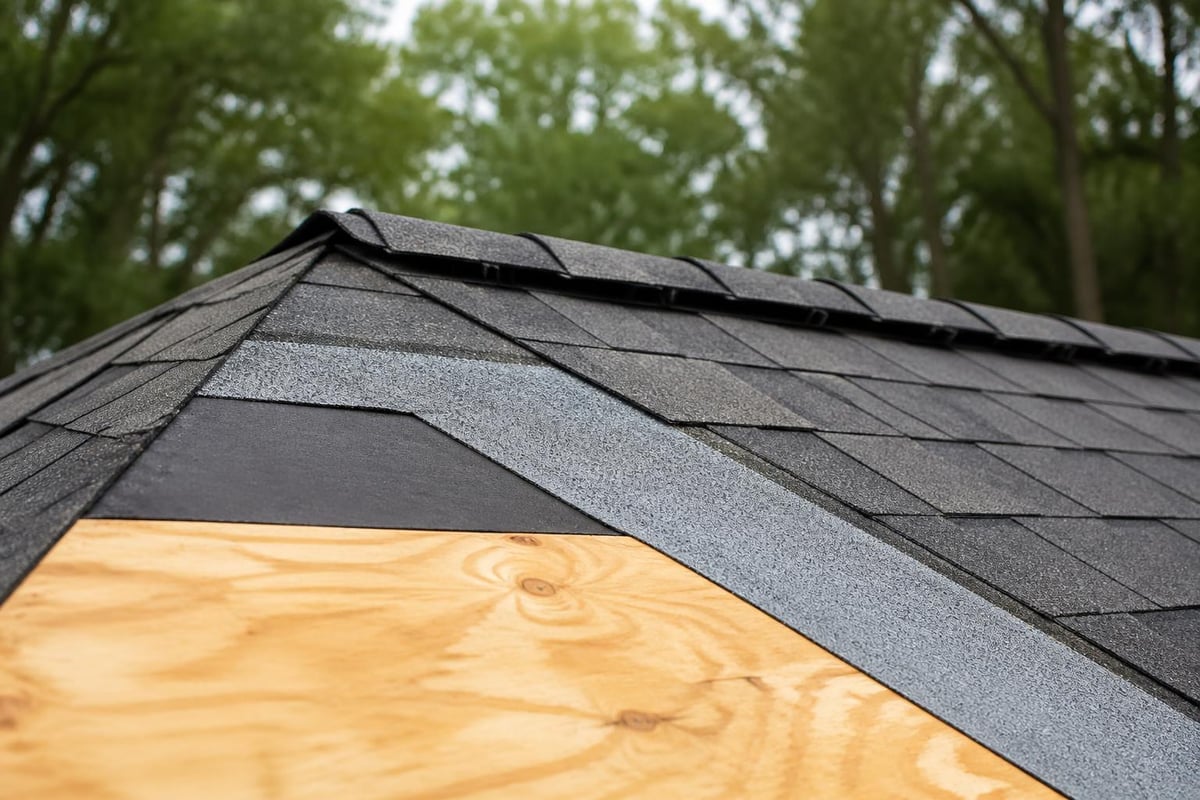
Starting at the eaves, shingles are installed in offset rows. Each course overlaps the one below, creating a waterproof barrier. Proper alignment prevents the crooked appearance that signals rushed work.
Critical installation details:
- Chalk lines ensure straight courses
- Starter strips at eaves prevent wind uplift
- Hip and ridge caps are properly overlapped
- Ventilation requirements are maintained
- Flashing is integrated, not added after
Step 5: Cleanup and Final Inspection
Professional crews clean as they go and perform a final magnetic sweep. You shouldn't find nails in your driveway weeks later. A walk-through with the contractor confirms all work meets your expectations.
Choosing Materials for Shingle Replacement
Material selection impacts both cost and longevity. Understanding options helps you make informed decisions rather than accepting whatever the contractor suggests.
Asphalt Shingle Options
Three-tab shingles are the budget choice. They work, but they look flat and don't last as long as architectural shingles. Architectural (also called dimensional or laminate) shingles cost 20-30% more but add curb appeal and years of life.
Premium designer shingles mimic the look of slate or cedar shake. They're beautiful but rarely necessary unless your neighborhood or home style demands them.
Color and Heat Considerations
Dark shingles absorb more heat, which matters in North Carolina. Lighter colors reflect sunlight and can reduce cooling costs. The difference isn't dramatic, but it adds up over decades.
Color selection factors:
- HOA requirements or restrictions
- Home exterior colors and style
- Resale value in your area
- Heat absorption in summer months
Color also affects how quickly shingles age. Darker shingles show granule loss and weathering sooner than lighter colors.
Warranty Coverage
Manufacturer warranties sound impressive until you read the fine print. A "lifetime" warranty often means 50 years, and coverage is prorated. After 10 years, you might get 60% coverage. After 20 years, maybe 30%.
| Warranty Type | What It Covers | What It Doesn't |
|---|---|---|
| Material | Manufacturing defects | Installation errors, weather damage |
| Workmanship | Contractor's labor | Material failure, acts of nature |
| Wind Resistance | Blow-offs up to rated speed | Damage from debris, improper installation |
Installation voids most manufacturer warranties if not done to spec. That's another reason proper technique matters more than cheap pricing.
Cost Factors in Shingle Replacement
Shingle replacement costs vary based on roof size, complexity, material choice, and local labor rates. Understanding what drives price helps you evaluate quotes fairly.
Material Costs
Asphalt shingles range from $90 to $150 per square (100 square feet) for basic options, up to $300 per square for premium products. A typical 2,000 square foot home needs 20-22 squares accounting for waste.
That puts material costs between $1,800 and $6,600 depending on quality. Add underlayment ($200-$600), flashing ($300-$500), and miscellaneous supplies ($200-$400).
Labor and Complexity
Labor typically runs 60% of total project cost. A simple ranch-style roof costs less per square foot than a multi-level home with valleys, dormers, and multiple roof planes.
Price-increasing factors:
- Steep pitch (over 6:12)
- Multiple stories requiring staging
- Extensive flashing around features
- Need for deck replacement
- Difficult material access
Eastern North Carolina's climate means most roofing happens spring through fall. Summer heat makes work harder, which some contractors factor into pricing.
Hidden Costs
Budget for unexpected expenses. Most shingle replacement projects uncover at least some additional work.
- Rotted fascia boards: $10-$20 per linear foot
- Deck replacement: $2-$4 per square foot
- Chimney flashing: $300-$800
- Skylight resealing: $200-$400 per skylight
- Upgraded ventilation: $300-$1,000
Getting clear pricing upfront prevents surprises. Ask contractors how they handle discovered issues and whether estimates include contingencies.
Selecting a Contractor for Shingle Replacement
Your contractor choice matters more than the shingle brand. Perfect materials installed poorly fail faster than average materials installed correctly.
Verification Steps
Start with licensing and insurance. North Carolina requires roofing contractors to be licensed. Verify the license is current and check for complaints with the licensing board.
Insurance should include both liability and workers' compensation. Ask for certificates and verify coverage directly with the insurance company. Don't accept "we're covered" as proof.
References and Past Work
Ask for addresses of jobs completed in the past year. Drive by and look at the work. Do courses run straight? Are ridge caps uniform? Does the property look clean, or are there leftover materials and nails?
Call references and ask specific questions:
- Did the crew show up on time?
- Was the site cleaned daily?
- Did they find unexpected issues, and how were they handled?
- Would you hire them again?
Written Estimates and Contracts
Everything should be in writing. Estimates should break down materials, labor, and specific scope. Contracts should include start dates, completion timelines, payment schedules, and warranty information.
Be wary of contractors who want large deposits upfront or full payment before completion. Standard practice is one-third down, one-third at tear-off, and final payment after inspection.
Top factors to consider when planning shingle roof replacement include evaluating contractor qualifications and getting detailed written agreements.

Timing Your Shingle Replacement
When you schedule shingle replacement affects both cost and quality. Weather, contractor availability, and material supply all play roles.
Best Seasons in Eastern North Carolina
Spring and fall offer ideal conditions. Temperatures are moderate, humidity is manageable, and rain is less frequent than summer. Shingles seal better in warm weather but not extreme heat.
Seasonal considerations:
- Spring (March-May): Good weather, high contractor demand
- Summer (June-August): Hot conditions, afternoon storms, mid-range availability
- Fall (September-November): Ideal temperatures, moderate demand, hurricane concerns
- Winter (December-February): Cold affects adhesive, low demand means better pricing
Booking early gives you better contractor selection and timing flexibility.
Emergency vs. Planned Replacement
Storm damage sometimes forces immediate action. If water is entering your home, temporary repairs prevent further damage while you plan proper shingle replacement.
For planned replacement based on age, you control timing. Waiting for the perfect season can be smart if the roof isn't actively failing.
Maintenance After Shingle Replacement
New shingles don't mean forgetting about your roof. Regular maintenance extends life and catches small problems before they become expensive.
Annual Inspections
Walk your property twice yearly looking for issues. From the ground, check for:
- Missing or damaged shingles
- Lifting edges or corners
- Granule accumulation in gutters
- Sagging or uneven sections
- Flashing separation around features
Binoculars help you inspect without climbing. If something looks wrong, bring in a professional rather than walking the roof yourself.
Gutter and Debris Management
Clean gutters prevent water backup that can damage shingle edges. In Eastern North Carolina, pine needles and leaves accumulate quickly. Spring and fall cleaning keeps water flowing properly.
Remove debris from roof valleys and behind chimneys. Trapped organic material holds moisture and accelerates shingle deterioration.
Tree and Vegetation Control
Overhanging branches scrape shingles and drop debris that traps moisture. Trim trees back at least six feet from the roof. Remove moss or algae growth promptly using approved cleaning methods that won't damage shingles.
Insurance and Shingle Replacement
Storm damage often leads to insurance claims. Understanding coverage and the claims process helps you get fair treatment.
What Insurance Typically Covers
Homeowners insurance covers sudden damage from wind, hail, or fallen trees. It doesn't cover wear and tear from age. If your shingles failed because they're 25 years old, insurance won't help.
Covered events:
- Wind damage (if meeting wind speed thresholds)
- Hail damage with visible impact marks
- Fallen tree or branch damage
- Fire or lightning damage
Not covered:
- Normal aging and deterioration
- Lack of maintenance
- Cosmetic damage without functional impact
- Gradual leaks from installation defects
Documentation for Claims
If you suspect storm damage, document everything before repairs. Take photos from multiple angles showing damaged areas. Note the date and weather event that caused damage.
Insurance adjusters assess damage to determine coverage. Having a professional inspection report strengthens your claim. Some roofing companies provide insurance-ready reports that detail damage and replacement costs.
Avoiding Unnecessary Replacement
Some contractors push full replacement when repairs would work. Understanding how to avoid unnecessary roof replacement helps you make decisions based on actual need rather than sales pressure.
Get multiple opinions before major work. An honest assessment tells you what needs replacing and what can be repaired.
DIY vs. Professional Shingle Replacement
Homeowners sometimes consider replacing shingles themselves to save money. While minor repairs are manageable, full shingle replacement is different.
When DIY Makes Sense
Replacing a few damaged shingles is a reasonable DIY project if you're comfortable on a roof. Guides for repairing roof shingles walk through the basic process. You need the right tools, matching shingles, and safety equipment.
DIY-friendly scenarios:
- Replacing 5-10 damaged shingles
- Single-story home with safe access
- Mild pitch (under 4:12)
- No underlying deck damage
When Professionals Are Necessary
Full shingle replacement involves skills, equipment, and safety measures most homeowners don't have. Working at height for multiple days carries serious injury risk.
Professional advantages:
- Proper safety equipment and training
- Warranty coverage on labor
- Code compliance and permitting
- Efficient completion (days vs. weeks)
- Material purchasing power
Mastering asphalt shingle replacement requires understanding alignment, fastening patterns, and weatherproofing details that aren't obvious from tutorials.
The money saved attempting DIY often disappears in mistakes, injuries, or having to hire professionals to fix problems.
Regional Considerations for Eastern North Carolina
Climate and weather patterns in Eastern North Carolina create specific challenges for shingle replacement and roof longevity.
Hurricane and Wind Exposure
Coastal and near-coastal areas face high wind events. Shingle selection should account for wind ratings. Most building codes require shingles rated for 110-130 mph winds.
Proper installation becomes critical in high-wind zones. Hand-sealing shingles, using six nails instead of four, and upgraded underlayment all improve wind resistance.
Heat and Humidity Effects
Summer heat and year-round humidity accelerate shingle aging. Algae growth appears as dark streaks on north-facing slopes. While mostly cosmetic, heavy growth can reduce shingle life.
Algae-resistant shingles include copper granules that prevent growth. They cost slightly more but maintain appearance longer in humid climates.
Seasonal Storm Patterns
Hurricane season runs June through November. Planning shingle replacement for spring or early summer completes work before storm season. If replacement happens in fall, verify your contractor can finish before November.
For comprehensive information on roofing challenges specific to the region, NC Roofs provides guidance tailored to Eastern North Carolina conditions.
Shingle replacement protects your home and investment when done correctly with quality materials and honest guidance. Understanding the process, recognizing when replacement is necessary, and choosing qualified contractors ensures you get the best roof at a fair price. NC Roofs provides straightforward assessments and clear pricing for homeowners across Eastern North Carolina who want honest answers without unnecessary upsells. If you're considering shingle replacement or want to understand your roof's current condition, NC Roofs offers the transparent guidance you need to make informed decisions.