A new roof is one of the biggest investments you'll make in your home, and understanding what happens during shingle roof installation helps you make better decisions and know what to expect. Whether you're replacing an aging roof or recovering from storm damage along the North Carolina coast, the process follows a clear sequence that protects your home and ensures the new system performs as designed. This guide walks through each phase, the decisions you'll face, and what separates a quality installation from a rushed one.
Planning and Preparation Before Installation
Every successful shingle roof installation starts weeks before the first shingle goes up. The planning phase determines material choices, timing, and logistics that affect both cost and performance.
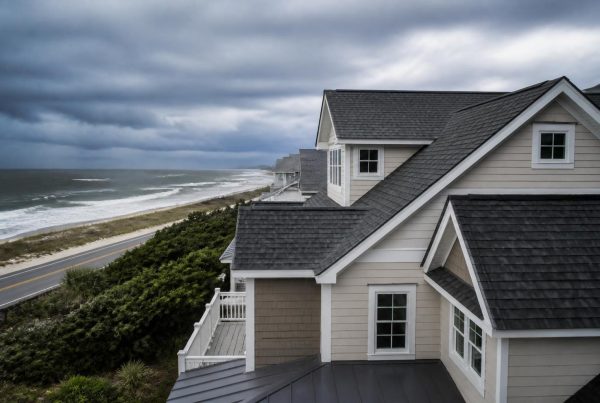
Material selection comes first. You'll choose shingle type (three-tab, architectural, or premium), color, and warranty level based on your budget and how long you plan to own the home. Coastal homeowners in Eastern North Carolina often prioritize wind resistance ratings and algae-resistant formulations that handle humidity and salt air better than basic products.
Scheduling and Weather Considerations
Timing matters more than most homeowners realize. Spring and fall offer ideal conditions in our region, with moderate temperatures that help sealant strips activate properly. Summer heat can make shingles more fragile during handling, while winter installations require extra care with adhesive strips that rely on warmth to bond.
Your contractor should:
- Provide a weather contingency plan
- Confirm crew size and timeline
- Explain debris removal and cleanup procedures
- Schedule material delivery close to start date (not weeks early)

Most residential shingle roof installation takes two to four days depending on home size, roof complexity, and weather. Single-story homes with simple gable roofs move faster than two-story homes with multiple valleys, dormers, or steep pitches.
Tear-Off and Deck Preparation
Installation day starts with protecting your property. Quality crews lay tarps around the foundation, cover plants and AC units, and set up magnetic rollers to collect nails from the ground. You'll hear noise, so plan accordingly.
Removing Old Roofing Materials
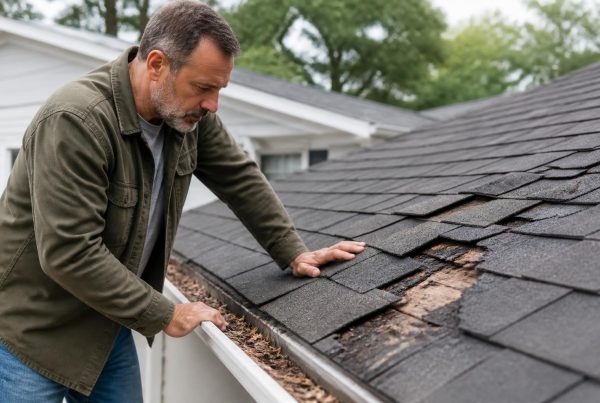
The tear-off process exposes the roof deck and reveals conditions you couldn't see from the ground. Crews strip everything down to bare wood, removing old shingles, underlayment, and deteriorated flashing.
| Tear-Off Task | Why It Matters | What to Watch For |
|---|---|---|
| Complete shingle removal | Ensures flat, clean surface | Verify crew removes all layers, not just top one |
| Valley cleaning | Prevents future leak points | Check valleys are clear to bare decking |
| Protrusion marking | Identifies pipe/vent locations | Confirms all penetrations are documented |
| Debris containment | Protects your property | Look for tarps, magnetic sweeps, dumpster placement |
This phase also includes deck inspection. Good contractors check every sheet of plywood or OSB for soft spots, rot, or damage. Any compromised sections get replaced before new materials go down. Skipping this step locks problems under your new roof for years.
The National Roofing Contractors Association provides detailed guidance on inspection standards that quality contractors follow during this critical phase.
Underlayment and Deck Protection
Once the deck is clean and sound, waterproofing layers go down before any shingles. This is your roof's insurance policy against wind-driven rain and ice damming.
Synthetic underlayment has largely replaced traditional felt paper in quality installations. It lies flatter, resists tearing during installation, and provides better water resistance if weather delays occur mid-project. The material typically runs $20-30 more per square than felt, but the performance difference justifies the cost.
Ice and Water Barrier Application
Coastal North Carolina doesn't see much ice, but wind-driven rain demands the same protection. Ice and water barrier (a self-adhering membrane) goes in vulnerable areas:
- Eaves (first three feet minimum)
- All valleys
- Around chimneys and skylights
- Along sidewalls and dormers
This rubberized membrane seals around fasteners and bonds directly to the deck, creating a waterproof barrier that stops leaks even if shingles blow off during storms. It's not optional in our climate.
Proper ventilation starts here too. Ridge vents, soffit vents, and attic airflow work together to move heat and moisture out of your attic, extending shingle life and reducing cooling costs. BuildingScience’s analysis of roof ventilation explains how balanced intake and exhaust affect both energy performance and material longevity.
Drip Edge and Flashing Installation
Before shingles, metal components frame the roof and direct water away from vulnerable edges. These aren't decorative – they're structural protection for fascia boards and deck edges.
Drip edge runs along all eaves and rakes. It extends beyond the fascia board, ensuring water drips clear of wood components rather than wicking back under the roof edge. The proper installation sequence matters: eave drip edge goes under the underlayment, while rake drip edge goes over it.
Valley and Penetration Flashing
Valleys handle concentrated water flow, so they require either woven shingles, closed-cut valleys, or metal valley flashing. Metal valleys (aluminum or galvanized steel) offer the longest service life and clearest water channels, though they add material cost.
Step flashing protects sidewalls and dormers. Each piece of L-shaped metal tucks under a shingle course and overlaps the piece below it, creating a shingled water barrier that moves with the roof during expansion and contraction. Chimneys get specialized counter-flashing that allows movement between masonry and roof deck without breaking the seal.
Vent pipes, skylights, and roof penetrations each need specific flashing details. Quality installations use manufactured boots for pipes rather than relying solely on caulk, which degrades faster than metal or rubber components.
Shingle Application Process
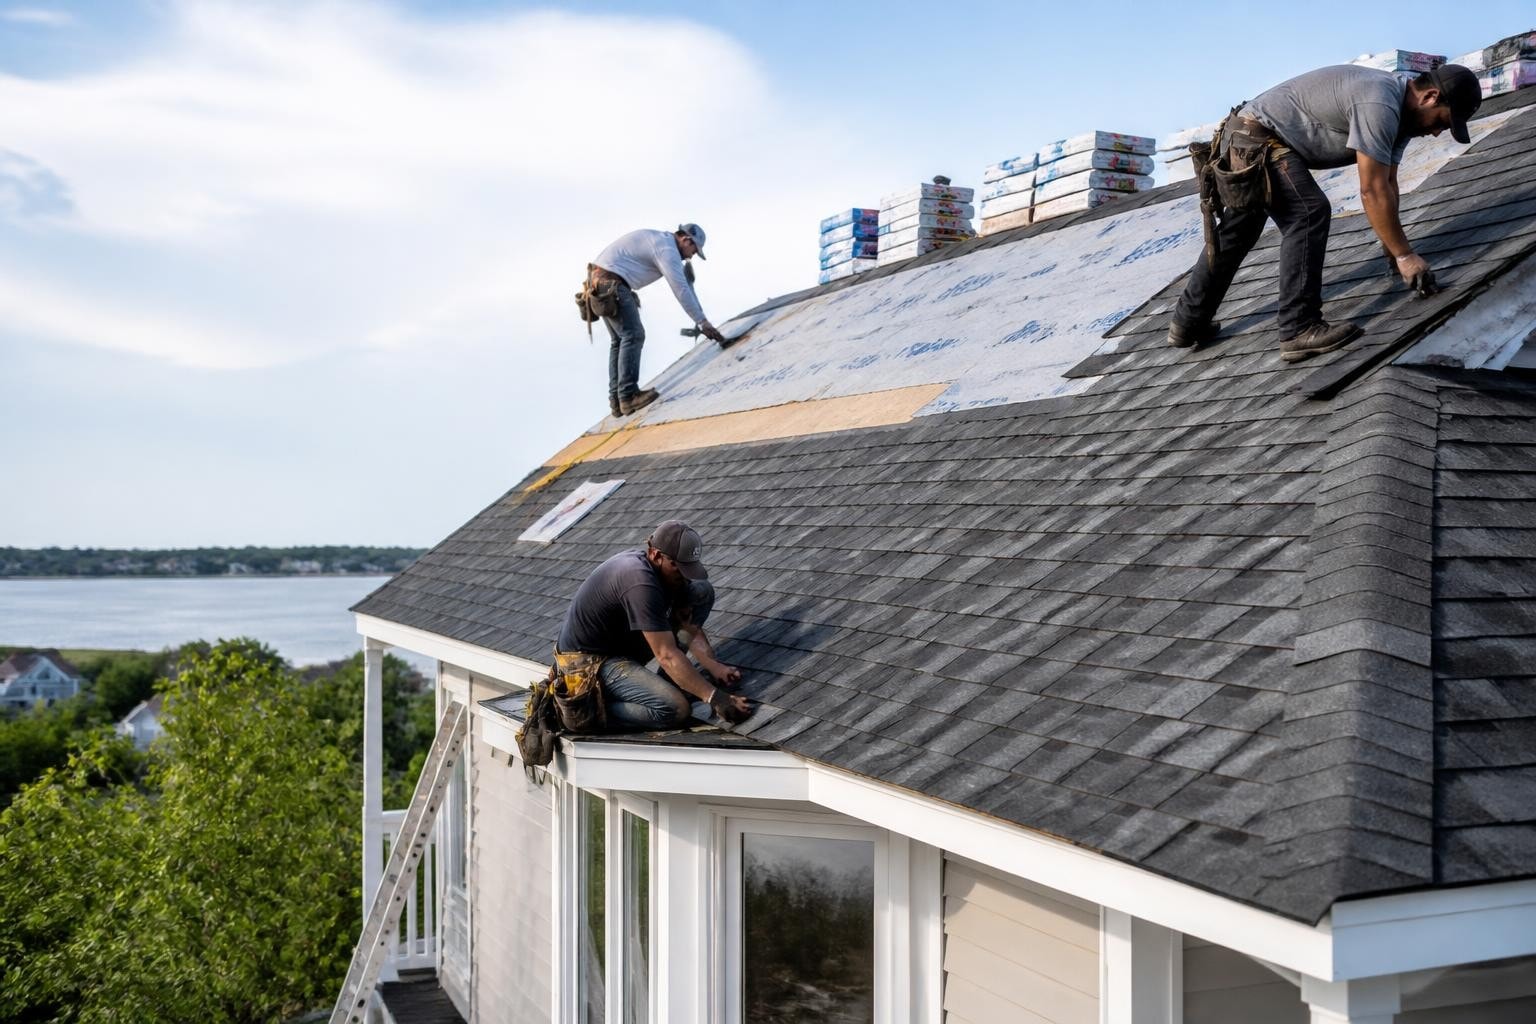
With all underlayment and flashing in place, shingle installation follows a precise pattern that affects both appearance and performance. This is where craftsmanship shows.
Crews start at the eaves with a starter strip – a special shingle product or cut shingles that provide sealant along the very first edge. This prevents wind from lifting the bottom edge of the first course.
Pattern and Alignment
Each subsequent course overlaps the one below, exposing only the designed portion (typically 5 to 5.5 inches for architectural shingles). Installers follow chalk lines to maintain straight courses across the entire roof plane. Wandering lines create a wavy appearance that's visible from the street.
Nailing patterns matter more than you'd think:
- Four to six nails per shingle (manufacturer-specified)
- Nails placed in the nailing zone, not too high or too low
- Flush drive depth (not overdriven through the shingle)
- Proper nail type (galvanized or stainless, correct length for deck thickness)
Hand-nailing and nail guns both work when used correctly, but nail guns require pressure adjustment to avoid overdriving. Overdriven nails tear the shingle and create leak points. Underdriven nails don't secure properly and allow blow-offs during storms.
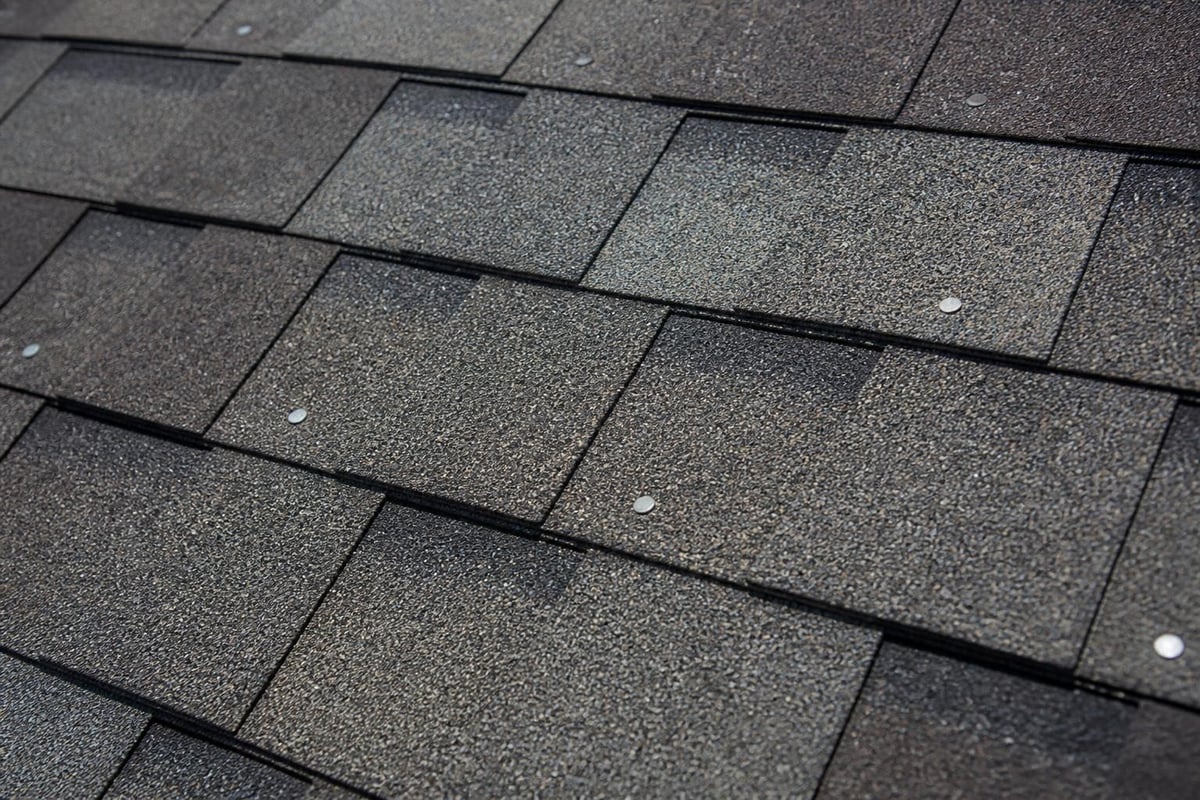
The Asphalt Roofing Manufacturers Association publishes technical bulletins detailing these installation requirements, which warranty coverage often depends on following.
Hip, Ridge, and Finishing Details
The final phase completes water protection and gives your roof its finished appearance. Ridge caps seal the peak where two roof planes meet, while hip caps cover angled intersections.
Ridge venting integrates into this step. Contractors cut a slot along the ridge, install baffle material to prevent weather infiltration while allowing air escape, then cover it with specialized ridge-cap shingles. Proper ridge vent installation balances attic ventilation when paired with adequate soffit intake.
Final Shingle Courses and Transitions
Top courses require careful cutting and fitting. The last full shingle sits just below the ridge cut, with cap shingles overlapping to cover the transition. Each cap piece gets two nails on the covered portion, creating a sealed but flexible ridge line.
Valleys get finished attention at this stage too. If using woven or closed-cut methods, the installer carefully interlaces or cuts shingles to create clean valley centers. Metal valleys simply receive shingles that stop short of the valley pan, maintaining clear water flow.
Rake edges need shingles that extend slightly beyond the drip edge for proper water shedding. Some installers add a bead of roof cement under these edges in high-wind areas, though proper nailing usually provides adequate hold.
Quality Control and Inspection
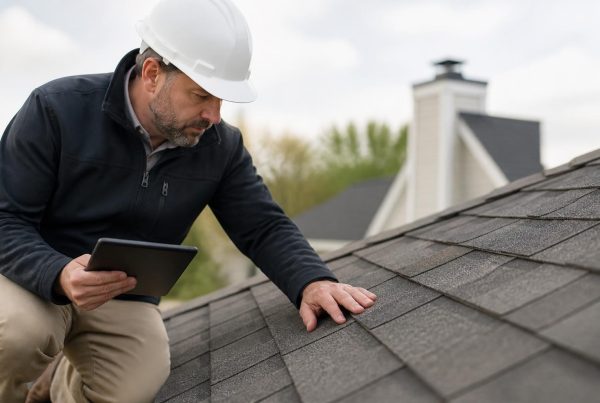
A finished shingle roof installation should undergo both contractor quality control and independent verification before you make final payment. This isn't about distrust; it's about catching small issues before they become expensive problems.
Your contractor should walk the completed roof, checking:
- Shingle alignment – straight courses with consistent exposure
- Fastener seal-down – confirming adhesive strips will activate
- Flashing integration – proper overlap and sealant application
- Ridge vent function – clear airflow paths and weather protection
- Valley water flow – no debris or obstruction in drainage paths
Many homeowners request a roof report from an independent inspector after installation, especially when insurance has covered replacement costs. These documented reviews verify installation quality and provide baseline condition records for future reference.
| Inspection Point | What Good Looks Like | Red Flags |
|---|---|---|
| Shingle courses | Straight, uniform exposure | Wavy lines, inconsistent reveal |
| Nail placement | Flush, in nailing zone | Visible heads, shiners, overdriven |
| Valley condition | Clean, centered cuts or weave | Debris, crooked cuts, exposed underlayment |
| Flashing | Sealed, overlapped correctly | Gaps, missing sealant, bent metal |
Building codes require inspections in most jurisdictions. Your local building department will verify installation meets minimum standards for wind resistance, fire rating, and structural attachment. This isn't optional and protects everyone involved.
Cleanup and Property Protection
Professional crews treat cleanup as part of the installation, not an afterthought. The volume of debris from a typical roof replacement is substantial – often three to five tons of old shingles, nails, felt paper, and packaging.
Magnetic sweeps should happen at least twice: midway through the project and after final completion. These rolling magnets collect nails from driveways, walkways, and grass before someone finds them with a tire or bare foot.
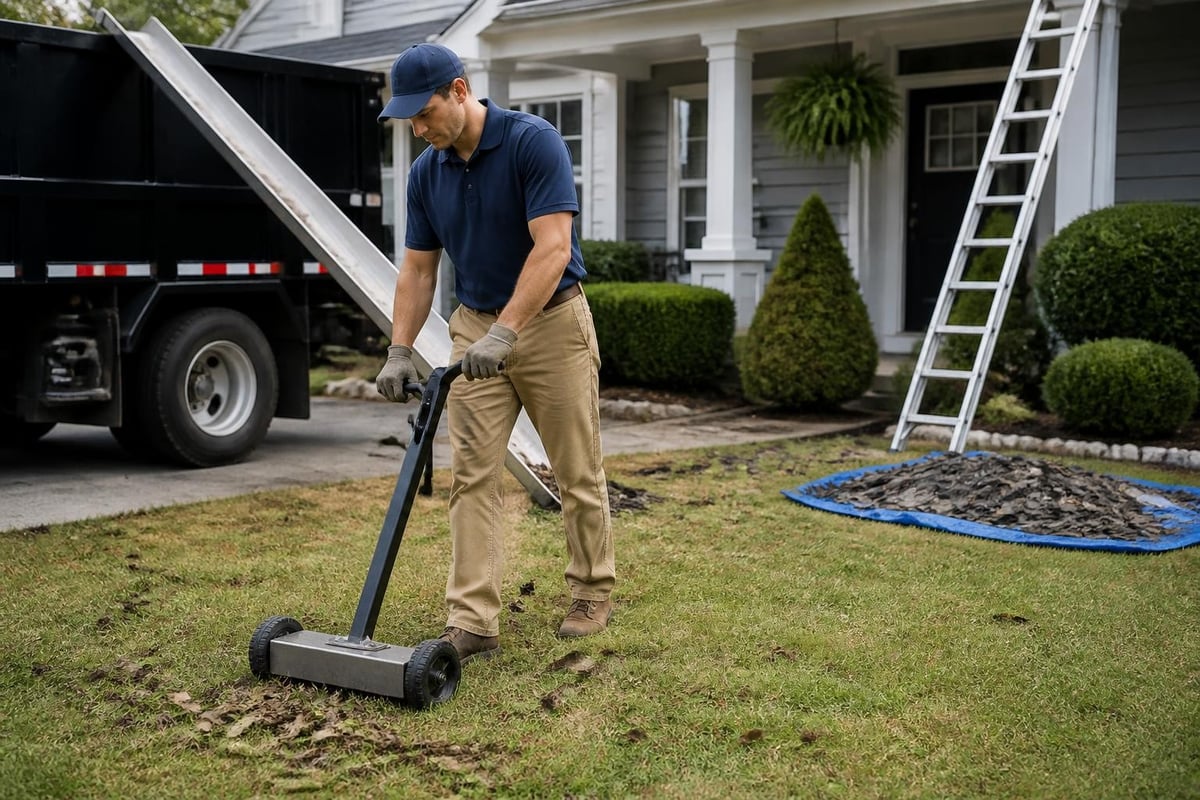
Dumpsters or dump trailers should leave when the job finishes, not days later. Gutters get cleared of debris. Landscaping gets restored if disturbed. The goal is leaving your property cleaner than the crew found it.
Warranty Coverage and Documentation
Your new roof comes with two distinct warranties that cover different aspects of the system. Understanding both helps you maintain coverage and know what's protected.
Manufacturer warranties cover shingle defects – granule loss, cracking, or premature deterioration caused by material flaws. These range from 25 years to lifetime depending on product tier, but they're prorated. A shingle that fails in year 15 of a 30-year warranty may only receive 50% coverage.
Workmanship warranties cover installation errors. Leaks from improper flashing, blown-off shingles from incorrect nailing, or failures traced to poor technique fall under this coverage. Reputable contractors offer 5 to 10-year workmanship warranties, while some extend to 25 years when using specific manufacturer systems.
Keep all documentation:
- Material invoices showing shingle brand and style
- Installation date and contractor information
- Building permit and final inspection approval
- Warranty registration (many manufacturers require registration within 60 days)
- Before and after photos
Insurance considerations matter too, especially in coastal areas where wind and hail resistance affect premiums and coverage. Some carriers offer discounts for impact-resistant shingles or sealed-deck installations that exceed minimum code requirements.
Cost Factors and Budget Planning
Shingle roof installation costs vary based on factors beyond just square footage. Understanding what drives pricing helps you evaluate quotes and avoid surprise expenses.
Material grade creates the biggest price spread. Basic three-tab shingles run $90-120 per square installed, while premium architectural shingles with enhanced warranties reach $150-200 per square. Designer shingles that mimic slate or shake can exceed $300 per square.
Roof complexity adds labor cost:
- Steep pitches (7/12 or greater) require safety equipment and slow progress
- Multiple valleys, dormers, and intersections increase cutting and fitting time
- Two-story heights need scaffolding or more careful material handling
- Extensive rotten decking requires structural repairs before new shingles
Additional expenses often include:
- Deck replacement ($60-80 per sheet for plywood/OSB)
- Chimney reflashing ($300-600 depending on size)
- Skylight resealing or replacement ($200-800 per unit)
- Gutter replacement if damaged or incompatible with new edge details
Get itemized quotes that break out materials, labor, disposal, and extras. This transparency lets you compare proposals accurately rather than just looking at bottom-line numbers that may or may not include the same scope.
Choosing a Qualified Contractor
The quality of your shingle roof installation depends more on installer skill than material choice. Even premium shingles fail early when installed incorrectly, while mid-grade products perform well when applied according to specifications.
Licensing and insurance come first. North Carolina requires roofing contractors to hold a license for projects over $30,000. Verify current coverage for both general liability and workers' compensation. You don't want liability if someone gets hurt on your property.
Experience with coastal installations matters in our region. Wind-resistance requirements, salt-air considerations, and hurricane preparation differ from inland or northern climates. Contractors familiar with Eastern North Carolina conditions understand these specific challenges.
Ask specific questions:
- How long have you installed roofs in this area?
- What's your process for protecting my property during work?
- Who supervises the crew, and will they be on-site daily?
- How do you handle deck repairs discovered during tear-off?
- What does your workmanship warranty actually cover?
References matter, but so does current work. Drive by active job sites if possible. You'll see cleanup practices, crew professionalism, and attention to detail that predict how they'll treat your project.
Energy Efficiency Considerations
Your new roof affects home comfort and utility costs more than you might expect. Shingle color, underlayment choices, and ventilation design all influence attic temperatures and cooling loads.
Cool roof shingles use reflective granules that bounce more sunlight away than traditional dark shingles. Light colors naturally reflect more heat, but specialized products extend this benefit to mid-tone and even darker shingles through infrared-reflective technology. The Department of Energy’s cool roof guidance explains how these products reduce cooling costs in warm climates like ours.
Attic ventilation works with shingle selection to control heat buildup. A properly vented attic stays 20-30 degrees cooler than an unvented one, reducing cooling costs and extending shingle life by preventing premature aging from excessive heat.
Radiant barriers and insulation fall outside the roofing scope but work together with your new installation. If you're replacing your roof anyway, coordinating attic upgrades with the project saves money and disruption compared to tackling them separately later.
Lead Safety for Older Homes
Homes built before 1978 may contain lead-based paint on exterior trim, eaves, and fascia boards. Roofing work that disturbs these surfaces triggers federal lead-safe work practice requirements that protect both workers and homeowners.
Contractors working on pre-1978 homes must be EPA-certified in lead-safe practices. The EPA’s renovation, repair, and painting standards require specific containment, cleanup, and disposal procedures when disturbing painted surfaces.
This doesn't mean you can't reroof an older home. It means the contractor needs proper certification and must follow dust-control protocols that prevent lead contamination. Ask about certification before hiring anyone to work on a pre-1978 home.
A quality shingle roof installation protects your home for decades when done right, but understanding the process helps you make informed decisions and recognize good work when you see it. Whether you're planning a replacement or evaluating options after storm damage, knowing what happens at each phase puts you in control. NC Roofs serves Hampstead, Topsail, Surf City, Holly Ridge, Wilmington, and surrounding coastal communities with honest guidance and quality installation backed by clear recommendations tailored to your roof's actual condition.