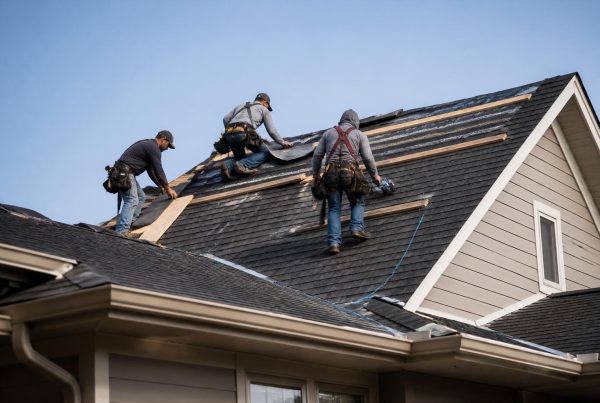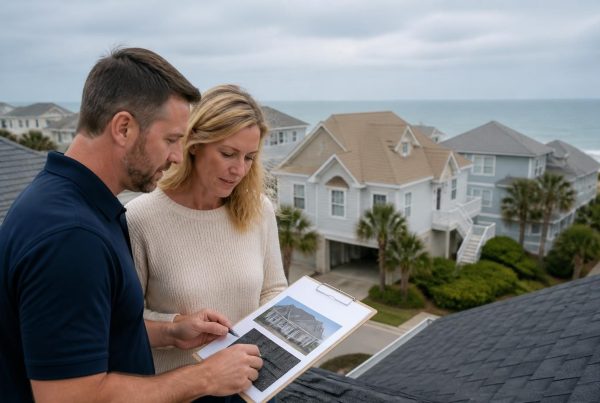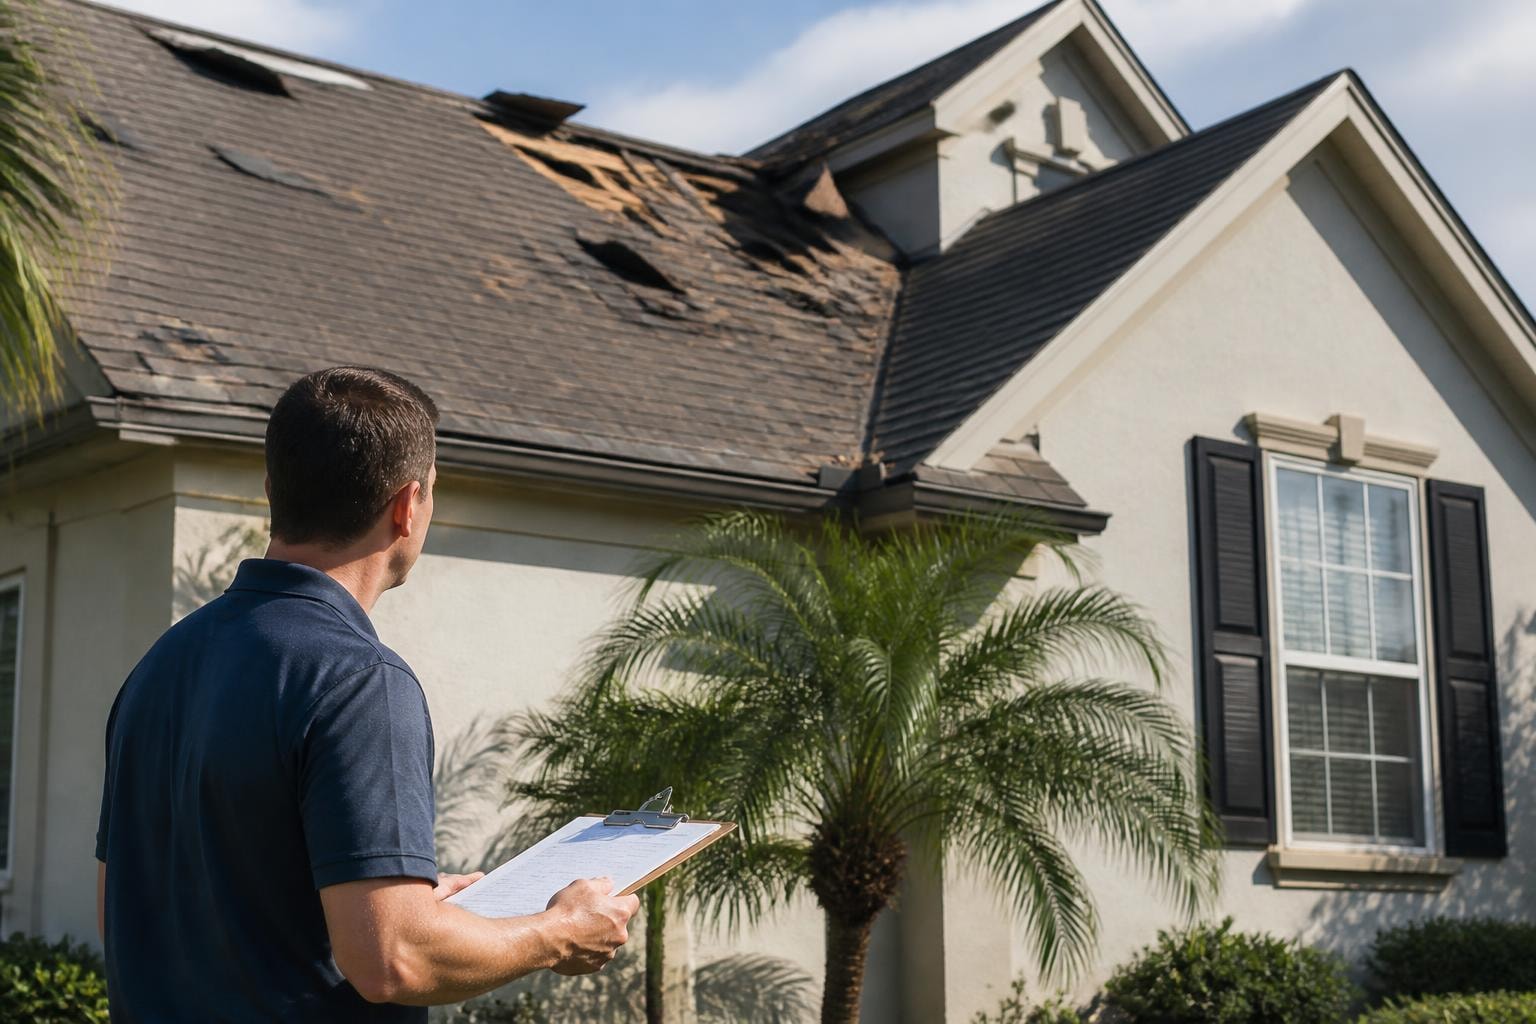
After a coastal storm rolls through Eastern North Carolina, most homeowners step outside wondering if their roof made it through intact. Understanding wind damage roof what to check first can mean the difference between catching a problem early and dealing with water intrusion that spreads into your home. The good news is that you don't need to be a roofing professional to conduct a meaningful first assessment. This guide walks you through the priority checks that matter most, organized in an order that keeps you safe while giving you the information you need to decide on next steps.
Start Your Assessment from the Ground
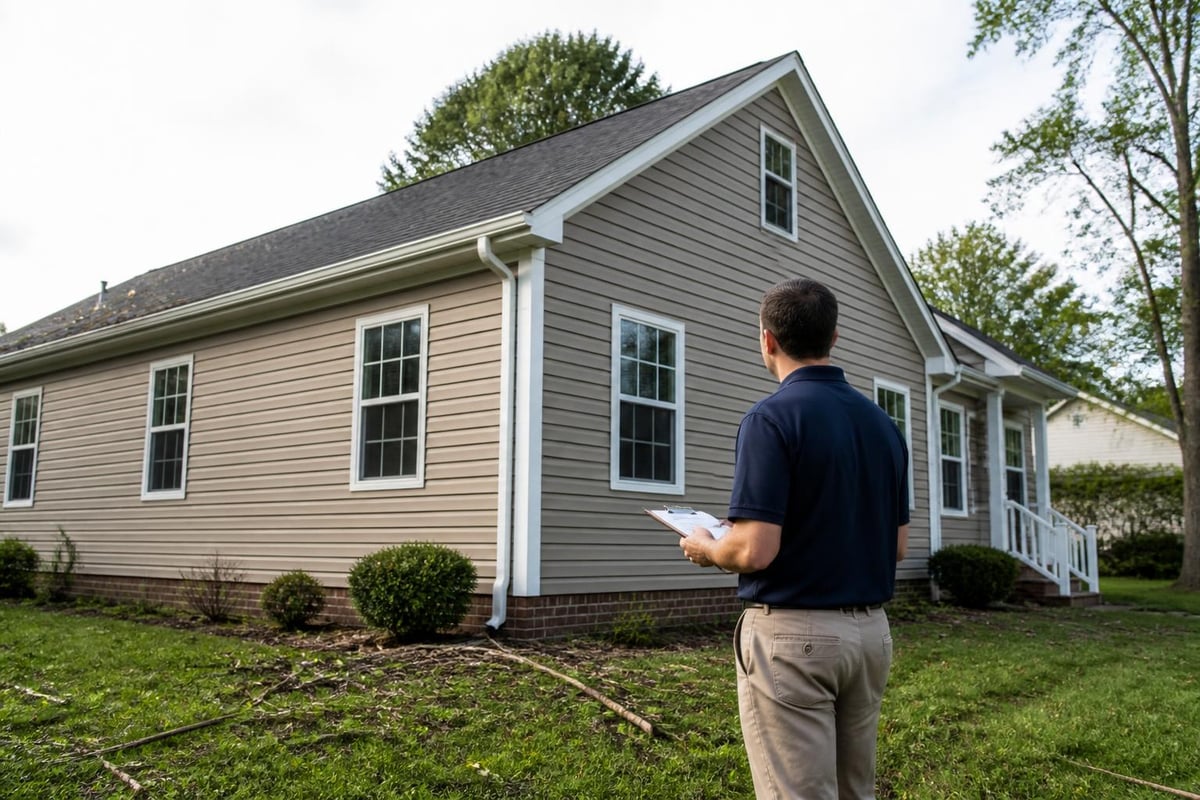
Your first inspection should happen without ever climbing a ladder. From ground level, you can spot many telltale signs of wind damage that warrant closer attention. Walk the full perimeter of your home with a clear view of your roofline.
What to Look for During Ground-Level Inspection
Start by scanning for debris around your property. Missing shingles often land in yards, driveways, or gutters below the affected area. If you find granules collecting in downspouts or scattered across your driveway, that indicates shingle wear that may have worsened during high winds.
Look up at your roof edges and peaks:
- Missing or lifted shingles along ridges and edges
- Curled or bent shingle corners that weren't there before the storm
- Bare spots where shingles have completely blown off
- Damaged flashing around chimneys, vents, or skylights
- Sagging areas that might indicate structural damage
The Nationwide guide on wind protection notes that wind speeds above 50 mph can begin to cause damage to roofing materials, and coastal areas regularly experience these conditions during storm season.
Document What You Find
Take photos from multiple angles. Capture the overall condition and close-ups of any visible damage. These photos serve two purposes: they help you explain the situation to a roofing contractor, and they provide documentation if you need to file an insurance claim. Include reference points like chimneys or windows in your photos so damage locations are clear.
Check Your Attic Before Looking at the Roof Surface
Once you've completed your ground assessment, the attic is your next priority when determining wind damage roof what to check first. Many homeowners skip this step, but your attic tells you whether wind damage has already started causing interior problems.
| What to Check | Why It Matters | What You're Looking For |
|---|---|---|
| Daylight through roof deck | Indicates holes or displaced shingles | Bright spots visible during daytime |
| Water stains | Shows active or recent leaks | Discoloration on rafters or decking |
| Insulation condition | Wet insulation loses effectiveness | Damp, compressed, or stained areas |
| Roof deck integrity | Structural damage from wind uplift | Cracks, separation, or sagging |
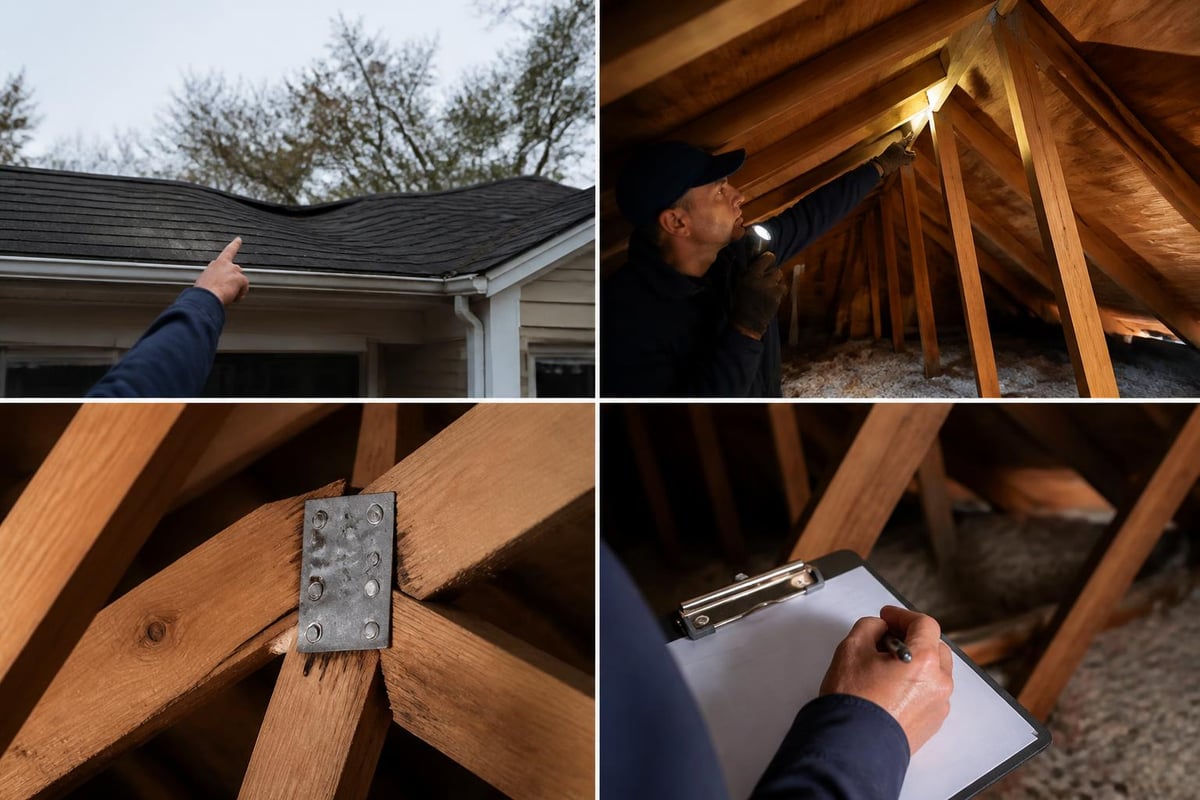
Bring a flashlight even during the day. Look at the underside of your roof deck, following the rafters from eave to ridge. Fresh water stains appear darker than old ones, helping you identify new damage versus pre-existing conditions.
Pay attention to areas around roof penetrations like vents, chimneys, and plumbing stacks. Wind-driven rain often enters through compromised flashing at these spots. If you see water stains concentrated around these features, that's a priority area for repair.
Evaluate Your Gutters and Downspouts
Gutters do more than channel water away from your foundation. They also provide clues about roof condition after wind events. When considering wind damage roof what to check first, gutter inspection ranks high because it's safe and revealing.
Signs of Wind Damage in Your Gutter System
Wind doesn't just affect shingles. It can twist, separate, or completely detach gutters from your roofline. Walk your property looking for:
- Sections of gutter pulled away from fascia boards
- Dents or deformations from flying debris
- Separated seams between gutter sections
- Downspouts disconnected from gutter runs
- Excessive granule accumulation from damaged shingles above
That last point matters most. Asphalt shingles lose granules over time, but sudden heavy accumulation after a storm indicates accelerated wear or direct wind damage to the shingle surface.
Focus on Vulnerable Roof Areas
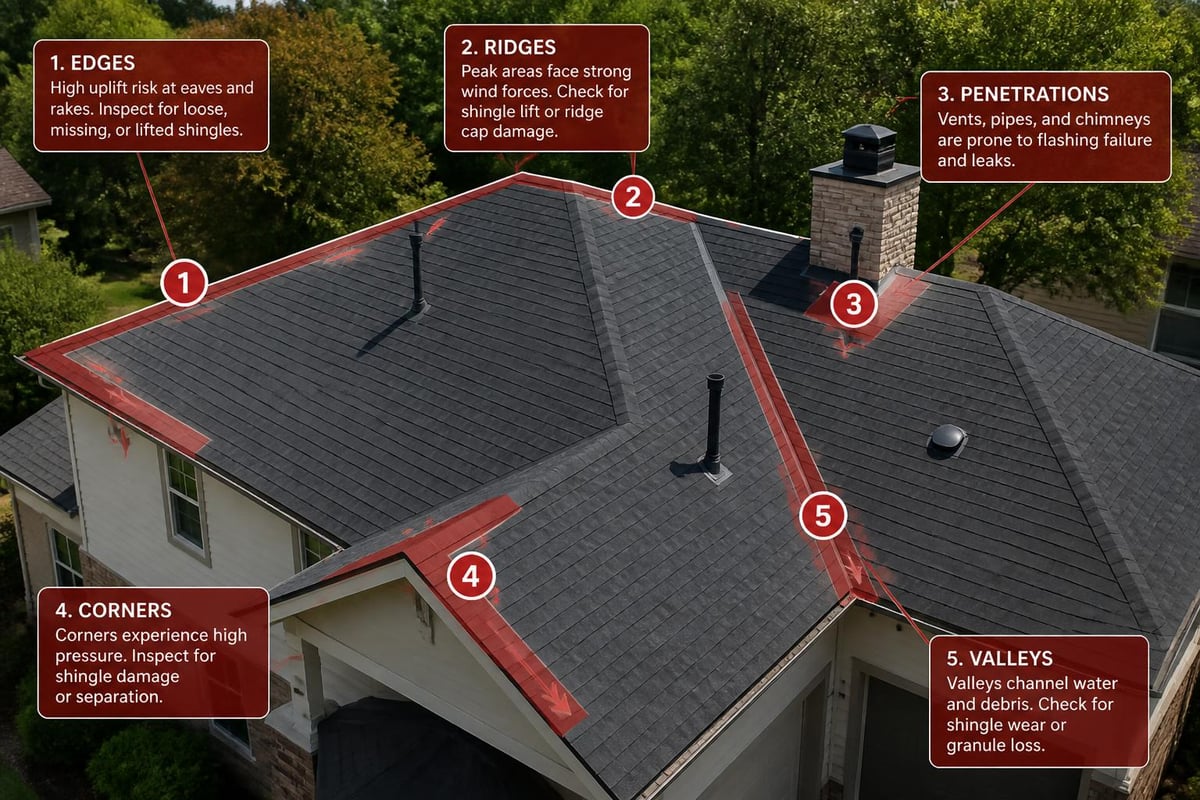
Not all parts of your roof face equal wind exposure. Certain areas consistently experience higher wind forces and deserve extra attention during your assessment. The Atlas Roofing storm damage checklist emphasizes these high-risk zones when evaluating post-storm conditions.
High-Priority Zones for Wind Damage
Roof edges and perimeters take the hardest hit during windstorms. Wind creates uplift forces strongest at roof edges, making these areas most likely to lose shingles first. Check the entire perimeter, paying special attention to corners where two edges meet.
Ridge caps run along the peak of your roof and face wind from multiple directions. These specialized shingles seal the gap where two roof planes meet, and they're particularly vulnerable to wind uplift. Missing or damaged ridge caps let water enter from the top of your roof, affecting both sides.
Valleys where two roof planes intersect channel heavy water flow. If wind has damaged or displaced valley flashing, water intrusion becomes likely even in moderate rain. Look for lifted metal, separated sections, or missing shingles along valley runs.
Areas around protrusions like chimneys, skylights, and vent pipes have multiple material transitions. Wind can work into small gaps at these spots, progressively lifting flashings and creating entry points for water.
Recognize the Difference Between Wind and Hail Damage
Eastern North Carolina storms sometimes bring both wind and hail. Knowing the difference helps you understand what happened and whether wind damage roof what to check first should include impact damage as well.
Wind Damage Characteristics
Wind damage typically shows these patterns:
- Shingles missing in strips or patches
- Edges of remaining shingles lifted or curled
- Directional pattern matching prevailing wind direction
- Damage concentrated on windward-facing slopes
- Torn or creased shingles
Hail Damage Patterns
Hail creates different evidence:
- Random circular impacts with no directional pattern
- Bruising that looks like dark spots
- Loss of granules in concentrated spots
- Dents in metal components like vents and flashing
- Damage on all roof slopes, not just windward sides
If you see characteristics of both, document them separately. Insurance adjusters evaluate wind and hail damage differently, and roof repair recommendations may vary based on damage type and extent.
Assess Shingle Seal Integrity
Even shingles that remain in place may have suffered wind damage that compromises their performance. Modern asphalt shingles use adhesive strips that seal each course to the one below. Wind can break these seals without removing the shingle entirely.
Walk close enough to your roof edge (safely, from a ladder positioned properly) to check whether shingles lie flat. Lifted tabs indicate broken seals. If you can slide a finger under a shingle tab easily, that seal has failed. Multiple broken seals across a section mean that area is vulnerable to complete shingle loss in the next storm.
The Owens Corning storm damage checklist provides detailed guidance on identifying this type of damage, which often goes unnoticed during quick visual inspections.
Examine Flashings and Seals
Flashing protects the most vulnerable parts of your roof system. These metal or synthetic barriers seal transitions between different materials and around roof penetrations. When evaluating wind damage roof what to check first, flashing condition ranks extremely high because flashing failure leads directly to leaks.
Critical Flashing Locations
| Flashing Type | Location | Common Wind Damage |
|---|---|---|
| Step flashing | Along walls and dormers | Separation from wall, bent sections |
| Valley flashing | Where roof planes meet | Lifted edges, separated seams |
| Chimney flashing | Around chimney base | Counter-flashing pulled loose, gaps opened |
| Vent pipe boots | Around plumbing vents | Cracked rubber boots, separated base |
| Drip edge | Along roof perimeter | Bent, missing sections, pulled fasteners |
Check each flashing type for signs of movement or separation. Even small gaps allow water penetration, and wind-driven rain finds these openings readily. If you spot lifted flashing, that needs prompt attention before the next rain event.
Look for Granule Loss Patterns
Asphalt shingles depend on granules embedded in their surface for UV protection and durability. Wind damage accelerates granule loss in specific patterns that help you understand damage severity and location.
Uniform granule loss across large areas typically indicates age-related wear rather than acute wind damage. The shingles may still need replacement, but this wasn't caused by yesterday's storm.
Concentrated granule loss in strips or patches suggests wind damage in those specific zones. High winds can literally scour granules from shingle surfaces, particularly on older roofs where the asphalt has become brittle.
Granules missing from shingle edges indicate that wind lifted those tabs, abrading granules against adjacent shingles during movement. This pattern often accompanies broken adhesive seals.
Check your gutters and downspouts for granule accumulation. WeatherShield’s complete guide explains how sudden granule deposits after a storm signal damage requiring professional assessment.
Identify Structural Movement or Compromise
Severe wind events can cause structural damage beyond cosmetic shingle loss. When determining wind damage roof what to check first, structural integrity checks should happen early, as these issues pose immediate safety concerns.
Warning Signs of Structural Damage
From your attic inspection, you may have noticed concerning signs. From outside, look for:
- Sagging sections along the roofline
- Visible separation between roof and walls
- Shifted ridge lines that weren't crooked before
- Damaged or displaced trusses visible from the attic
- Ceiling cracks inside your home appearing suddenly after the storm
Any of these signs requires immediate professional evaluation. Don't wait to address structural concerns, as they can worsen rapidly and create dangerous conditions.
Document Everything Systematically
Whether you plan to file an insurance claim or simply need records for future reference, thorough documentation makes the process smoother. The Hanover Insurance roof inspection checklist provides a professional framework for organizing your findings.
Creating a Complete Damage Record
Your documentation should include:
- Date and time of storm event with weather conditions noted
- Photos from ground level showing overall roof condition and specific damage
- Close-up photos of problem areas with reference points visible
- Attic photos showing any interior evidence of damage or leaks
- Written notes describing damage location, extent, and any immediate concerns
- Debris collection such as damaged shingles or flashing pieces found in your yard
Organize everything by date and location. If you're filing an insurance claim, this documentation substantiates your case. If you're getting repair estimates, it helps contractors understand the scope before they arrive.
Know When to Call a Professional
You can accomplish a lot with a careful self-assessment, but professional inspection provides expertise and safety that homeowners can't replicate. Understanding wind damage roof what to check first helps you communicate effectively with contractors and make informed decisions about repairs.
Situations Requiring Professional Inspection
Call a roofing professional immediately if you observe:
- Multiple areas of damage across your roof
- Any structural concerns or sagging
- Widespread shingle loss affecting large sections
- Active leaks entering your home
- Damage to flashing in hard-to-reach locations
- Uncertainty about damage extent or necessary repairs
For Eastern North Carolina homeowners dealing with storm aftermath, getting a clear assessment from a local contractor familiar with coastal weather patterns ensures you understand your options. A professional can differentiate between damage requiring immediate repair and issues that can wait, helping you prioritize your budget effectively.
Compare Your Findings to Pre-Storm Condition
If you have photos or documentation of your roof from before the storm, comparing them to current conditions helps establish what changed. This comparison proves especially valuable for insurance purposes.
Many homeowners don't have pre-storm documentation, which is fine. Going forward, consider taking comprehensive roof photos annually. Store them with your home maintenance records. When the next storm arrives, you'll have a baseline for comparison.
Understand Temporary Protection Measures
If you've identified wind damage that needs professional repair but can't get immediate service, temporary protection may prevent additional damage. However, approach temporary measures carefully.
Tarping damaged sections can keep water out until repairs happen, but improper tarp installation can cause more problems than it solves. Tarps must extend beyond damaged areas, be properly weighted or secured, and allow for drainage. If you're not confident in your ability to install a tarp safely and effectively, wait for professional help rather than creating new issues.
Emergency patching might work for small areas, but remember that temporary fixes often fail during the next weather event. Plan for permanent repairs as soon as feasible rather than relying on band-aid solutions.
Review Your Insurance Coverage and Claims Process
After completing your assessment of wind damage roof what to check first, review your homeowner's insurance policy. Understanding your coverage helps you make informed decisions about filing a claim.
Key questions to answer:
- What is your wind/hail damage deductible?
- Does your policy cover full replacement cost or actual cash value?
- Are there specific documentation requirements for wind damage claims?
- What is the timeframe for reporting storm damage?
Contact your insurance company promptly if damage warrants a claim. Many insurers require notification within specific timeframes after a loss event. Don't begin repairs before your adjuster inspects unless the damage creates immediate safety hazards or risk of additional loss.
The OCNJ Daily storm damage checklist article outlines essential documentation practices that satisfy most insurance company requirements.
Plan Your Next Steps Based on Findings
Once you've completed your inspection and documented findings, the next step depends on what you discovered. Minor cosmetic damage might not require immediate action. Missing shingles or compromised flashing definitely do.
Decision Framework
No damage found: Great news. Take photos documenting your roof's good condition for future reference. Continue regular maintenance and inspection schedules.
Minor damage identified: Small areas of shingle loss, isolated flashing issues, or minor granule loss might qualify for targeted repairs rather than full replacement. Get professional assessment to confirm repair feasibility and costs.
Moderate to severe damage: Multiple damaged areas, structural concerns, or widespread shingle loss typically requires comprehensive professional evaluation. This level of damage often means insurance claims and significant repair work.
Active leaks: This is always a priority requiring immediate professional attention, regardless of visible exterior damage. Water intrusion causes progressive harm that worsens daily.
The New England Metal Roof inspection guide provides additional context for translating inspection findings into action plans, though metal roof specifics differ from asphalt shingle applications common in Eastern North Carolina.
Consider Long-Term Roof Health
Storm damage assessment also provides an opportunity to evaluate your roof's overall condition and remaining service life. If your roof was already approaching replacement age, wind damage might accelerate that timeline.
Most asphalt shingle roofs last 20 to 25 years in coastal environments, though quality, installation, and maintenance affect longevity significantly. If your roof is beyond its expected lifespan, investing in extensive repairs might not make financial sense compared to replacement.
A professional contractor can help you understand whether repair or replacement offers better long-term value based on your roof's age, existing condition, and damage extent.
After a storm passes through Eastern North Carolina, knowing wind damage roof what to check first gives you a clear starting point for protecting your home and making informed decisions. The inspection process starts safely from ground level, moves through your attic, and systematically covers the vulnerable areas most likely to show damage. If you've identified concerns during your assessment or want professional guidance on what your roof needs, NC Roofs provides honest evaluations and clear recommendations for homeowners throughout Hampstead, Topsail, Surf City, and the surrounding coastal communities. We'll help you understand what's actually going on with your roof before making any decisions about repairs or replacement.