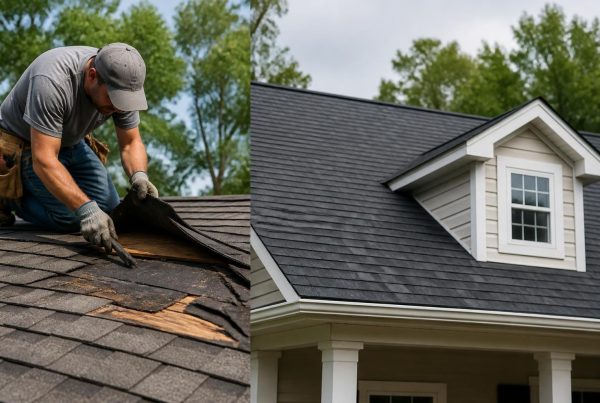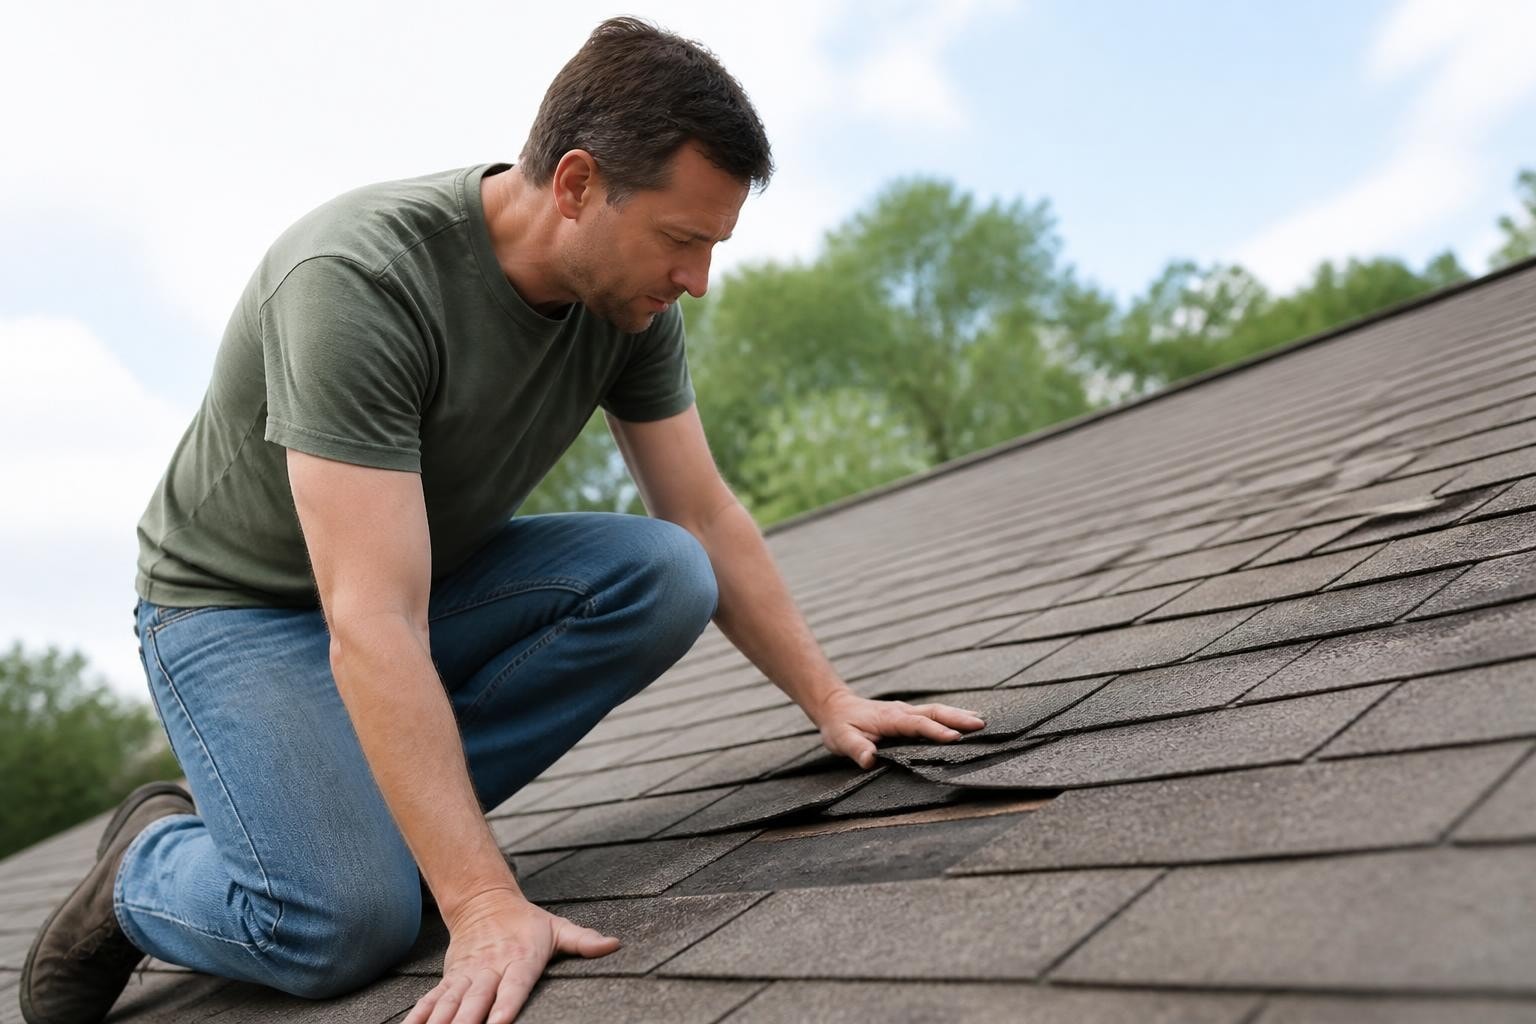
Understanding roof repair how to basics gives homeowners the confidence to address minor issues quickly and know when professional help makes sense. Coastal North Carolina roofs face unique challenges from salt air, strong winds, and sudden storms that can create leaks, lift shingles, and cause damage that grows worse without attention. This guide walks through the practical steps for identifying problems, making simple fixes, and deciding when a repair needs more than weekend work. Whether you're dealing with a small leak after a storm or noticing missing shingles from your driveway, knowing how to approach roof repairs helps you protect your home without guessing.
Identifying Common Roof Problems
Before learning roof repair how to techniques, you need to recognize what you're dealing with. Most roof issues show warning signs before they become serious problems.
Interior Signs of Damage
Water stains on ceilings are the most obvious indicator. These typically appear as brown or yellow discoloration that spreads over time. Check your attic during daylight hours with the lights off to spot sunlight coming through gaps or holes.
Key interior warning signs include:
- Water stains or dark spots on ceiling surfaces
- Damp insulation in the attic
- Light visible through roof boards from inside the attic
- Peeling paint near roofline or on upper walls
- Musty odors in upper rooms or attic spaces
Mold growth around vents or in corners also signals moisture problems. Don't ignore small stains, as they indicate active leaks that will worsen.
Exterior Roof Indicators
Walk around your property and look up at the roof from ground level. Binoculars help you spot details without climbing.
| Problem Type | What to Look For | Urgency Level |
|---|---|---|
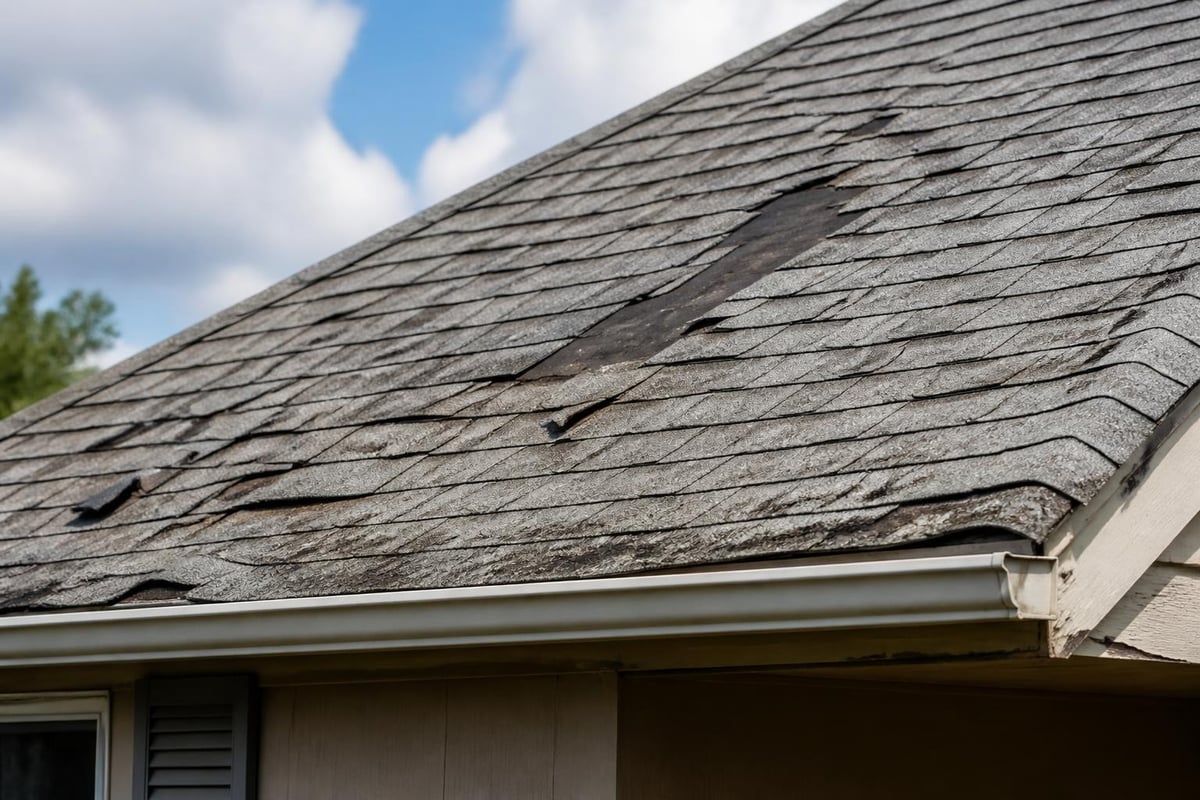
| Missing shingles | Gaps in roofing pattern, exposed underlayment | High |
| Curled shingles | Edges lifting or curling upward | Medium |
| Cracked shingles | Visible splits or breaks | Medium-High |
| Granule loss | Bare spots, shingles look smooth | Medium |
| Flashing damage | Gaps around chimneys, vents, valleys | High |
Check gutters for excessive granules, which look like coarse sand. Asphalt shingles lose granules over time, but sudden accumulation indicates accelerated wear.
Safety Preparation and Tools
Roof work involves real risks. Before attempting any roof repair how to project, safety setup matters more than speed.
Essential Safety Equipment
Never skip these basics:
- Rubber-soled shoes with good tread
- Safety harness and rope for pitched roofs
- Sturdy extension ladder rated for your weight plus materials
- Work gloves with grip
- Eye protection
Only work on the roof during dry conditions. Morning dew makes shingles slippery. Avoid temperatures above 85°F, when asphalt shingles become soft and easily damaged by foot traffic.
Position your ladder so it extends at least three feet above the roof edge. Secure the base and have someone spot you if possible. This Old House provides detailed safety guidance for working at heights.
Basic Repair Tools
Most simple repairs require common tools you may already own.
- Pry bar or flat tool for lifting shingles
- Roofing nails (1.25 inches for standard shingles)
- Hammer or nail gun
- Utility knife with sharp blades
- Caulking gun and roofing cement
- Putty knife for spreading sealant
- Tape measure and chalk line
Keep materials and tools in a bucket you can pull up with rope rather than carrying them on the ladder.
Repairing Small Leaks and Damaged Shingles
Once you've identified the problem and gathered materials, the actual repair work follows straightforward steps.
Fixing Individual Shingle Damage
Cracked or torn shingles often cause leaks but don't always require full replacement. For small cracks less than two inches, apply roofing cement underneath and press the shingle flat.
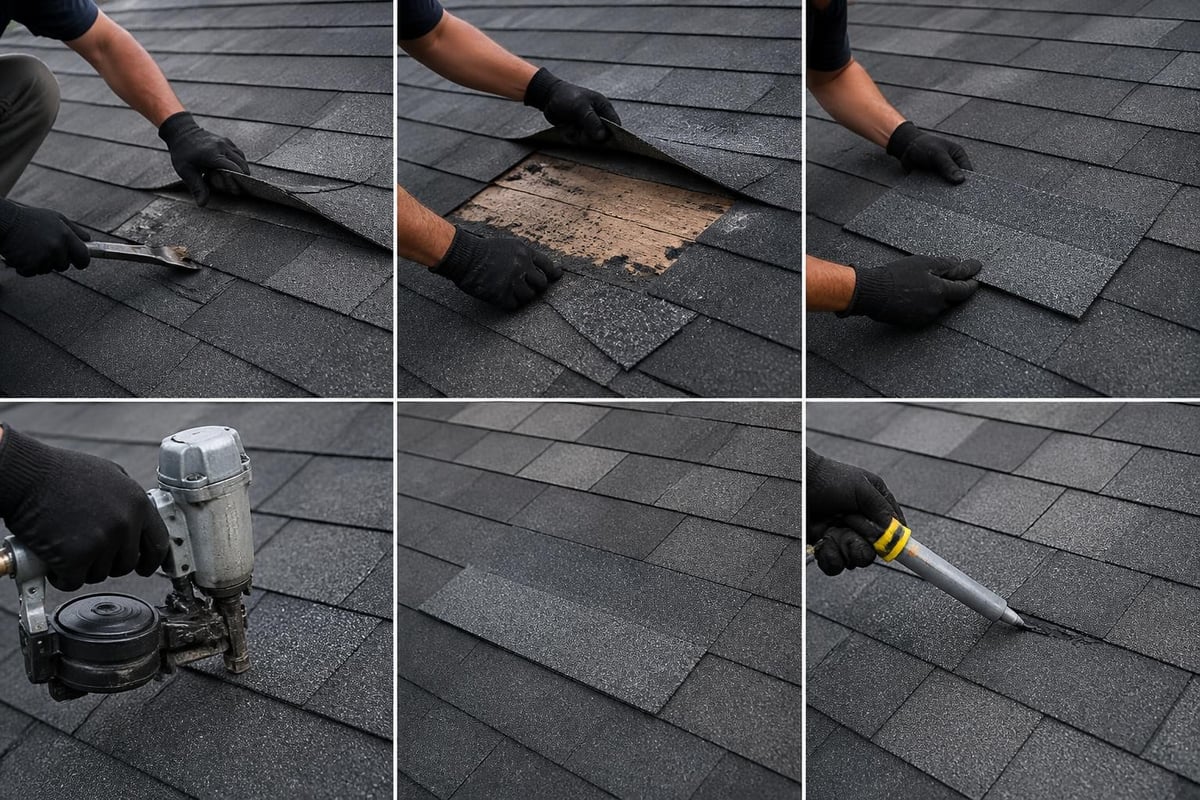
Replacement process for damaged shingles:
- Lift the shingles in the row above the damaged one
- Remove nails holding the damaged shingle using a pry bar
- Slide out the old shingle carefully
- Cut a new shingle to match if needed
- Slide new shingle into position
- Secure with four roofing nails placed just below the seal line
- Apply a small dab of roofing cement under the tabs above
- Press down to seal
Work gently to avoid damaging surrounding shingles. On hot days, shingles lift more easily. In cold weather, they become brittle and crack if forced.
Addressing Missing Shingles
Wind damage frequently pulls entire shingles away, leaving exposed underlayment. Replacing missing shingles quickly prevents water from reaching the roof deck. Bob Vila’s repair guide covers common scenarios for different shingle types.
Match the replacement shingle to your existing roof color and style. Bring a sample to the building supply store if you're unsure. Three-tab shingles are easier to replace than architectural styles.
For coastal North Carolina homes, wind-driven rain can work under lifted shingles even without full removal. Check surrounding shingles and reseal any with lifting edges using roofing cement.
Valley and Flashing Repairs
Valleys where two roof planes meet are high-traffic water channels. Small gaps in valley flashing cause disproportionate leak damage.
Clean debris from valleys first. Leaves and pine needles trap moisture against the roof surface. Inspect the flashing for holes, rust, or separation.
Minor flashing gaps can be sealed with roofing cement, but significant deterioration requires replacement. This job typically exceeds basic roof repair how to skills because it involves removing multiple rows of shingles.
Working with Roof Vents and Penetrations
Pipes, vents, and chimneys create weak points where water can enter. These areas require specific attention.
Plumbing Vent Boot Repair
Rubber boots around plumbing vents crack after years of sun exposure. You'll see splits in the rubber or gaps where the boot meets the pipe.
Replacing a vent boot involves:
- Removing shingles around the existing boot
- Lifting and prying out the old boot
- Sliding the new boot over the pipe
- Securing with roofing nails through the base flange
- Replacing shingles over the boot base
- Sealing the top edge where rubber meets pipe
Home Depot’s leak repair guide demonstrates working around common roof penetrations.
Chimney Flashing Issues
Chimney flashing consists of step flashing along the sides and a metal apron across the front and back. This two-part system allows the roof and chimney to move independently without creating gaps.
Check for:
- Separation between flashing and chimney
- Missing or cracked mortar in the chimney crown
- Rust or holes in metal flashing
- Lifted flashing edges
Small gaps can be filled with appropriate sealant, but deteriorated flashing systems need professional replacement. Improper chimney flashing repair often makes problems worse.
When DIY Becomes a Professional Call
Understanding roof repair how to information includes recognizing your limits. Some situations require experienced contractors with proper equipment and insurance.
Clear Professional Scenarios
| Situation | Why Professional Help Matters |
|---|---|
| Large damaged areas (over 100 sq ft) | Requires coordinating multiple shingle courses, ensuring proper water channeling |
| Structural damage | Needs assessment of decking, rafters, load capacity |
| Multiple leak sources | Demands systematic diagnosis to find all entry points |
| Steep pitch (over 6:12) | Safety risk too high for occasional climbers |
| Ice dam damage | Often involves ventilation, insulation, and drainage issues |
| Insurance claims | Documented assessment required for coverage |
Storm damage frequently creates problems beyond what you can see from ground level. A single severe weather event might cause hidden issues that become apparent only months later.
For Eastern North Carolina homeowners dealing with storm-related concerns, getting a roof report provides documented findings and photos that help with repair decisions and insurance conversations.
Questions to Ask Before Attempting Repairs
Be honest about your capabilities and circumstances:
- Do you have someone to assist and spot you?
- Is the damaged area easily accessible from a ladder?
- Can you identify all the components that need attention?
- Do you have time to complete the work before weather changes?
- Are you comfortable working at height for extended periods?
One "no" answer doesn't automatically mean hiring help, but multiple concerns suggest professional assistance makes sense.
Material Selection and Quality Considerations
Not all roofing materials perform equally. Choosing proper supplies affects how long your repair lasts.
Shingle Matching Challenges
Roofs fade over time. New shingles rarely match perfectly with existing ones that have weathered for years. The color difference becomes less noticeable after a few months as new materials weather.
Matching tips:
- Bring a sample shingle to the supplier
- Note the manufacturer and product line from bundle wrappers in your attic
- Use leftover materials from original installation if available
- Consider whether visible mismatches bother you
For repairs on roof sections not visible from the street, exact matching matters less.
Sealant and Cement Types
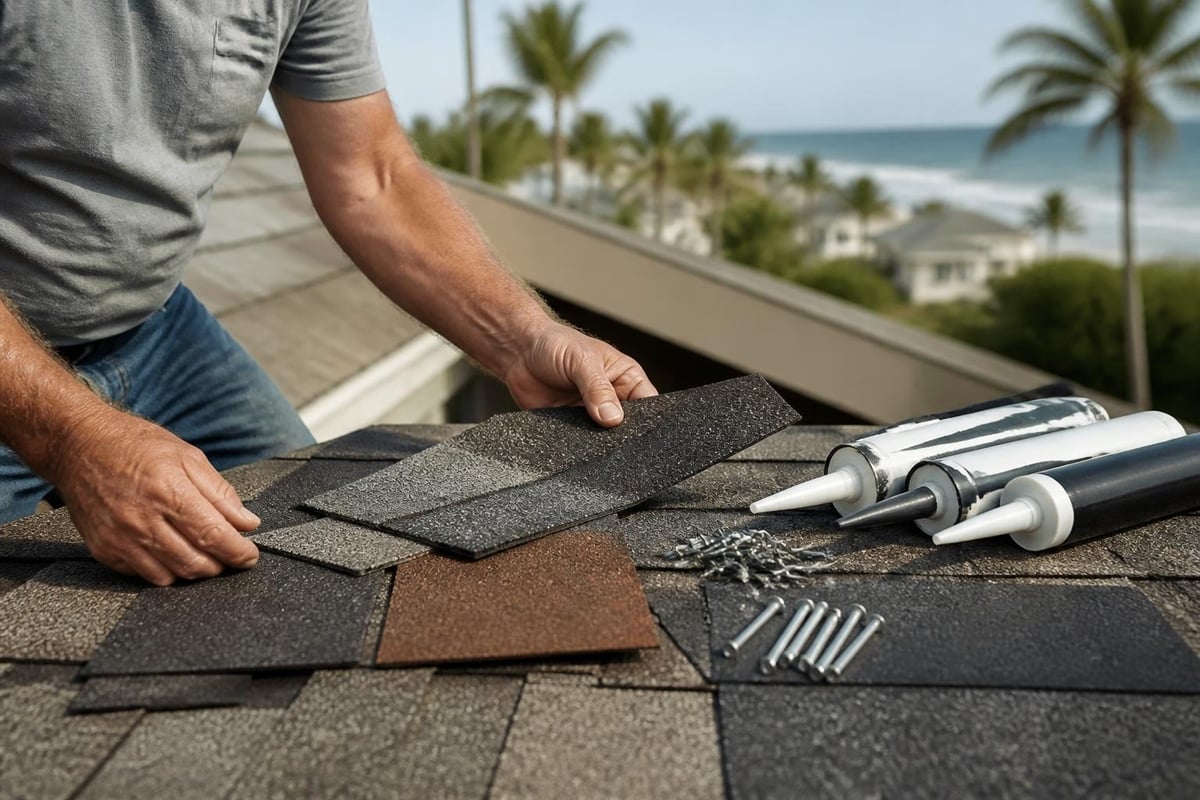
Roofing cement comes in different formulations. Plastic cement works for general repairs. Wet-patch formulas can be applied during damp conditions. Lap cement is thinner and designed for sealing overlapping surfaces.
Use the right product for each application. General roofing cement applied too thickly can prevent proper shingle adhesion. Too little won't create a waterproof seal.
Preventive Maintenance to Reduce Future Repairs
Learning roof repair how to skills works best when combined with regular maintenance that prevents problems.
Seasonal Inspection Routine
Check your roof twice yearly, in spring and fall. Kiplinger’s home maintenance checklist includes roof tasks alongside other seasonal items.
Spring inspection focuses on winter damage:
- Ice damage or lifted shingles
- Flashing movement from freeze-thaw cycles
- Debris accumulation in valleys
- Granule loss in gutters
Fall preparation emphasizes storm readiness:
- Loose shingles that could lift in wind
- Overhanging branches that might fall
- Clogged gutters before heavy rain season
- Proper attic ventilation before cold weather
Gutter and Drainage Care
Gutters protect your roof by channeling water away efficiently. Clogged gutters cause water to back up under shingles at the roof edge.
Clean gutters at least twice yearly, more often if you have overhanging trees. Pine needles are particularly problematic for coastal North Carolina properties.
Check downspout discharge points. Water should drain at least six feet from the foundation. Extensions or splash blocks direct runoff appropriately.
Understanding Repair Costs and Value
Budgeting for roof repairs involves more than material costs. Knowing typical expenses helps you plan and evaluate whether DIY makes financial sense.
DIY Cost Breakdown
Small repair projects typically cost between $50 and $300 in materials, depending on scope:
- Bundle of shingles: $30-$45
- Roofing cement (tube): $5-$8
- Roofing nails (box): $15-$25
- Vent boot: $10-$20
- Flashing (per linear foot): $2-$5
Your time represents additional investment. A simple shingle replacement might take two hours for someone inexperienced, while a professional completes it in thirty minutes.
Professional Repair Investment
Contractor pricing includes labor, materials, insurance, and warranty. Expect to pay:
| Repair Type | Typical Cost Range | Notes |
|---|---|---|
| Small leak repair | $150-$400 | Depends on accessibility, cause |
| Multiple shingle replacement | $200-$600 | Price per section, pitch affects labor |
| Flashing repair | $300-$800 | Chimney work costs more than vents |
| Valley repair | $400-$1,000 | Requires removing surrounding shingles |
Get detailed quotes that specify exactly what work is included. Vague estimates often lead to surprise charges.
For homeowners in Hampstead, Topsail, Surf City, Holly Ridge, and Wilmington areas, roof repair services should include clear explanations of what needs attention and honest recommendations about whether repair makes more sense than replacement.
Temporary Fixes for Emergency Situations
Sometimes immediate repairs aren't possible. Weather, material availability, or contractor scheduling may delay permanent fixes.
Emergency Tarping Techniques
Heavy tarps provide temporary water protection during storms or until repairs can be completed. Use the following approach:
- Choose a tarp that extends at least four feet beyond the damaged area in all directions
- Position the tarp so it covers the ridge if possible, draping down both sides
- Secure with 2×4 boards weighted down, not nailed through the tarp
- Avoid creating pockets where water can collect
- Check the tarp after wind events and reposition as needed
Tarps work for weeks but not months. UV exposure degrades materials, and wind eventually works underneath edges.
Quick Sealant Applications
Roofing cement can provide short-term waterproofing while you arrange permanent repairs. Apply generously around leak sources, especially:
- Under lifted shingles
- Around damaged flashing
- Over small cracks or holes
This approach buys time but isn't a permanent solution. Sealant eventually cracks or pulls away as materials expand and contract with temperature changes.
Climate Considerations for Coastal Properties
Eastern North Carolina's coastal environment creates specific challenges that affect roof repair how to decisions and techniques.
Salt Air and Material Degradation
Saltwater exposure accelerates metal corrosion. Flashing, nails, and vents near the coast deteriorate faster than inland equivalents.
Use galvanized or stainless steel fasteners for repairs. Standard nails rust quickly in salt air. Consider upgrading flashing materials during repairs rather than replacing with identical products that will fail again soon.
Wind Exposure and Shingle Adhesion
Coastal wind regularly exceeds speeds that lift inadequately secured shingles. Standard four-nail installation may not provide enough hold in high-wind zones.
Consider six-nail patterns for replacement shingles in exposed areas. Apply additional roofing cement under all edges, not just the top tabs. These extra steps cost little but significantly improve wind resistance.
Hurricane Preparation and Storm Recovery
Pre-storm checks help minimize damage. Walk your property before hurricane season and address:
- Any loose or lifting shingles
- Missing or damaged flashing
- Debris that could become projectiles
- Weak spots identified in previous inspections
After storms, document damage immediately with photos before making temporary repairs. This documentation supports insurance claims and helps contractors provide accurate estimates.
Documentation and Long-Term Tracking
Keeping records of repairs helps you understand your roof's condition over time and provides valuable information for future owners.
What to Record
Create a simple file (digital or paper) that includes:
- Date and description of each repair
- Materials used and quantities
- Costs (labor and materials separately)
- Photos before and after work
- Warranty information for materials
- Contractor contact information if professional work was done
This history reveals patterns. If you're repairing the same area repeatedly, underlying issues may need addressing rather than continued patch work.
When Repairs Signal Replacement Needs
Multiple repairs in a short timeframe often indicate broader deterioration. Consider total replacement when:
- You're making repairs annually or more frequently
- Damaged areas cover more than 30% of the roof surface
- The roof is approaching its expected lifespan (20-25 years for standard shingles)
- Repair costs approach 50% of replacement costs
An honest assessment from a local contractor can help you understand whether continued repairs make financial sense. For additional context on making these decisions, resources at NC Roofs explain how to evaluate repair versus replacement options based on actual roof condition rather than age alone.
Understanding roof repair how to basics helps you maintain your home and address small issues before they become expensive problems. Most homeowners can handle minor repairs safely with proper preparation, but knowing when to call professionals protects both your investment and your safety. If you're dealing with roof concerns in Eastern North Carolina's coastal communities and want clear guidance on what your roof actually needs, NC Roofs provides honest assessments and repair services focused on fixing what matters without unnecessary replacement recommendations.