Rubber roofing systems, known formally as EPDM (ethylene propylene diene monomer), have become a popular choice for flat and low-slope roofs across residential and commercial properties. These durable membranes can last 20 to 30 years with proper care, but even the best rubber roofs need attention over time. Understanding rubber roof repair helps you catch problems early, extend your roof's life, and avoid expensive replacements. Whether you're dealing with a small leak or planning preventative maintenance, knowing what to look for and how to respond makes all the difference.
What Is Rubber Roofing and Why Does It Need Repair
Rubber roofing consists of a synthetic rubber membrane designed to create a watertight seal over flat or low-slope surfaces. These systems are valued for their weather resistance, flexibility in temperature extremes, and cost effectiveness compared to other flat roofing options.
Despite their durability, rubber roofs face wear from several sources:
- UV exposure that degrades the membrane over years
- Thermal cycling causing expansion and contraction
- Ponding water that sits in low spots
- Physical damage from falling branches, hail, or foot traffic
- Seam failures where membrane sections join
The good news is that most rubber roof damage can be addressed through targeted repairs rather than full replacement. Catching issues early through regular inspections saves both money and stress.
Common Signs Your Rubber Roof Needs Attention
Identifying problems before they become major failures is essential for any roofing system. Rubber roofs give several warning signs when they need care.
Visible Membrane Damage
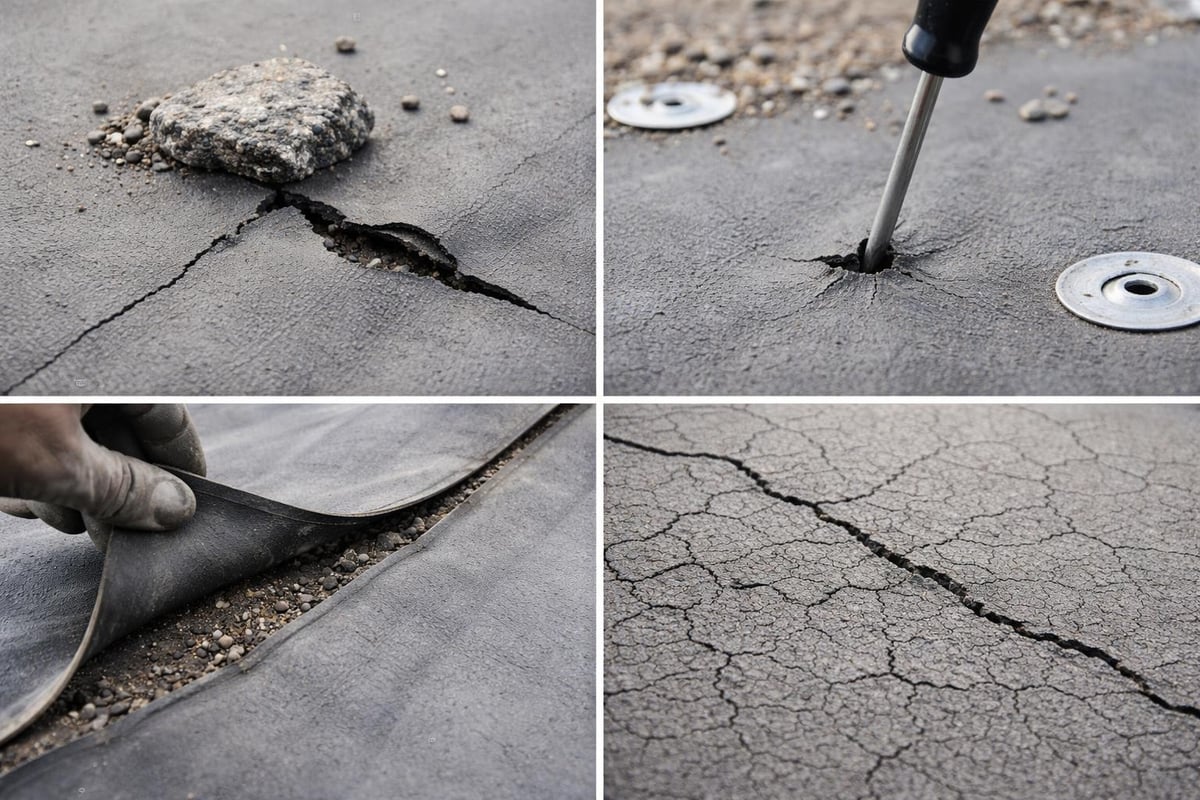
Walk your roof safely or inspect from the ground with binoculars. Look for tears, punctures, or areas where the membrane appears thin or cracked. Signs indicating your rubber roof may need attention include visible breaks in the surface and areas where the underlying material shows through.
Water Stains and Interior Leaks
Interior water stains on ceilings or walls signal that moisture is penetrating your roof system. Don't wait for active dripping. Even minor stains indicate compromised waterproofing that will worsen.
Seam Separation
Rubber roofing relies on seams where membrane sections join. These seams are vulnerable points that can separate due to adhesive failure, improper installation, or natural aging. Check seams regularly for gaps or lifting edges.
Ponding Water
Water that remains on your roof for more than 48 hours after rain creates ponding. This standing water accelerates membrane deterioration and often indicates drainage problems or sagging deck structure.
| Warning Sign | What It Means | Urgency Level |
|---|---|---|
| Small punctures | Localized damage | Moderate |
| Seam separation | Potential for leaks | High |
| Interior stains | Active moisture entry | High |
| Ponding water | Drainage or structural issue | Moderate to High |
| Surface cracking | UV damage, aging | Moderate |
Essential Tools and Materials for Rubber Roof Repair
Having the right supplies makes rubber roof repair more effective and longer lasting. You don't need a full contractor's toolkit, but certain items are essential.
Cleaning and Preparation Materials
- EPDM primer for surface preparation
- Rubber roof cleaner or mild detergent
- Scrub brush with soft bristles
- Clean rags or paper towels
- Broom for debris removal
Repair Materials
The specific materials depend on your repair type. For patching and seam work:
- EPDM patch material matching your membrane thickness
- Rubber roof adhesive or contact cement
- Seam tape for seam repairs
- Lap sealant for edges and terminations
- Roller or squeegee for applying pressure
For permanent fixes, quality materials matter. Cheap adhesives or mismatched patch material won't hold up to weather cycles.
Safety Equipment
Working on any roof requires proper safety measures:
- Fall protection gear for steep or high roofs
- Non-slip shoes with good traction
- Gloves to protect hands from adhesives
- Eye protection when using cleaners
Step by Step Rubber Roof Repair Process
Effective rubber roof repair techniques follow a methodical approach that ensures lasting results. Rushing or skipping steps leads to failed repairs.
Inspect and Identify All Damage
Before starting repairs, conduct a thorough inspection. Document every problem area with photos and measurements. This prevents missing damage that becomes apparent only after you've completed other repairs.
Walk the entire roof surface looking for tears, punctures, seam issues, and areas where the membrane feels soft or shows bubbling. Check flashings around penetrations like vents, pipes, and HVAC units.
Clean the Repair Area Thoroughly
Rubber roof repair demands clean surfaces for proper adhesion. Dirt, dust, oils, and old sealants prevent new materials from bonding correctly.
- Sweep away loose debris
- Wash the area with rubber roof cleaner
- Rinse thoroughly with clean water
- Allow the surface to dry completely
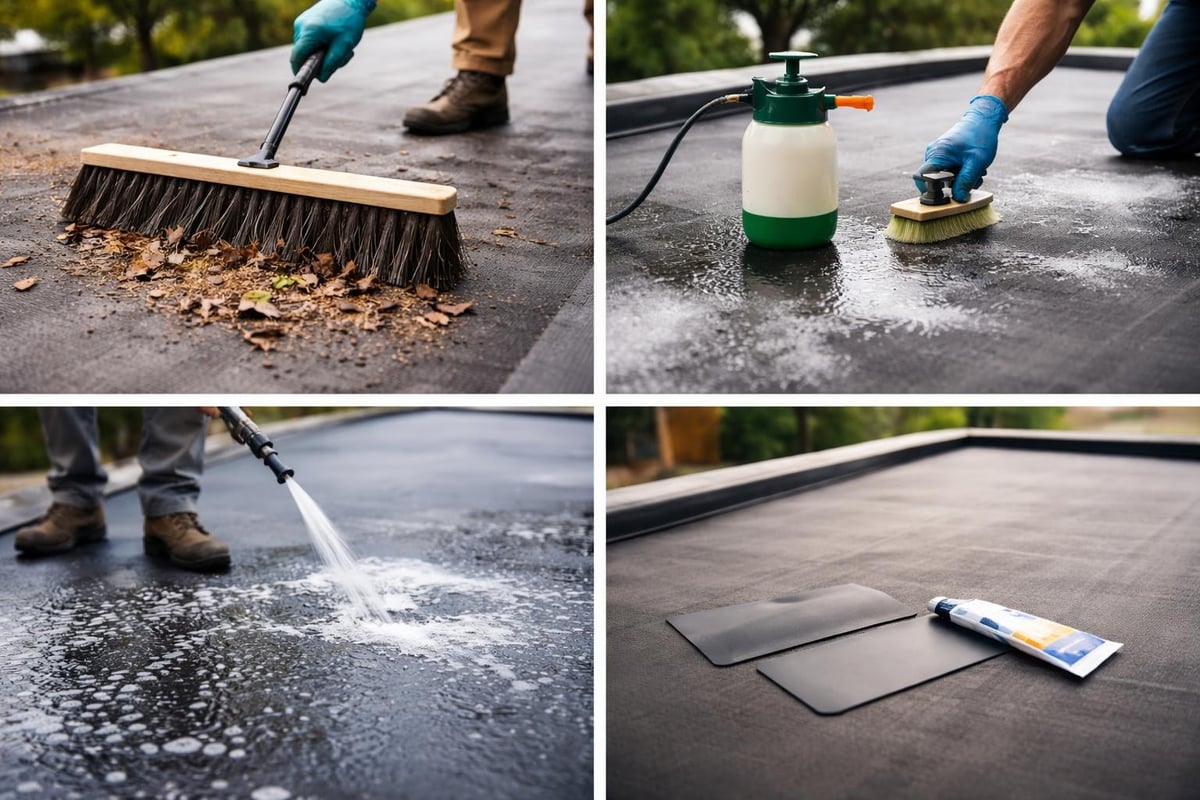
Never attempt repairs on wet or damp surfaces. Moisture trapped under patches creates ongoing leak problems.
Apply Primer to the Repair Zone
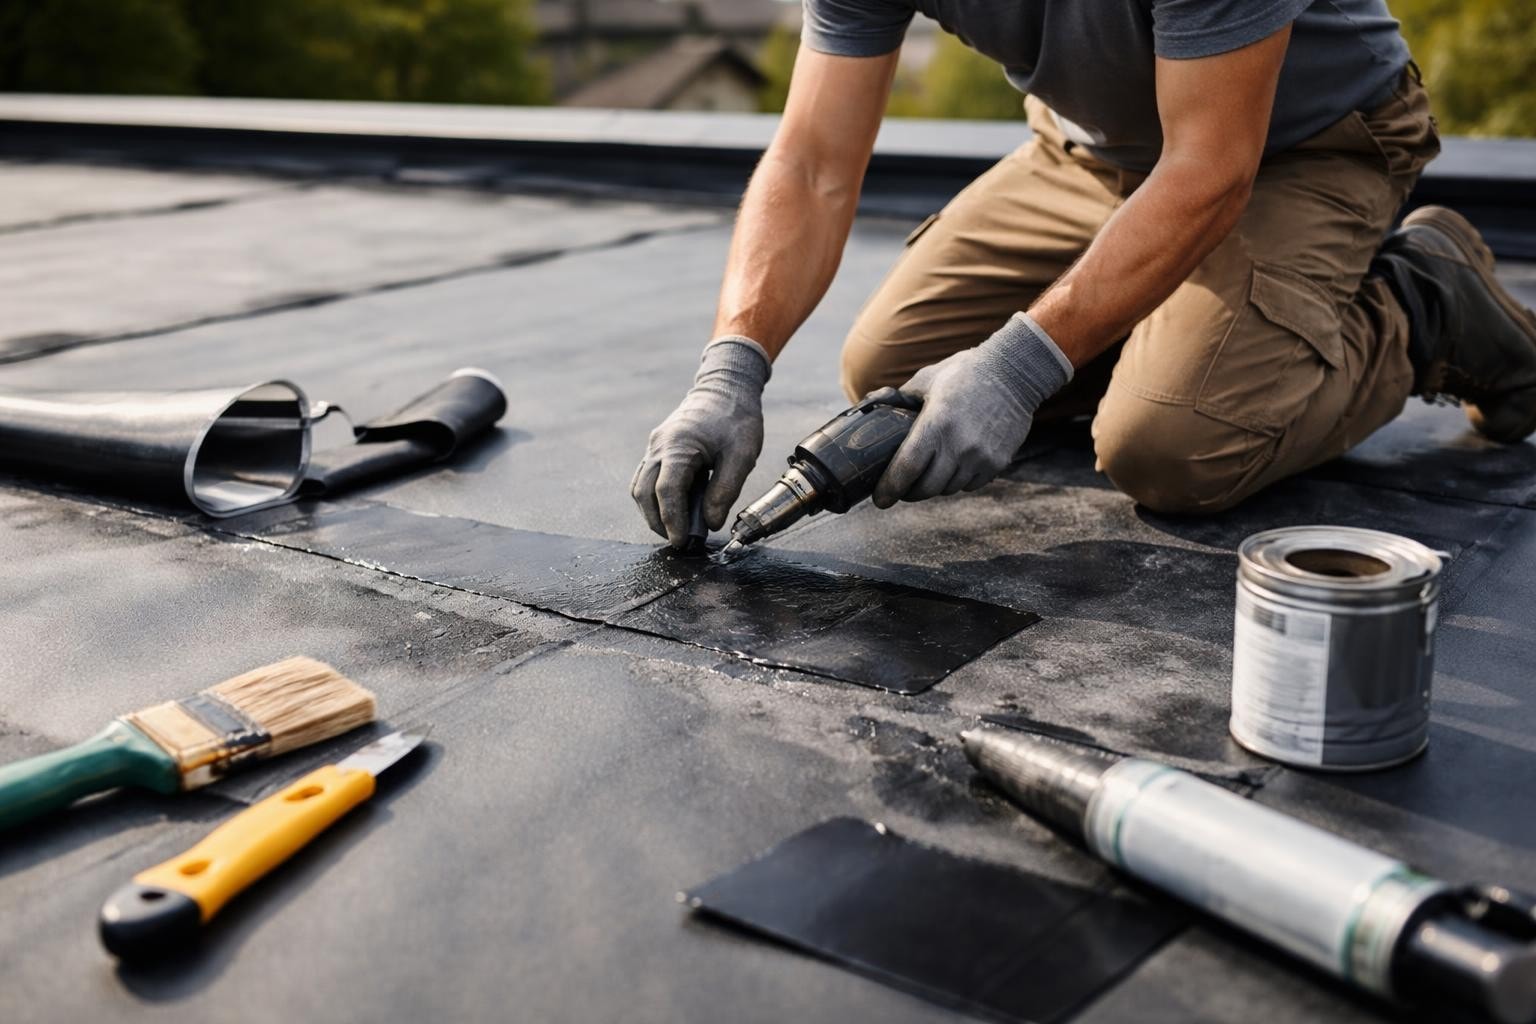
EPDM primer prepares the rubber surface to accept adhesives. Apply primer to both the roof membrane and the patch material following manufacturer instructions. Most primers require 3 to 5 minutes of dry time before adhesive application.
Cut and Position Patch Material
Cut your EPDM patch to extend at least 4 inches beyond the damaged area in all directions. Round the corners to prevent peeling. For larger repairs, you may need multiple overlapping patches.
Test fit the patch before applying adhesive to ensure proper coverage and positioning.
Apply Adhesive and Install Patch
Follow the six-step process for effective repairs when applying adhesive. Brush or roll adhesive onto both the primed roof surface and the back of the patch. Allow the adhesive to become tacky according to product directions.
Carefully position the patch and press it firmly into place, working from the center outward to eliminate air bubbles. Use a roller or squeegee to ensure complete contact across the entire patch.
Seal Edges and Seams
After the patch adheres, apply lap sealant around all edges. This creates a waterproof seal and prevents moisture from working under the patch edges. Pay special attention to corners and any areas where the patch meets existing seams.
For seam repairs specifically, seam tape provides reinforcement. Clean both sides of the separated seam, apply primer, then position seam tape centered over the joint. Roll firmly to ensure adhesion.
When to Handle Repairs Yourself vs. Calling Professionals
Not every rubber roof repair requires a professional roofer, but understanding your limits prevents costly mistakes.
DIY-Friendly Repairs
Small punctures under 2 inches, minor seam issues, and simple patch jobs fall within most handy homeowners' capabilities. If you're comfortable working at height and following detailed instructions, these repairs can save money.
Good candidates for DIY:
- Small holes or tears from branches
- Minor seam lifting at edges
- Replacing loose or damaged flashings
- Applying protective coatings
When to Call Professionals
Larger damage, structural concerns, or situations requiring warranty protection should involve experienced roofers. Professional roof repair services provide expertise that ensures repairs address underlying issues, not just visible symptoms.
Call a professional for:
- Extensive seam failures across multiple sections
- Large tears or membrane damage over several square feet
- Ponding water indicating structural problems
- Repairs near the end of your roof's expected lifespan
- Any situation where you're unsure of the proper solution
Professional roofers also carry insurance protecting you from liability if someone is injured during repair work.
Cost Considerations for Rubber Roof Repair
Understanding repair costs helps you budget appropriately and make informed decisions about repair versus replacement.
Material Costs
Basic repair materials run relatively affordable. A small EPDM patch kit with adhesive costs $30 to $60. Primer, cleaners, and sealants add another $40 to $100 depending on quantities needed. Larger repairs requiring substantial patch material increase costs proportionally.
Labor Costs
Professional rubber roof repair typically costs $4 to $8 per square foot for straightforward patches and seam repairs. More complex situations involving structural repairs, extensive seam work, or multiple problem areas run $8 to $15 per square foot.
Minimum service charges often apply. Even small repairs may cost $300 to $500 due to mobilization, setup, and minimum labor requirements.
| Repair Type | DIY Cost | Professional Cost |
|---|---|---|
| Small patch (under 1 sq ft) | $30-$60 | $300-$400 |
| Seam repair (10 linear feet) | $50-$100 | $400-$600 |
| Multiple patches | $100-$200 | $600-$1,200 |
| Large section replacement | $200-$500 | $1,500-$3,000 |
Replacement Considerations
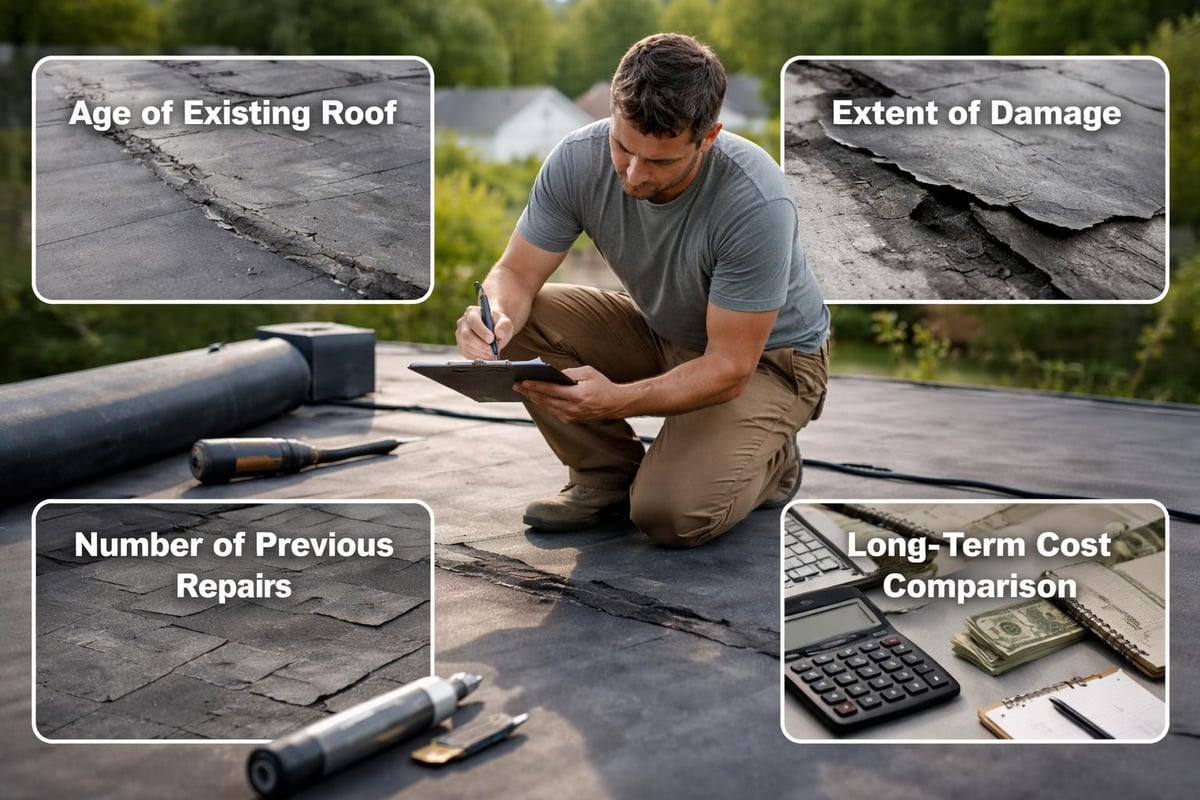
When repair costs approach 50% of replacement costs, or when multiple repairs become necessary within a short timeframe, replacement makes more financial sense. A rubber roof nearing 20 years old with widespread issues often benefits from complete replacement rather than ongoing patch work.
Preventative Maintenance to Avoid Future Repairs
Regular maintenance dramatically reduces the frequency and severity of rubber roof repairs needed over your roof's lifetime.
Semi-Annual Inspections
Inspect your rubber roof twice yearly, ideally in spring and fall. These inspections catch small problems before they become major failures. Look for the same warning signs mentioned earlier: tears, seam issues, punctures, and ponding.
After major storms, conduct additional inspections to identify any storm-related damage while it's still minor.
Keep the Roof Clean
Remove debris regularly. Leaves, branches, and dirt trap moisture against the membrane and can cause localized deterioration. Accumulated debris also hides damage during inspections.
Use a soft-bristle broom for cleaning. Never use sharp tools or pressure washers that can damage the membrane. Common causes of rubber roof damage often stem from improper cleaning methods or neglected maintenance.
Address Ponding Promptly
If you notice ponding water, identify the cause quickly. Poor drainage, clogged scuppers, or structural sagging all require attention. Even minor ponding accelerates membrane aging and eventual failure.
Apply Protective Coatings
Reflective coatings designed for rubber roofs provide additional UV protection and can extend roof life by several years. These coatings also improve energy efficiency by reflecting solar heat. Application every 5 to 7 years maintains protection.
Limit Roof Traffic
Minimize foot traffic on your rubber roof. When access is necessary, use walk pads to distribute weight and prevent punctures. Avoid dragging equipment or materials across the membrane.
Understanding EPDM Membrane Failures
Knowing why rubber roofs fail helps you prevent problems and recognize when repairs are needed. Understanding EPDM roof failures gives homeowners insight into both repair needs and long-term expectations.
Adhesive Breakdown
The adhesives bonding seams and flashings deteriorate over time. Temperature extremes, moisture exposure, and UV radiation all contribute to adhesive aging. Seam failures from adhesive breakdown are among the most common rubber roof repair needs.
Membrane Shrinkage
EPDM membranes can shrink slightly over years of service. This shrinkage pulls the membrane away from edges and penetrations, creating gaps where water enters. Properly installed rubber roofs account for this through adequate material overlap and secure fastening.
Physical Damage
Sharp objects, falling branches, hail, and even foot traffic cause physical damage to rubber membranes. While EPDM resists punctures better than many materials, it's not invincible. Regular inspections identify this damage before it creates leak pathways.
Installation Defects
Some rubber roof problems trace back to original installation. Inadequate adhesive application, improper seam overlap, or insufficient fastening create weak points that fail prematurely. These issues may not appear for several years but eventually require correction.
Special Considerations for Eastern North Carolina Roofs
Regional factors influence rubber roof performance and repair needs. In Eastern North Carolina, specific challenges affect how homeowners approach rubber roof maintenance.
Hurricane and Storm Damage
Coastal storms bring high winds and flying debris that can damage rubber roofing. After significant weather events, inspect for wind-lifted seams, punctures from debris, and areas where wind-driven rain may have found weak points.
Humidity and Moisture
High humidity levels create conditions where moisture-related problems develop faster. Proper ventilation under the roof deck helps, but regular inspections remain essential for catching moisture issues early.
Temperature Fluctuations
While less extreme than northern regions, Eastern North Carolina still experiences temperature swings that cause rubber membranes to expand and contract. Over time, this cycling stresses seams and can contribute to failures.
Homeowners can learn more about local roofing considerations through resources at NC Roofs, where region-specific guidance helps address these unique challenges.
Long-Term Care Strategy for Rubber Roofs
Thinking beyond immediate repairs to a comprehensive care strategy maximizes your roof's lifespan and minimizes total ownership costs.
Document Your Roof's History
Keep records of installations, repairs, inspections, and maintenance. This documentation helps you track patterns, justify insurance claims, and make informed decisions about when replacement makes sense versus continued repairs.
Include:
- Original installation date and contractor
- All repair dates and descriptions
- Inspection reports and findings
- Photos showing condition over time
- Product warranties and guarantees
Budget for Regular Maintenance
Set aside funds annually for rubber roof care. Even if you don't need repairs every year, having a maintenance budget prevents emergency expenses from creating financial stress.
A reasonable budget for a typical residential rubber roof includes $200 to $400 annually for inspections and minor maintenance, plus reserves for larger repairs as the roof ages.
Plan for Eventually Replacement
Even well-maintained rubber roofs eventually need replacement. Starting to plan and budget for replacement around year 15 to 18 gives you time to research options, get multiple estimates, and avoid rushed decisions when failure finally occurs.
Working with Roofing Professionals
When repairs exceed your comfort level or DIY capabilities, choosing the right roofing professional ensures quality work and fair pricing.
What to Look for in a Roofing Contractor
Experienced roofers familiar with rubber roofing systems bring value beyond just labor. They identify underlying causes of visible damage, recommend appropriate repair methods, and stand behind their work with warranties.
Key contractor qualities:
- Specific EPDM experience not just general roofing
- Local references from similar projects
- Clear written estimates detailing materials and methods
- Proper licensing and insurance protecting you from liability
- Warranties on both materials and labor
Getting Multiple Estimates
Request estimates from at least three contractors. Comparing approaches and prices helps you understand fair market rates and identify any concerning variations in recommended repairs.
Beware of estimates significantly lower than others. Extremely low bids often indicate inexperience, poor-quality materials, or shortcuts that create future problems.
Understanding Warranties
Professional rubber roof repair should include warranties covering both the materials used and the labor performed. Material warranties come from manufacturers and typically cover defects. Labor warranties from contractors cover installation quality and should last at least one year, preferably longer.
Read warranty terms carefully and understand what's covered, what's excluded, and what actions might void coverage.
Rubber roof repair addresses most common issues effectively when approached with the right knowledge, materials, and techniques. Regular inspections, prompt attention to problems, and quality repairs extend your roof's life significantly while protecting your home from water damage. Whether you handle minor repairs yourself or work with professionals for more complex issues, understanding what's involved helps you make informed decisions. NC Roofs provides honest assessments and clear guidance for Eastern North Carolina homeowners facing rubber roof challenges, ensuring you get the repairs you actually need at fair prices without unnecessary upsells.
Article written using RankPill.